Login password on Windows 10 is the password that you’ve set up for your user account. It is what you need to enter each time you want to log-in to your machine. It keeps your data protected as anyone without entering the password won’t be allowed to access your machine.
While keeping your account password protected is a really good idea, sometimes entering the password each time you log-in becomes too much of a task. If you’re the only user of your computer and you’re sure nobody else uses your machine, you can actually remove the login password from your Windows 10 computer.
Once you’ve removed the password, you can then access your computer without entering any passwords at all. Your computer becomes wild-open letting anyone access to all of your files, data, and other information saved on your computer.
If you’d like to proceed with removing the password from the login screen on your Windows 10 computer, the following methods should teach you how to do it.
Remove Login Password on Windows 10 Using Netplwiz
One of the best methods to remove the Windows 10 login password is to set up a setting option in such a way that it skips the password prompt. There’s actually a utility built on your computer that lets you do just that task.
With this utility, you can enable an option that will make sure you don’t get asked to enter a password when you log-in to your computer. This should work great for you and save you from the hassle of entering passwords.
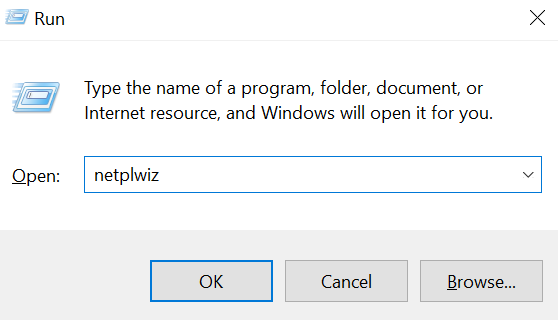
Step 1. Press the Windows + R keys at the same time and it’ll open the Run dialog box.
Step 2. Type in netplwiz in the box open on your screen and it’ll launch the required utility.
Step 3. You’ll likely land in the Users tab on the following screen. If you don’t, click on the tab with that name and you’ll get there. Then, select your user account from the list on your screen and untick the option that says Users must enter a user name and password to use this computer.

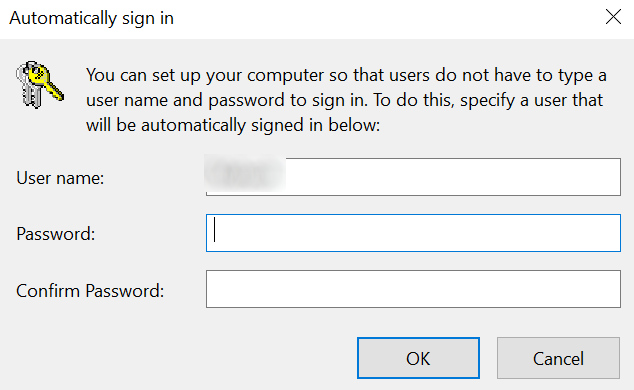
Step 4. Click on Apply at the bottom to save the changes. A prompt will appear on your screen asking you to enter your current login details. Type in your username and password in both fields and click on OK to continue.
That’s all there is to it. The next time you boot-up your computer, it’ll take you straight to your desktop without asking for your password. You’ve successfully removed the login password on your Windows machine.
Disable Login Password by Removing the Password on Windows 10
The above method disables the password prompt that appears on the login screen. It doesn’t actually remove the password from your user account.
One of the ways not to get a password prompt on the login screen is to remove the password from your account. Since your account won’t have a password, you won’t be asked to enter it and you’ll get direct access to your desktop.
Removing the password from your user account is a fairly easy process and the following shows how to do it.
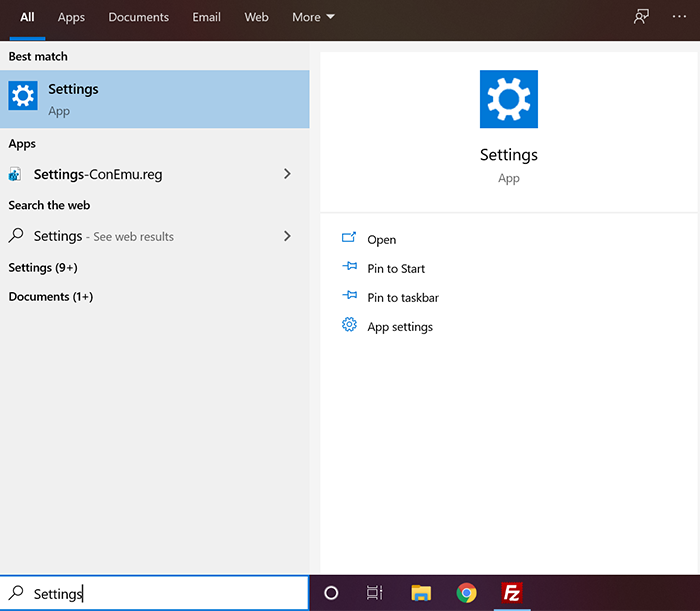
Step 1. Launch the Settings app from the Start Menu on your computer. It lets you manage your computer’s settings options.
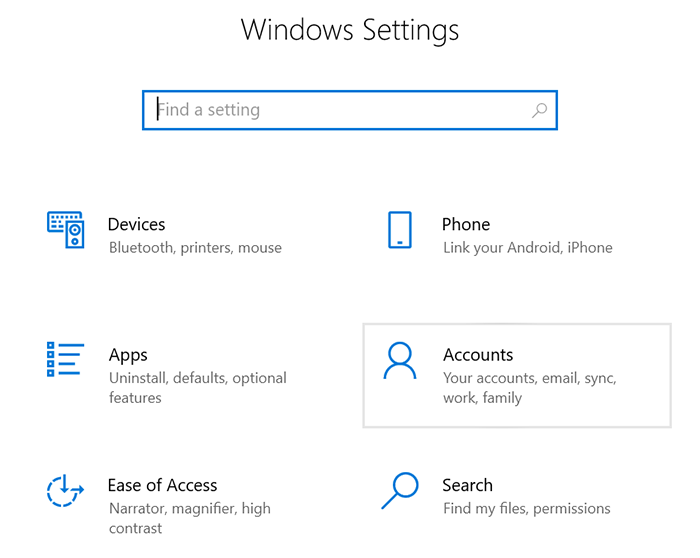
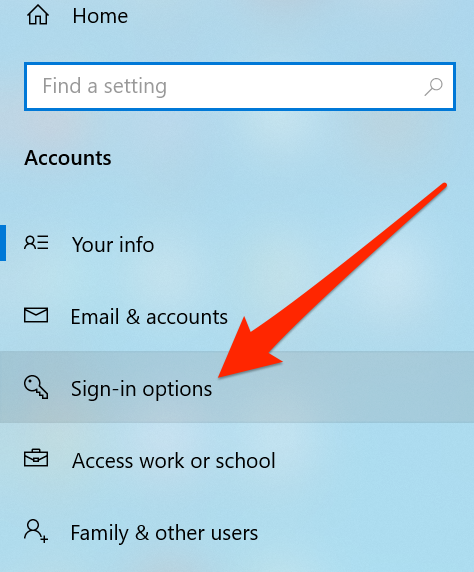
Step 2. On the following screen, choose the option that says Accounts and it’ll let you manage your user account settings on your computer.
Step 3. There’ll be several options in the left sidebar on your screen. Choose the one that says Sign-in options. It lets you manage all the options that are available to help you sign-in to your computer.
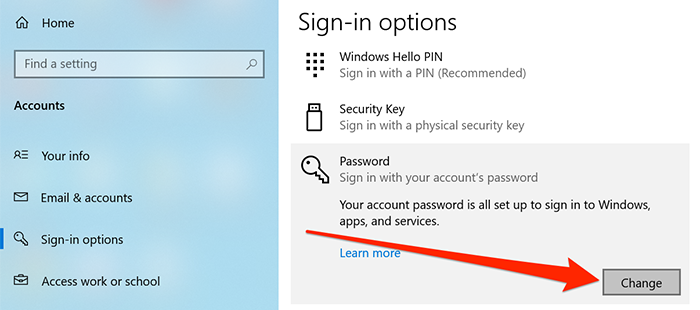
Step 4. The following screen lists out all the sign-in methods on the right-hand side pane. You want to find the section that says Password and then click on the Change button beneath it. It lets you remove and modify your password.
Step 5. Enter in your current user account password and click on Next to continue.
Step 6. The following screen lets you set up a new password for your account. What you want to do here is to keep all the fields blank and hit Next.
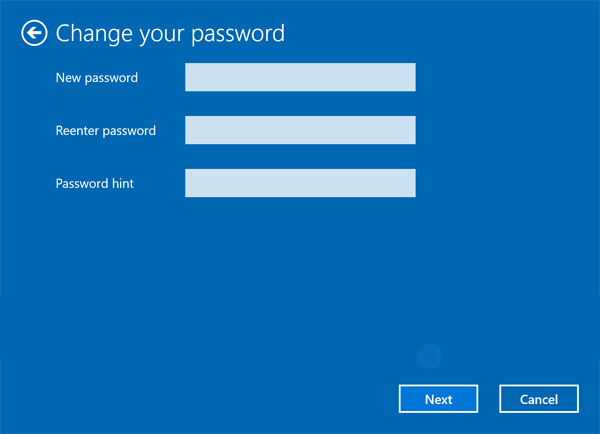
Step 7. Click on Finish on the following screen.
You’ve successfully set up a blank password for your account which means your computer won’t prompt you to enter any password while signing-in. It’s a pretty easy way to remove the login password from your machine.
Using Command Prompt to Get Rid of Login Password on Windows 10
As you can see for yourself, removing your login password on your computer requires you to go through a number of screens. What if there was an easier way to do the task without going through all of the above steps?
Well, there is. As long as you know how to run a command from the Command Prompt utility, you can remove the password from your command with the use of a single command. All you need to do is enter this command in the utility and it’ll get the password removed from your account.
Step 1. Search for Command Prompt using the Cortana search box and click on it when it appears on your screen.
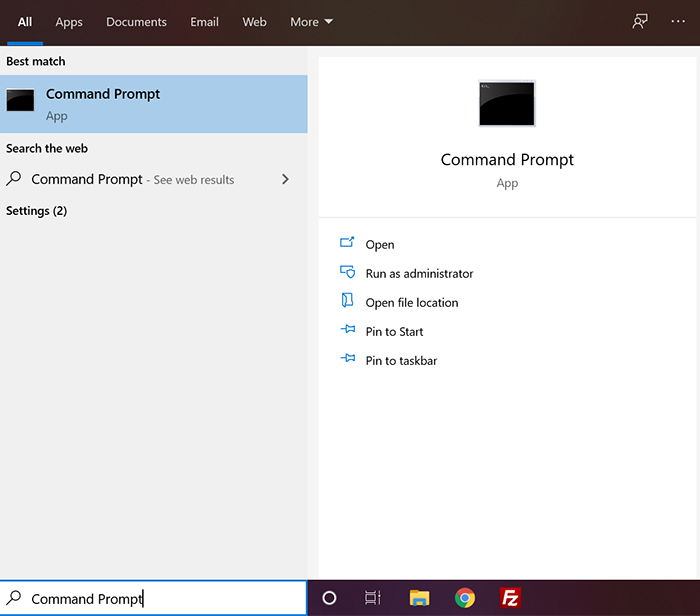
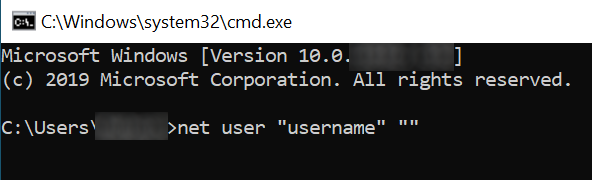
Step 2. When it opens, type in the following command and hit Enter. Make sure to replace username with your own username before you submit the command.
net user "username" ""
Step 3. Close Command Prompt when the command is executed.
The command should have removed the password from your account. You’ll no longer be prompted for a password when you want to log-in to your Windows 10 computer.