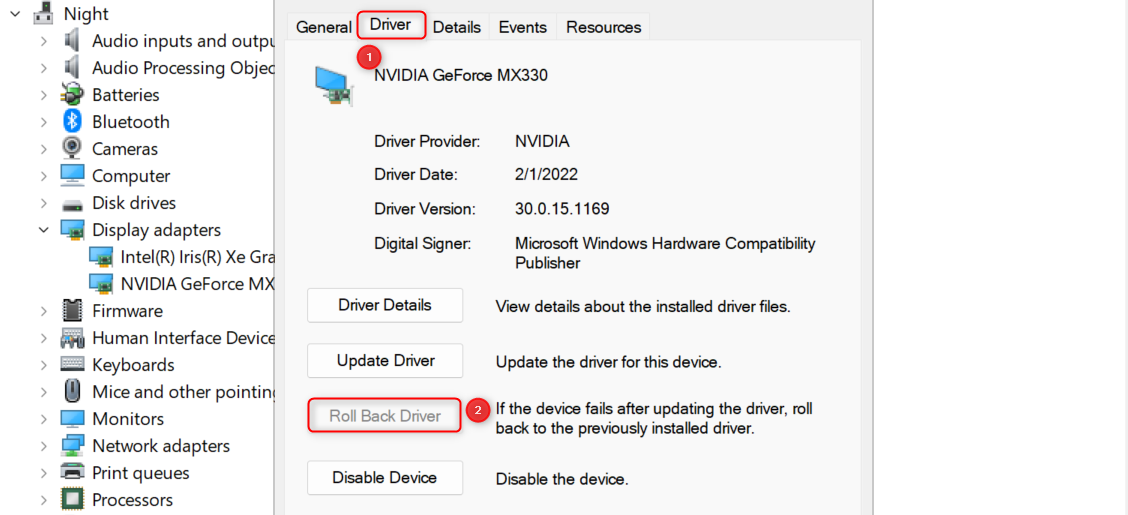
- Launch Device Manager from the Start menu. Once it launches, expand Display adapters and double-click your Nvidia device to open its Properties window. In Properties, go to the Driver tab and click Roll Back Driver.
- You can also use a third-party app called Display Driver Uninstaller to roll back your driver updates.
Want to roll back your Nvidia drivers on Windows 11 and Windows 10? Updating your drivers doesn’t necessarily make things better for your computer, but that’s easy to fix. We’ll show you how to roll back Nvidia drivers using Device Manager (a built-in utility) and a third-party app.
When to Roll Back Driver Updates
Updating your Nvidia graphics drivers doesn’t mean they’ll work well with your machine. Here are some scenarios where rolling back your drivers to their previous versions might be better:
- Unstable system: Your computer might crash or freeze more frequently or exhibit other signs of instability.
- Decreased performance: You might notice a decrease in performance, such as slower boot times, lagging applications, or choppy gameplay.
- Device malfunction: The updated driver might cause your device to malfunction entirely. For instance, your printer might not print, your display might flicker, or your adapters might lose connection.
- Software incompatibility: A driver update might conflict with specific software or hardware in your computer.
If these occur after updating your drivers, follow either of the two methods below to resolve the issue.
Method 1. Using Device Manager
Windows allows you to control your device drivers in a utility called Device Manager. Here’s how you use it to roll back your display drivers.
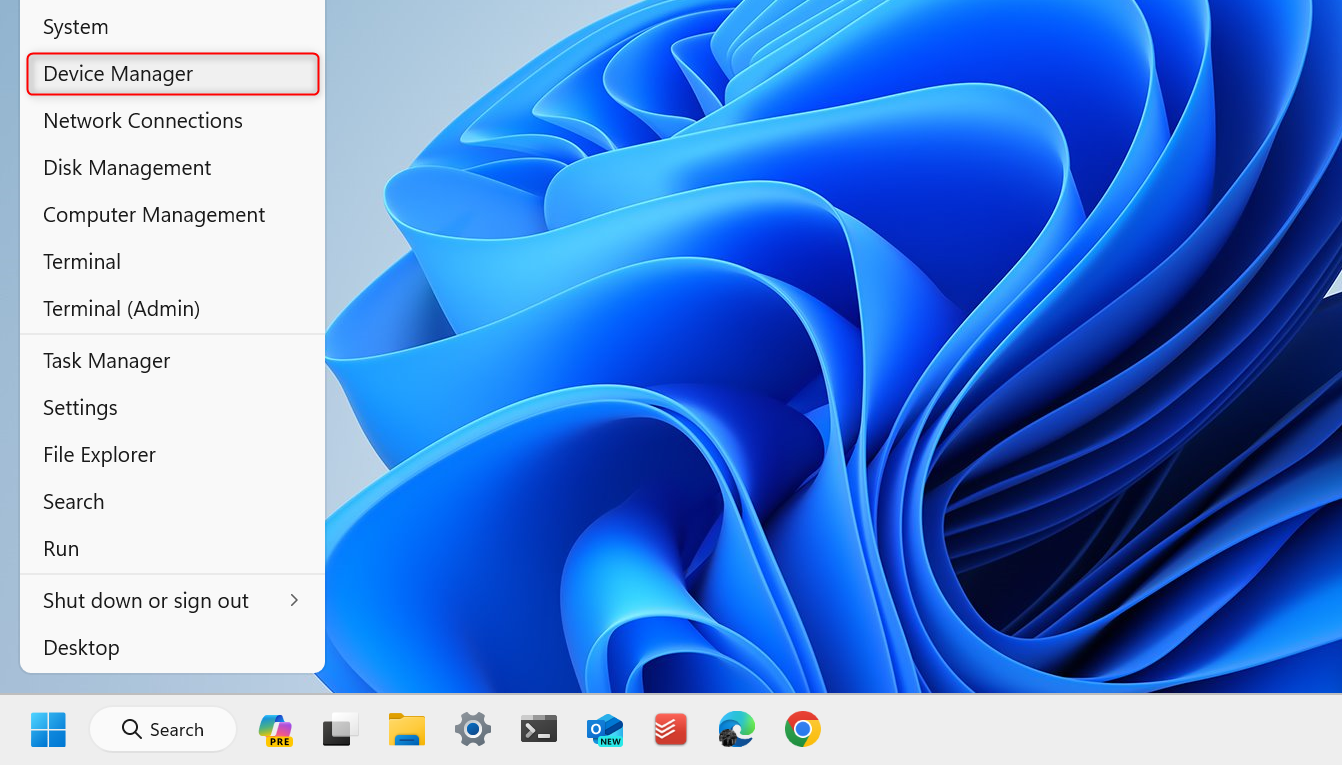
Right-click the Start button to open the Power User menu. From the options provided, choose Device Manager.
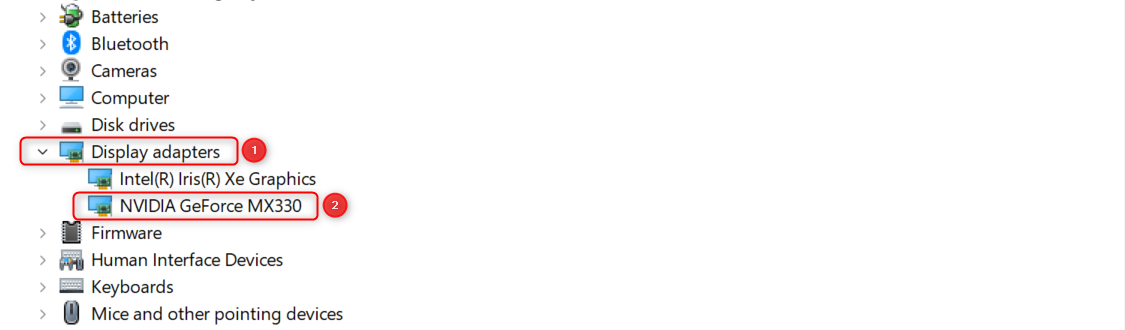
Once Device Manager launches, find the Display adapters drop-down and expand it. You will see the Nvidia graphics driver that your computer uses there. Double-click the device to open its Properties window.
In the Properties window, switch to the Driver tab. Then, click the Roll Back Driver button. If you can’t click that button or it’s grayed out, your Nvidia driver doesn’t have a previous version available on your machine.
In a separate window, you’ll be asked for a reason for the driver roll back. Choose one from the options provided and click Yes to proceed.
Windows will now roll back your Nvidia driver. During the process, your screen might turn black for a few moments one or two times. Wait for the roll back to finish and you’ll see your Nvidia driver go back to its previous version.
Method 2. Using Display Driver Uninstaller (a Third-Party App)
If you cannot roll back the driver using Device Manager (the option is grayed out), use Display Driver Uninstaller (DDU), a third-party app. This will remove your Nvidia drivers from your computer thoroughly. Then, get a fresh copy of a working driver from Nvidia’s website.
Note: DDU has been a go-to app among many users when it comes to troubleshooting display drivers. Still, proceed with the steps below at your own risk. To prevent potential data loss and make your information recoverable, create a backup first.
Step 1. Download the App
Open a browser and go to the official Display Driver Uninstaller release page. Once there, select the latest version compatible with your computer.
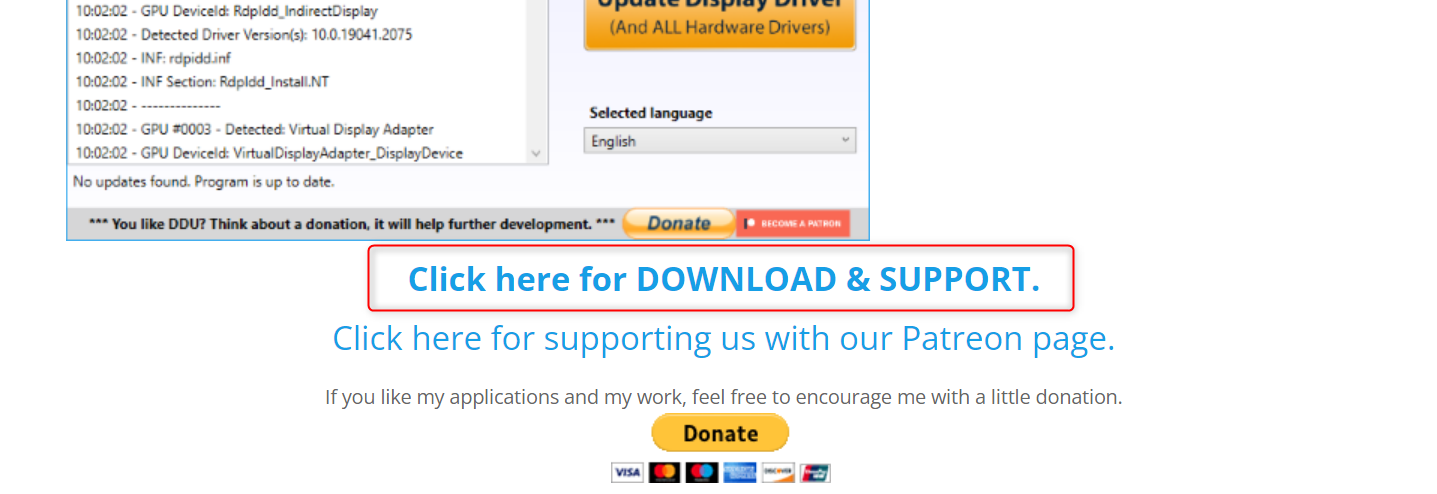
On the next page, scroll down to the bottom and select the Click here for Download & Support link.
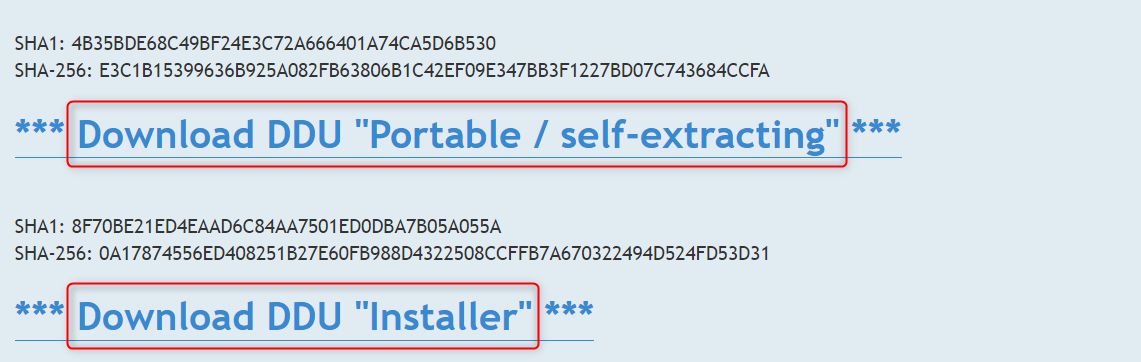
This will redirect you to the download page of your chosen DDU version. Choose whether you want to use a self-extracting file (a compressed folder containing the application) or an installer.
Run the downloaded file and proceed with any other on-screen instructions to extract or install the DDU app.
Step 2. Boot Windows in Safe Mode
Press Windows + I to open the Settings app.
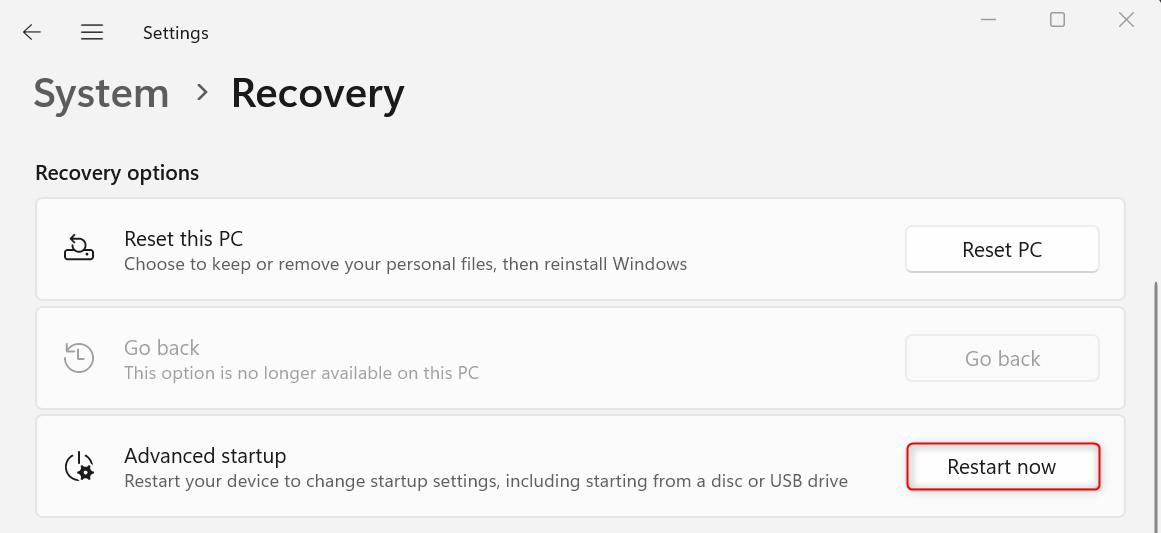
If you’re on Windows 11, navigate to System > Recovery. Under Recovery options, click the Restart now button for Advanced startup.
On Windows 10, head to Update & Security > Recovery. In the Advanced startup section, click Restart now.
Alternatively, open the Start menu and click the Power button. Press and hold the Shift key. Without lifting your finger from the key, click Restart.
Both methods will redirect you to a blue Choose an option screen. Here, select Troubleshoot > Advanced options > Startup Settings > Restart. After that, you’ll be asked to select a Safe Mode environment for your computer.
Press 4 or F4 to enable a basic Safe Mode environment.
Step 3. Run the App
Launch the Display Driver Uninstaller app. If an Options window pops up on your screen, close it since the default settings will do just fine.
Expand the Select device type drop-down and choose GPU. This will also select NVIDIA by default for the Select device parameter.
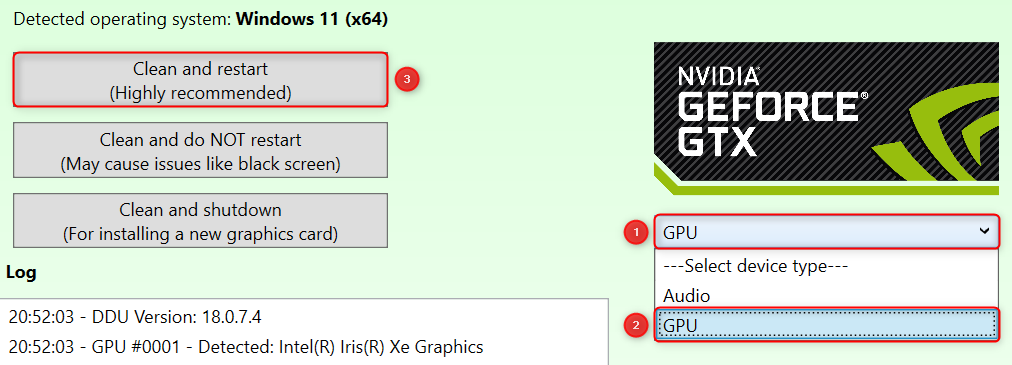
Then, click Clean and restart.
Step 4. Download and Install Your Nvidia Driver
Open a browser and go to the official Nvidia drivers repository. Under the Manual Driver Search, click the search bar, type the driver version that you need, and click it from the quick options provided.
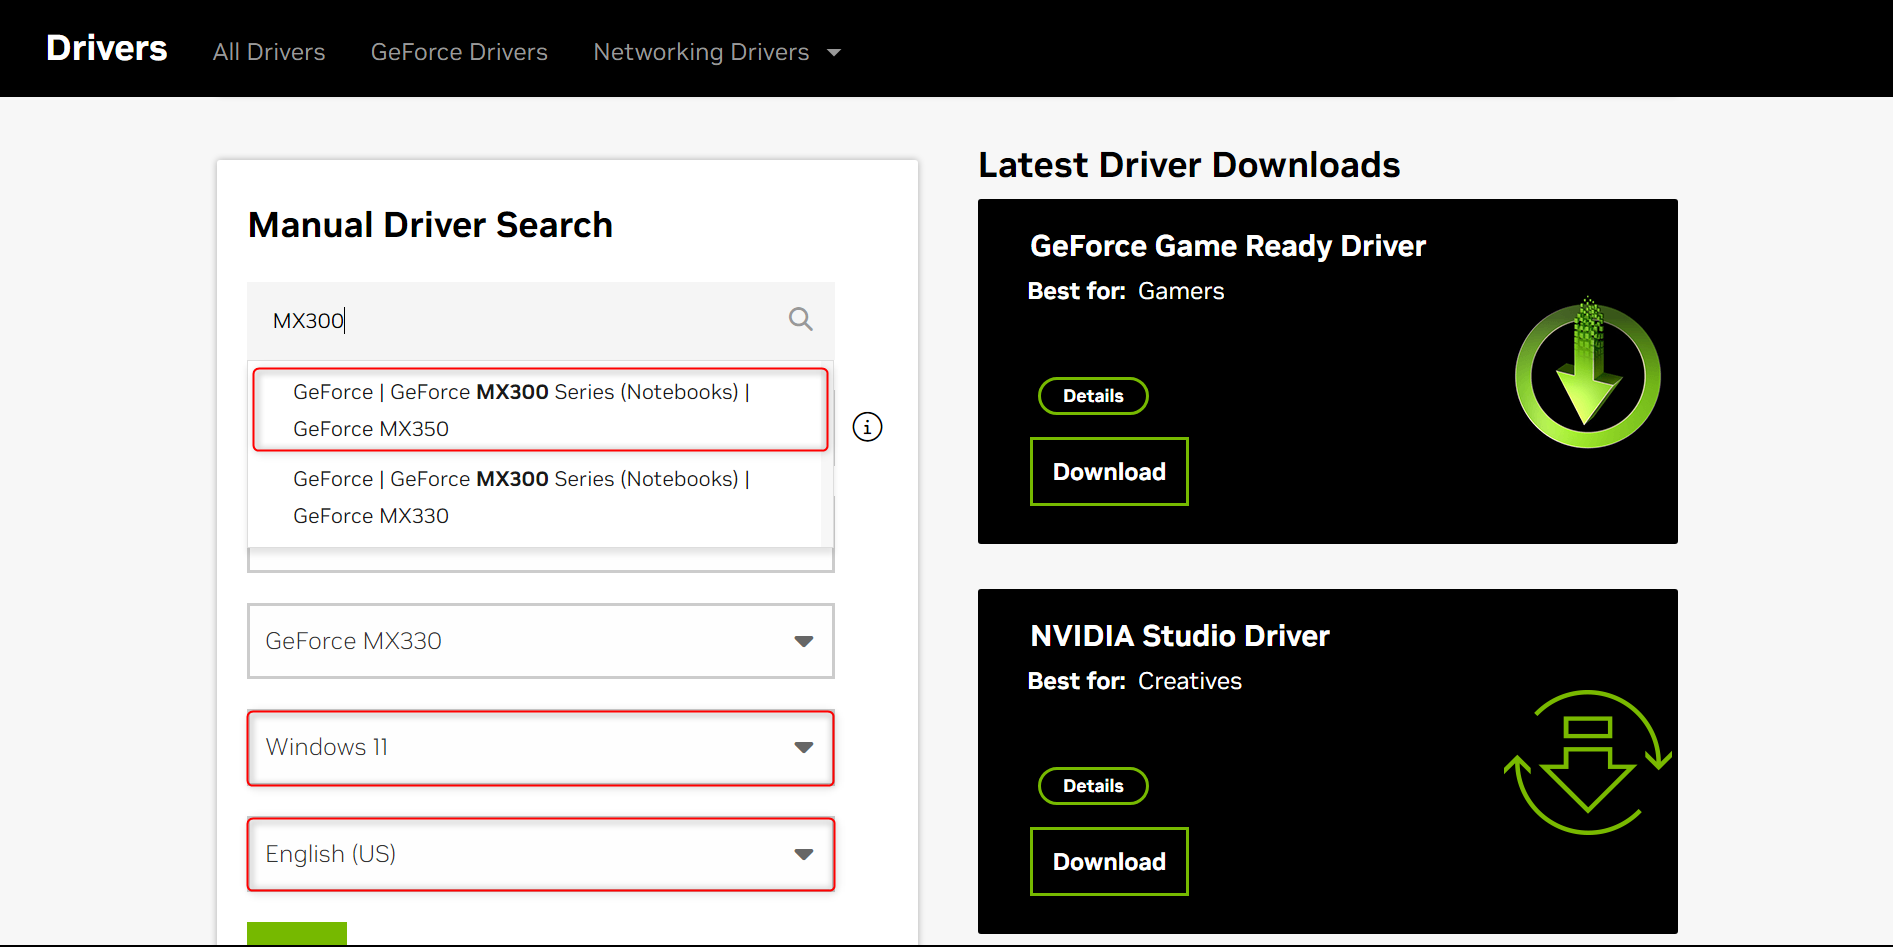
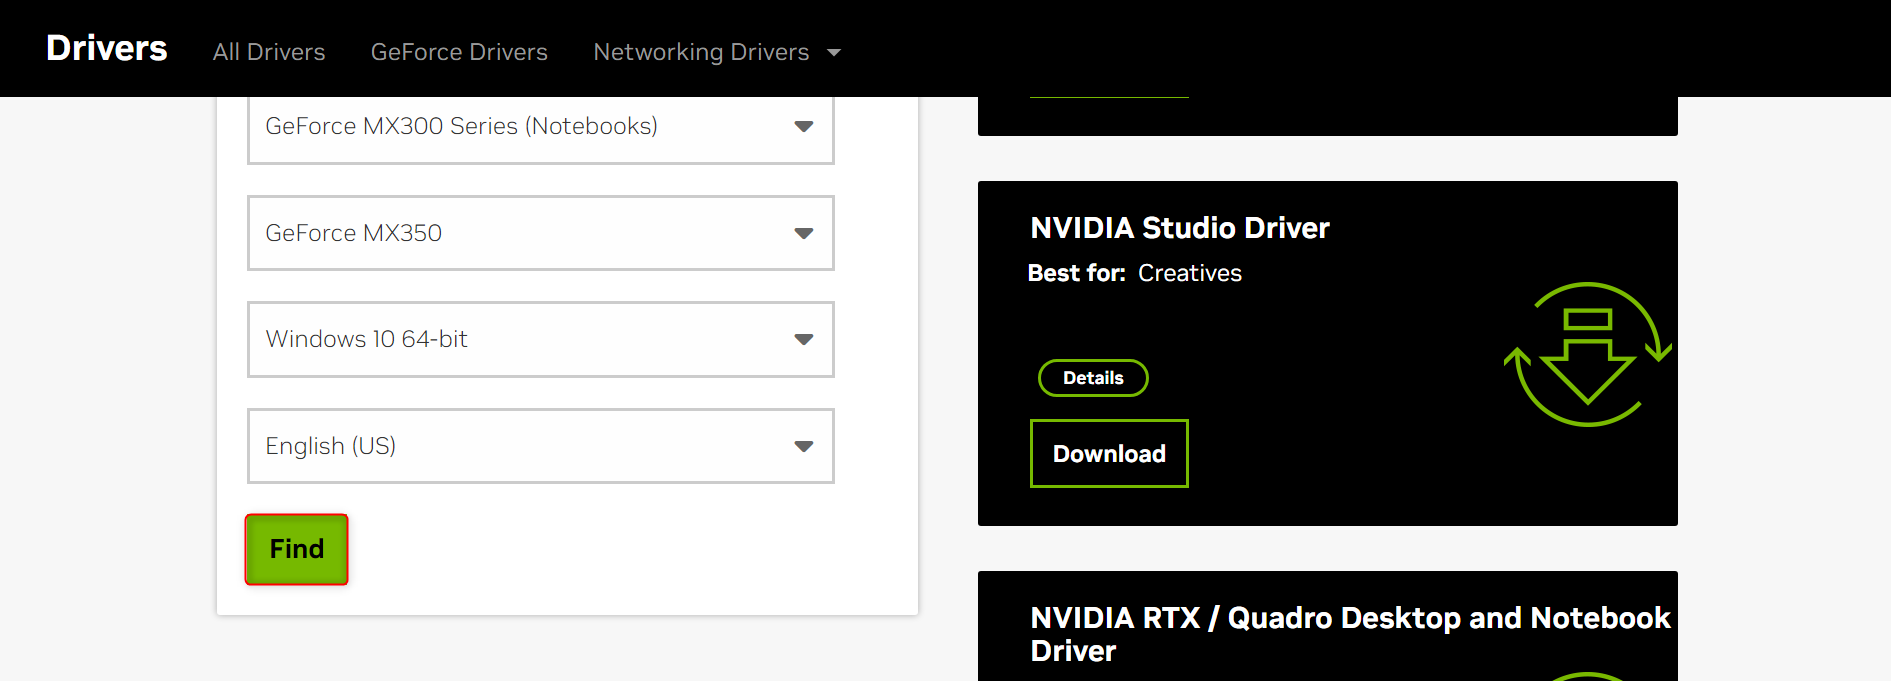
You can further refine your search by adjusting the operating system version and language. Once done, click Find.
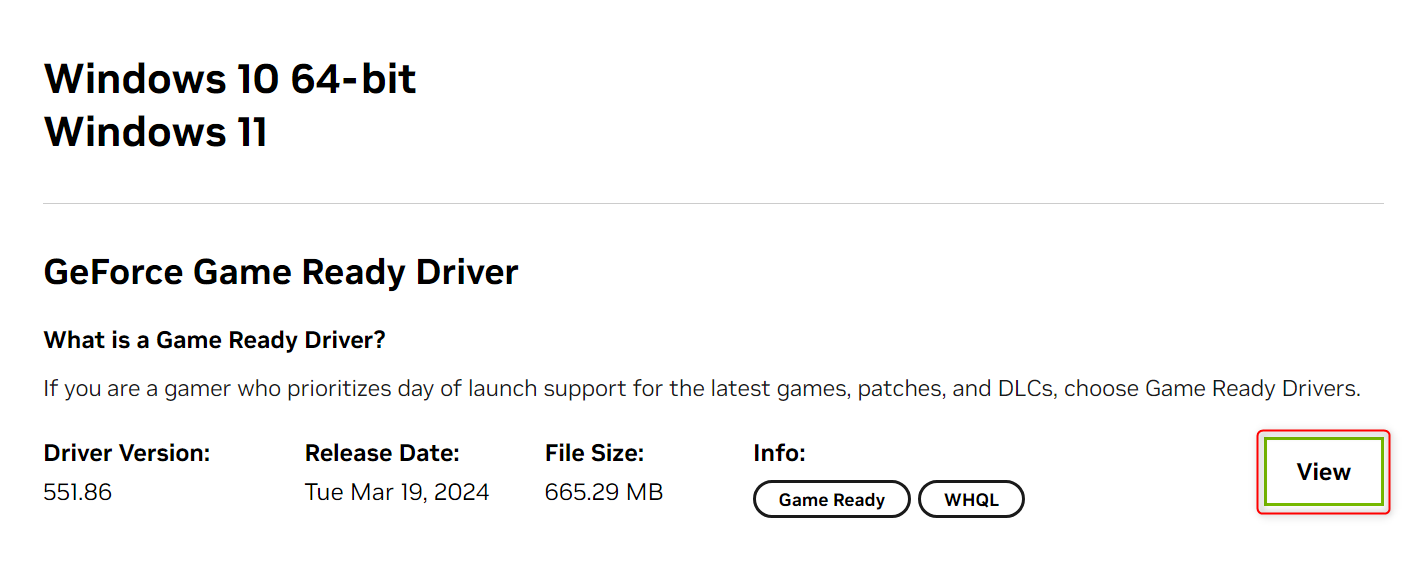
You will be redirected to a Driver Results page. For the topmost driver release (the latest version), click View.
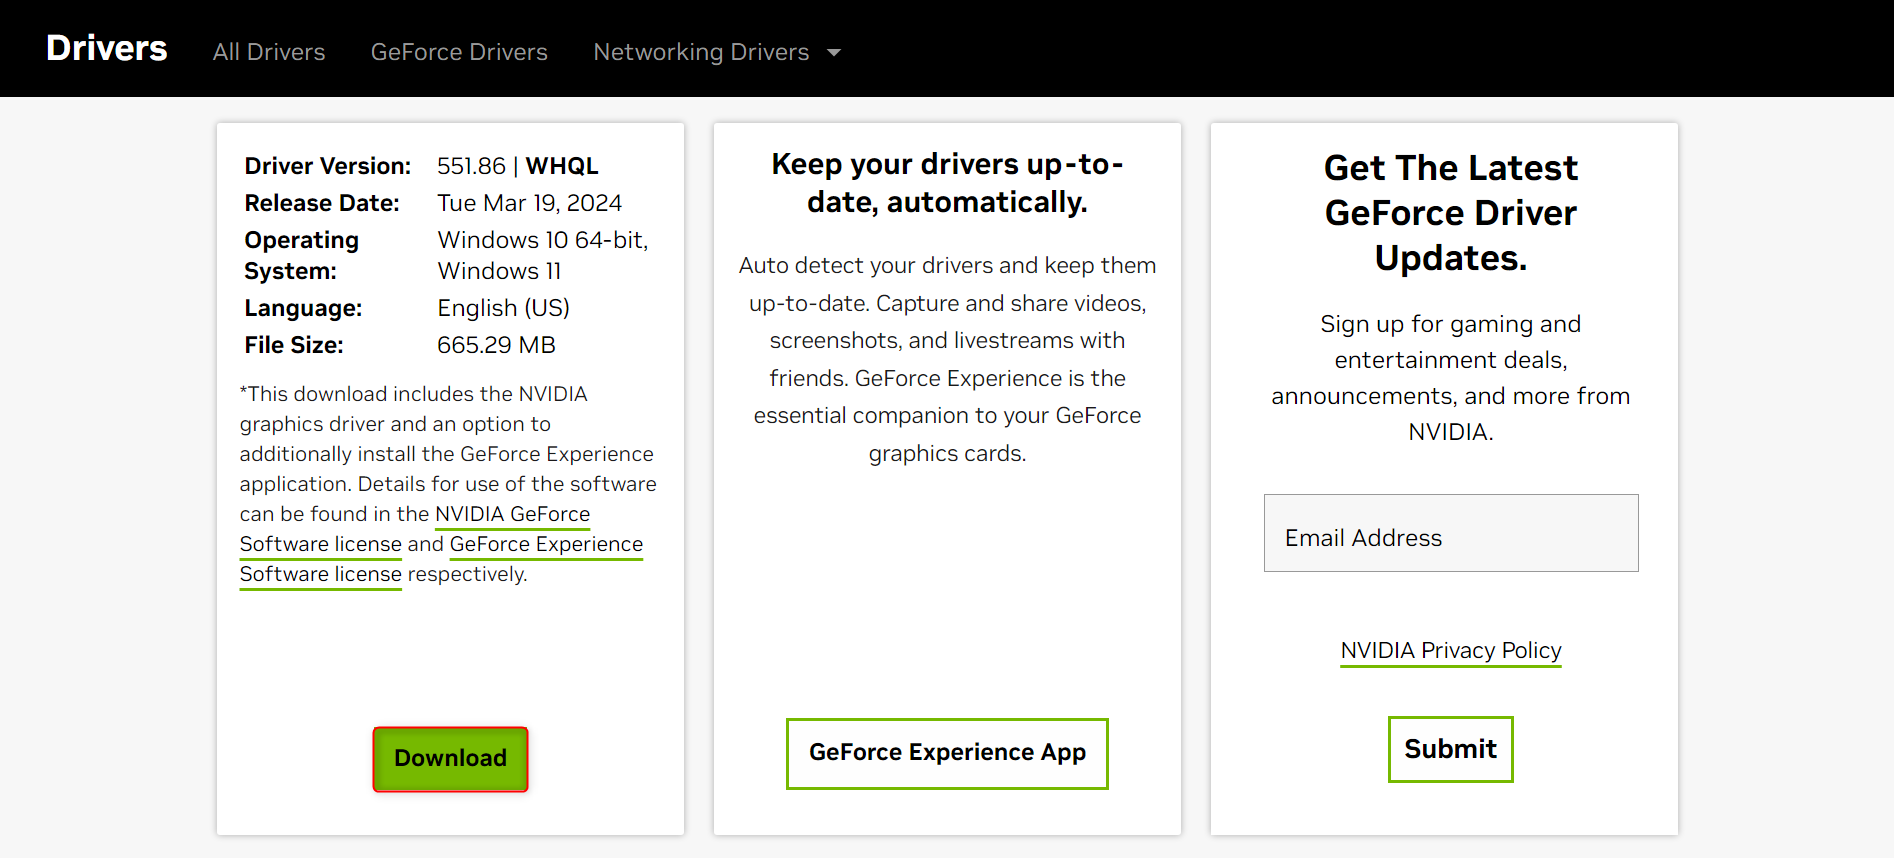
In the details page of the display driver, find and click the Download button. Your computer will now download the installer file for the driver.
After downloading, go to the folder where the file was saved, such as your Downloads folder, and run the file. Proceed with any other on-screen instructions to finish installing the driver to your Windows computer. Once all of the steps are done, you’re good to go.
And that’s how you roll back Nvidia Drivers on Windows 11 and Windows 10. For further troubleshooting, you might also want to know how to uninstall your display drivers.