The update service on your Windows computer is what checks for latest operating system updates and allows you to install them on your computer. If the Windows update service is not running, you won’t be able to find or install any new updates on your machine.
There could be various reasons as to why the update service stops working on a computer. Maybe it requires rebooting to fix any minor glitches. Or maybe there are some problematic updates already saved on your computer that need to be cleared.
Regardless, there are several ways you can use to get rid of the issue and to be able to install updates without issues.
Restart the Update Service to Fix Windows Update Service Not Running
Sometimes, if the update service has been running for a long time, it may get some minor issues and glitches. And if that’s the case, the best way to resolve the issue is to give the update service a reboot. It shuts down the service and then boots it back up.
Restarting the service allows it to create fresh new configuration files. This way, if the older files had any issues, those will be resolved now. Also, it’s pretty easy and quick to restart the Windows update service on your Windows 10 computer.
You can do it as the following.
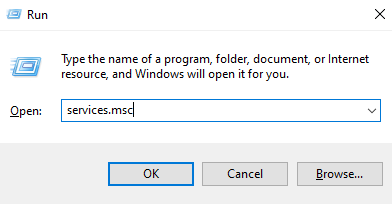
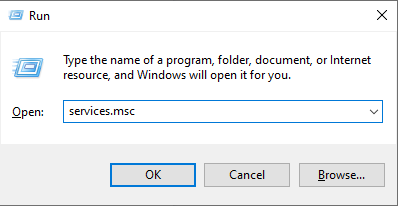
Step 1. Press the Windows + R keys at the same time to open the Run dialog box.
Step 2. When it opens, type in services.msc and hit Enter. It’ll open the panel that lets you manage the services running on your computer.
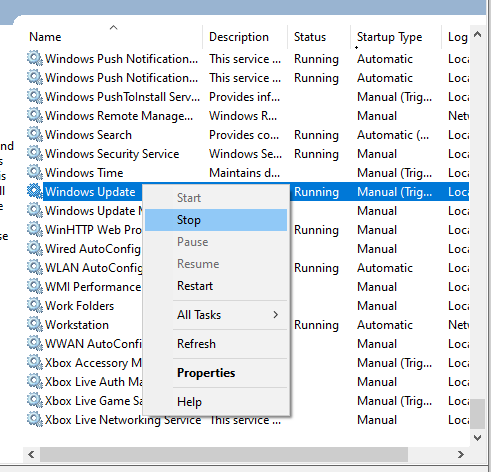
Step 3. When the panel opens, you’ll see several services listed on the right-hand side pane. You need to scroll down the list and find the one that says Windows Update. Once you find it, right-click on it and select Restart.
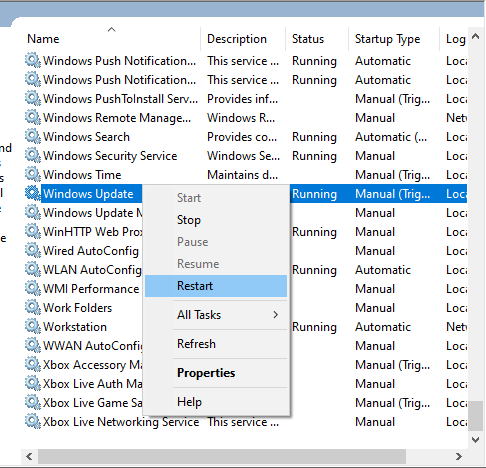
Step 4. The service should restart.
Once that’s done, go ahead and check if you can find and install updates on your machine. Most likely, you should be able to do it without any issues.
Resolve Windows Update Service Not Running by Re-registering Files
While this is not common, sometimes some core system files get deregistered from the computer. If that happens, your computer no longer recognizes your files and this results in those files not functioning on your machine.
There’s actually an easy way to fix it. You can get those deregistered files registered again and that should fix the problem for you. All it takes you to do is run a few commands from the Command Prompt utility and you’re all set.
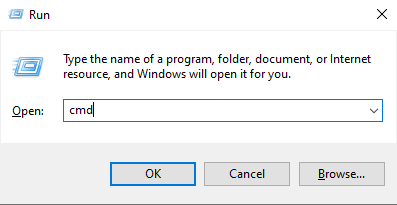
Step 1. Press the Windows + R keys at the same time, type in cmd, and press Enter.
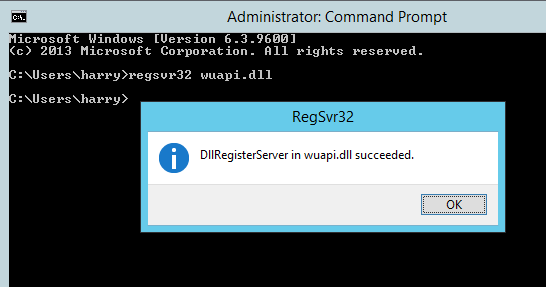
Step 2. When the Command Prompt tool opens, type in the following commands hitting Enter after each line. This will re-register your files on your machine.
regsvr32 wuapi.dll
regsvr32 wuaueng.dll
regsvr32 wups.dll
regsvr32 wups2.dll
regsvr32 wuwebv.dll
regsvr32 wucltux.dll
Step 3. When your files are all re-registered, close the Command Prompt utility.
Step 4. Reboot your computer and the Windows update service not running issue should be gone.
That’s all there is to it.
Delete the Existing Downloaded Updates to Fix the Issue
Even though an update is installed on your computer, it continues to remain stored in a folder on your computer. Since Windows uses a single folder to store all of your update files, you want to make sure your older updates aren’t causing any conflicts with the newer ones.
One of the ways to fix the issue is by removing the older update files from your computer. This way, you’ll make space for new updates and any conflicting issues should also be gone from your computer.
The following is how you do it.
Step 1. Press the Windows + R keys at the same time, type in services.msc, and hit Enter.
Step 2. When you see the services list, find the one that says Windows Update, right-click on it, and select Stop. You need to stop the service before you can delete any updates.
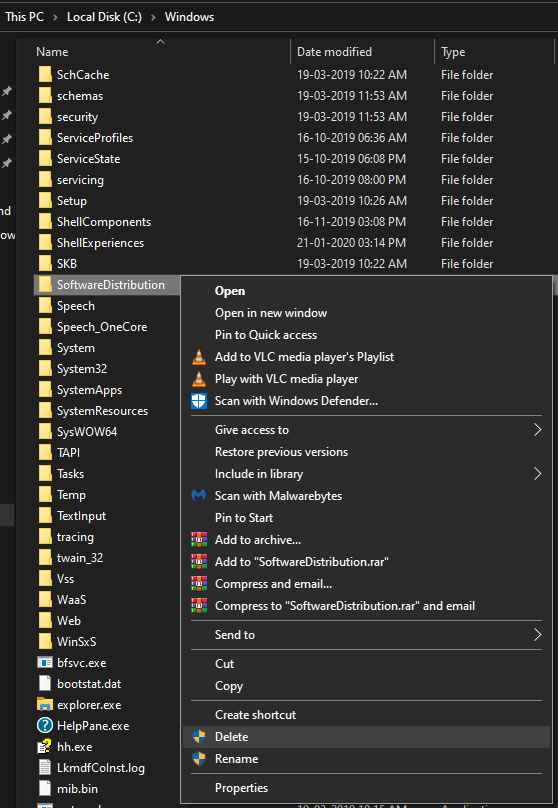
Step 3. Open a File Explorer window and navigate to the following path.
C:\Windows\
Step 4. Find the folder named SoftwareDistribution, right-click on it, and choose Delete. It’ll delete the folder for you.
Step 5. When the folder is deleted, head back to the services panel, right-click on Windows Update, and select Start.

Step 6. Restart your computer.
If the older update files were causing any issues, the above method should fix it for you.
Use Windows Update Troubleshooter to Fix Update Issues
If you haven’t had any luck with the above methods, you can use one of the built-in troubleshooters to troubleshoot the Windows update service not running issue on your computer. It specifically deals with update issues and should be a good tool to fix the issue for you.
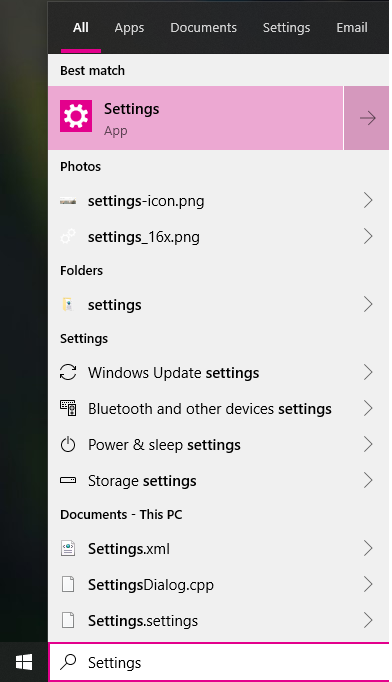
Step 1. Open the Settings app by searching for and clicking on it in the Start Menu search.
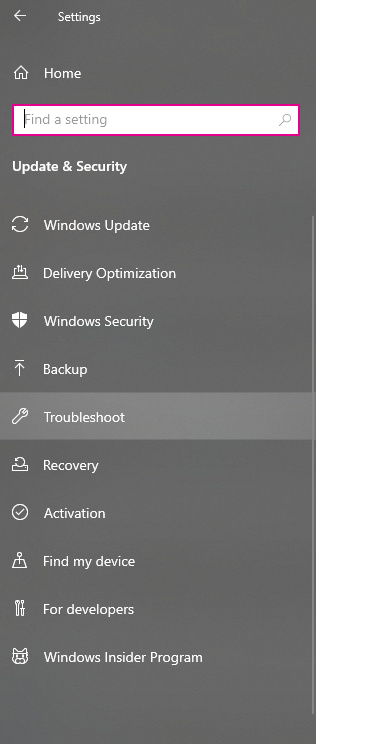
Step 2. Click on the Update & Security option on the following screen.

Step 3. Choose the Troubleshoot option from the left sidebar.
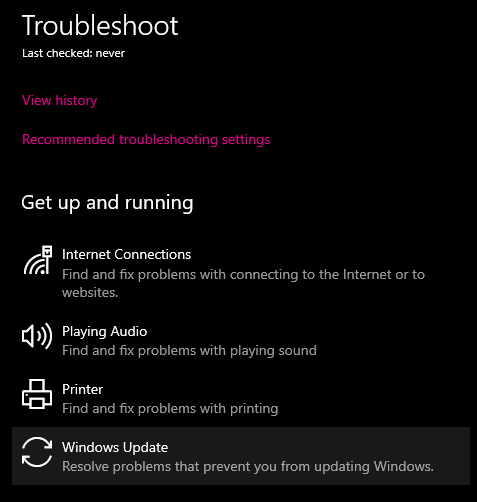
Step 4. Find Windows Update in the right-side, click on it, and then select Run the troubleshooter.
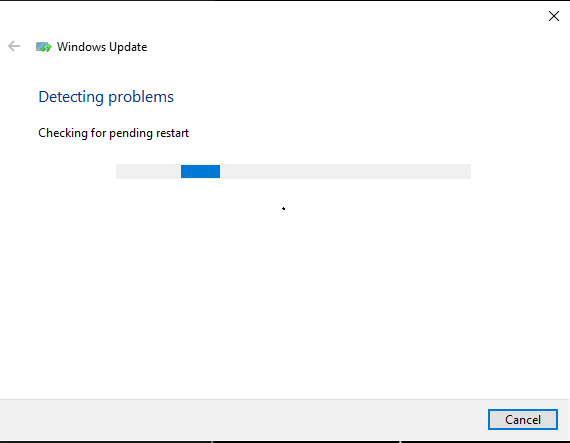
Step 5. Wait for troubleshooter to detect issues and let you fix them on your computer.
You’re all set.
The Windows update service not running issue can prevent you from installing any new updates on your computer. However, there are several ways to fix it on your machine and to let you install new updates without a hitch on your computer.