Just when you think that technology can not be any sophisticated, it does become sophisticated. If you are looking for an example, look for Windows 10. It is said to be a bundle of features, and it is in true sense. A simple function such as taking a screenshot has multiple options on Windows 10.
If you are busy with your work and looking for the most convenient option to snap it and send your screenshot away, we have got you covered.
What’s the Fastest Way to Take a Screenshot on Windows 10
Working on a PowerPoint presentation or need some images of your work to post it on other platforms, all you need is the quickest way to do so. Windows 10 has got a number of key combinations or as they call it key combos to capture your screen in an image. However, let us show you the simplest way to take a screenshot on Windows 10 using the PrtSc button.
Step 1. Keep your screen ready for a screenshot.
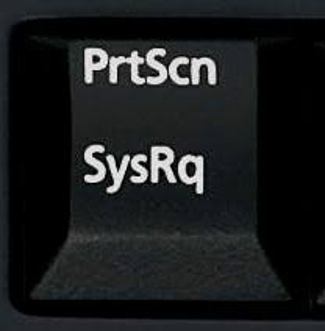
Step 2. Locate the print screen button. You will find it labelled as PrtScn or PrtSc on the keyboard. This key will be near the function keys or numeric keys on the keyboard.
Step 3. Press the button and the screenshot will be copied to the clipboard.
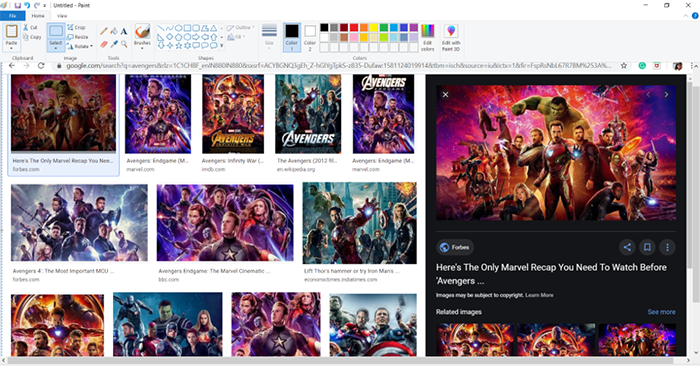
Step 4. Open the file wherein you want it to be pasted and press Ctrl + V or use the right click to paste it.
What are the Key Combos to Capture a Screen in an Image on Windows 10
Besides using the print screen option, there are a number of key combos that you can use to take a screenshot on Windows 10 such as Alt + PrtScn and Game Bar.
Below is a step-by-step guide to using each of these combos to capture your screen on Windows 10.
Alt + PrtScn
You can take a screenshot using the combination of two keys.
Step 1. Adjust the screen for getting it ready for a screenshot.
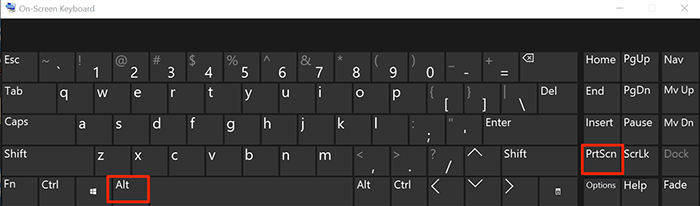
Step 2. Locate the two keys, Alt and PrtScn, on your keyboard. You will find the Alt key in the bottom part and PrtScn in the top bar of the keyboard.
Step 3. Press the keys together. Once this is done, the screenshot will be copied to the clipboard.
Step 4. Paste the screenshot in your document, presentation, paint, or wherever you want it.
Step 5. If you want to edit the image, you can use an image editor to paste it and make the required changes.
Game Bar
When you are playing a game and wish to capture the screen, you can press Windows key + G. Once these keys are pressed, an overlay will appear.

Step 1. Locate the exact screen that you want the screenshot for.
Step 2. For taking the screenshot using the Game Bar, you will need three keys – Windows, Alt, and PrtScn. Usually, you will find the Windows keys near the Alt key.
Step 3. Press Alt + Windows + PrtScn together.
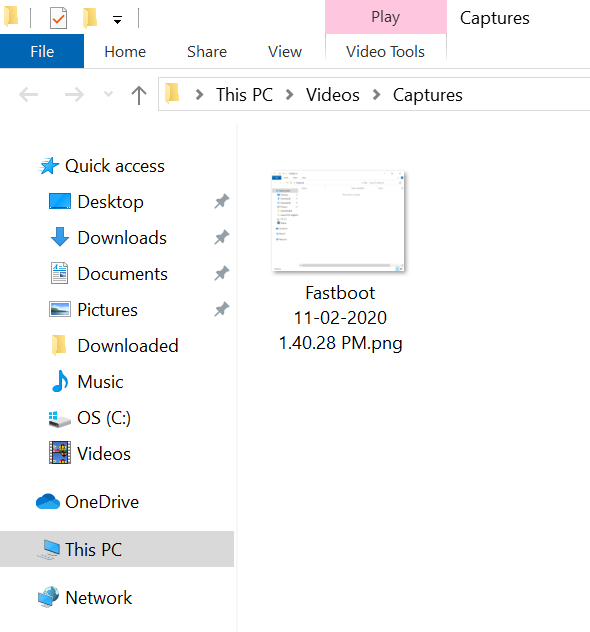
Step 4. Your screenshot will automatically be saved in the subfolder of Capture; under the Videos option.
What are the Apps you Can Use to Take a Screenshot on Windows 10
In order to help the Windows users with the ease to take a screenshot just at a tap, there have been many apps in the Windows Store. Below are some of the apps that can help you capture your screen.
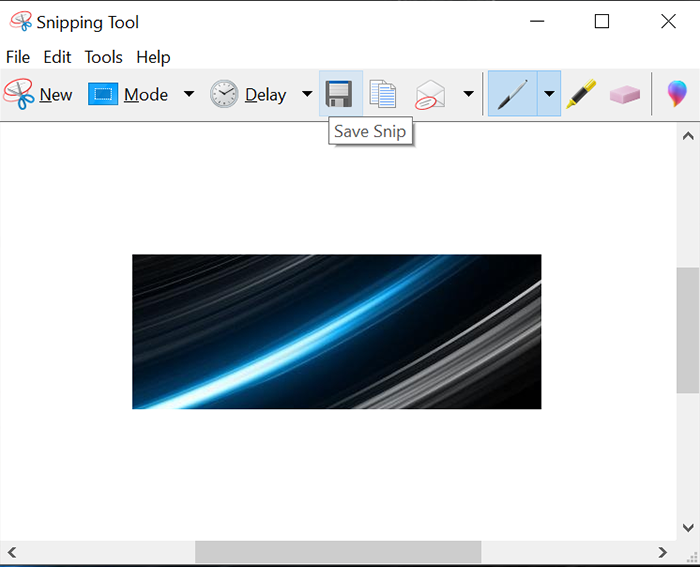
Snipping Tool
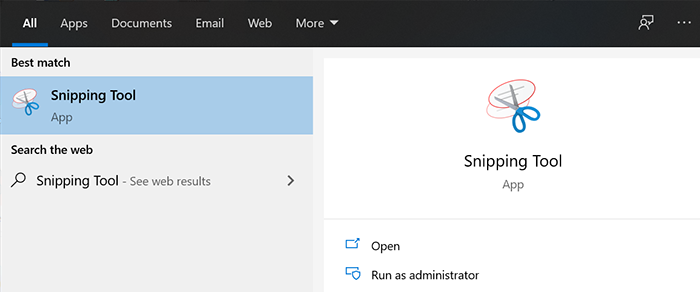
Step 1. Go to the Start button on the desktop and select the Snipping Tool app from the menu. If you are unable to see the option of the app, alternatively you can type in the search bar.
Step 2. Adjust your screen for capturing a screenshot.
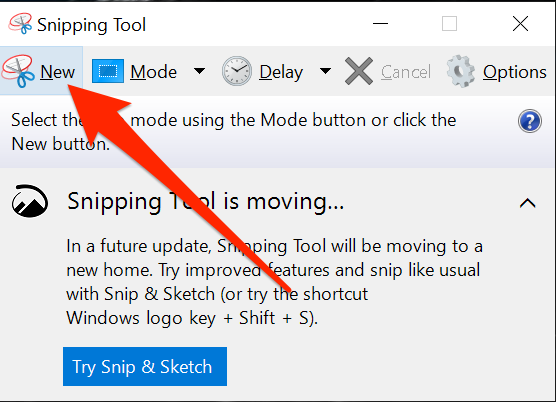
Step 3. Maximize the Snipping Tool app and select the option of New.
Step 4. You will find an overlay on the screen with the dialogue box of the snipping tool. Outline the area of the screen you require. Once done, press Ctrl + S to save your screenshot.
Step 5. By default, you will be able to capture a rectangular snip. However, there are many other types of features that you can use from – free-form snip and window snip.
Types of Snips
Three types of snips can help you capture a screen, in a customized manner.

- Rectangular Snip – you can capture a screenshot in a rectangular format.
- Free-form Snip – you can capture a screenshot of any shape and size.
- Window Snip – you can select a window for capturing.
Other Functions of the Snipping Tool
While the screenshot that you take using the PrtScn and the other key combos can only let you capture a screen, the Snipping Tool can help you edit the image and do a lot more. Below are the other functions of the Snipping Tool.
- Capturing a snip
- Annotating a snip
- Saving a snip
- Removing a URL
- Sharing a snip
- Enlarging a snip
- Printing a snip
Snip and Sketch
Step 1. Click on the Start menu and look for the Snip & Sketch app.
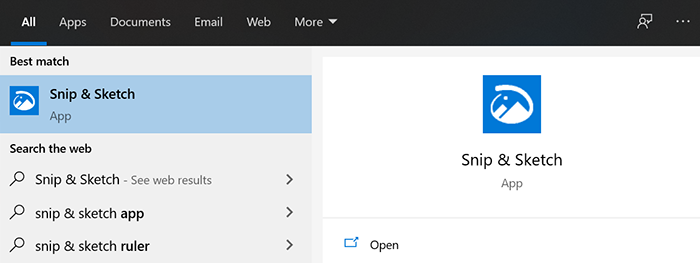
Step 2. If you are unable to find the Snip and Sketch app, you can use the search bar to find the app. Once you see the app, launch the app and go to the New option in the top-left corner.

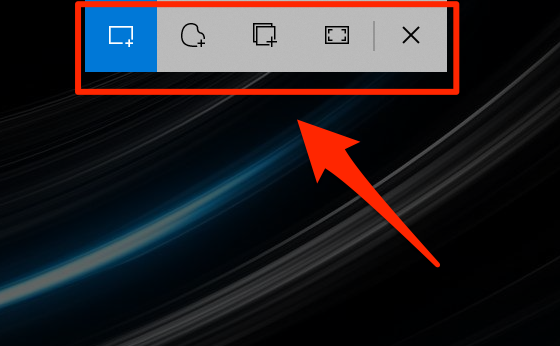
Step 3. Select the type of snip you want to capture from – rectangular snip, window snip, full-screen clip, or freeform clip.
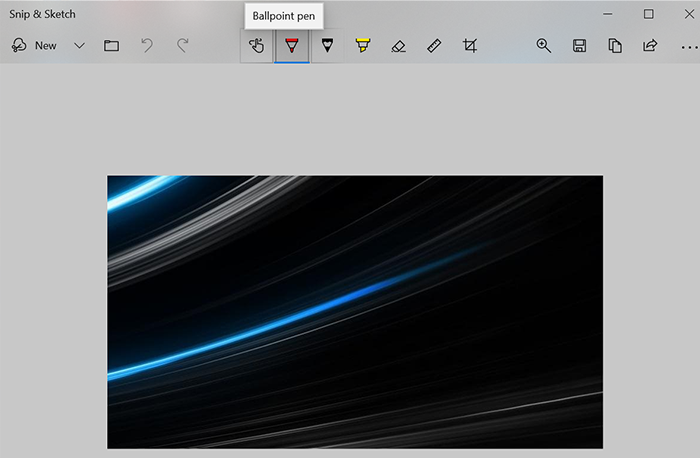
Step 4. Now save the snip to your desired location.
Step 5. If you want to edit the image, use the sketch option and then press Ctrl + S to save the image.
Quick Tip
You can directly launch the app using the keyboard shortcut Windows + Shift + S to avoid going a long way.
Features of Snip and Sketch App
Besides the usual features of Snipping and Sketching, the app also provides options such as:
- Adding a border to the screenshot
- Enable printing from the app
- Saving images as JPG and GIF
- Inclusion of timestamp along with the filename
Conclusion
As we have seen in the above sections, there are a number of ways to take a screenshot on Windows 10. If you require the screenshot of the entire screen, using a screenshot capturing app will only add up to the hassles.
In such a case, it is advisable to use the keyword shortcuts. However, if you need some edits, then Snipping Tool, and the latest in the cohort, Snip and Sketch app, can help you capture the required screen.