If you’ve ever performed any kind of media conversions tasks on your Windows computer, you might have noticed that either you need to go through dozens of screen to finish the task or install third-party apps for doing your task. That’s until you install FFmpeg on your Windows 10 computer. It’s a great command-line utility that lets you easily convert your media files from one format to another.
What is FFmpeg for Windows 10
FFmpeg is actually a Windows executable file that you download and save to your computer. However, to use the utility, you need to take the help of either Command Prompt or PowerShell on your Windows 10 computer. You can issue commands from either of these tools and FFmpeg will follow them and perform the conversions as you wish.
How to Download and Install FFmpeg on Windows 10
Since it’s a command-line utility, you don’t actually need to go through the installing FFmpeg procedure on your computer. It requires no installation and all you basically need to do is put in a folder on your computer, add a path for it to your machine, and you can call it from anywhere in your Command Prompt window.
Step 1. Open a browser on your computer and head over to the FFmpeg website. Once you’re there, click on the Download button and download the Windows version of the tool to your computer.
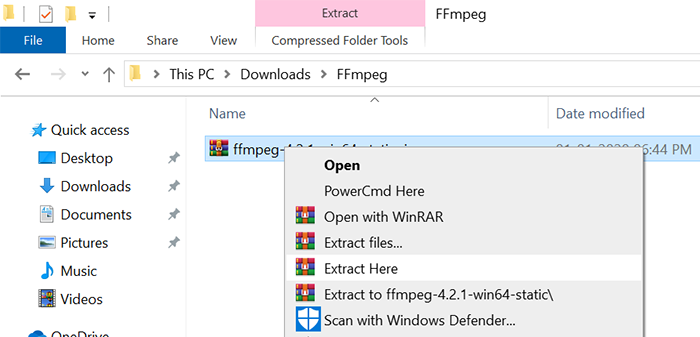
Step 2. It’ll be downloaded as a ZIP archive on your computer. You need to extract the contents of the archive by right-clicking on it and selecting the Extract Here option. The decompressed folder will become available in the same directory.
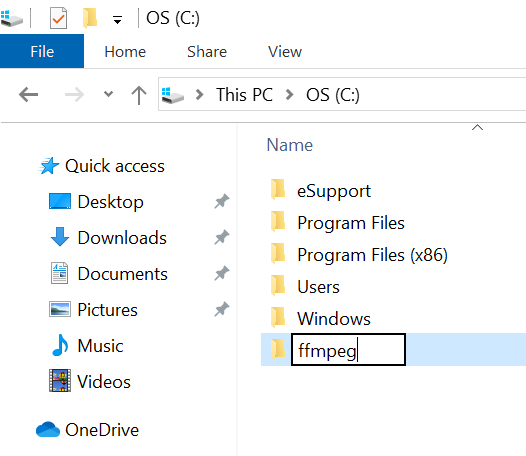
Step 3. You’ll want to put the newly extracted FFmpeg folder into the root directory of your C drive. It’s because sometimes while cleaning up the Downloads folder, you may accidentally end-up deleting this program on your machine.
Step 4. When the folder is copied over to the root folder of the C drive, right-click on the folder, select Rename, and enter ffmpeg as the new name. It’ll make it easier for you to add its path for command-line usage.
The FFmpeg tool has been successfully installed on your Windows 10 computer. What you now need to do is add its path to a system utility so it can be used from your Command Prompt windows.
Adding the FFmpeg Path to Windows 10
If you don’t add the path, you’ll need to refer to the ffmpeg folder’s full path each time you want to use it from your Command Prompt or PowerShell windows. But once you’ve added the path, you then only need to enter the name of the utility, which is ffmpeg, and that should do the job for you.
It’s pretty easy to add paths on a Windows 10 computer.
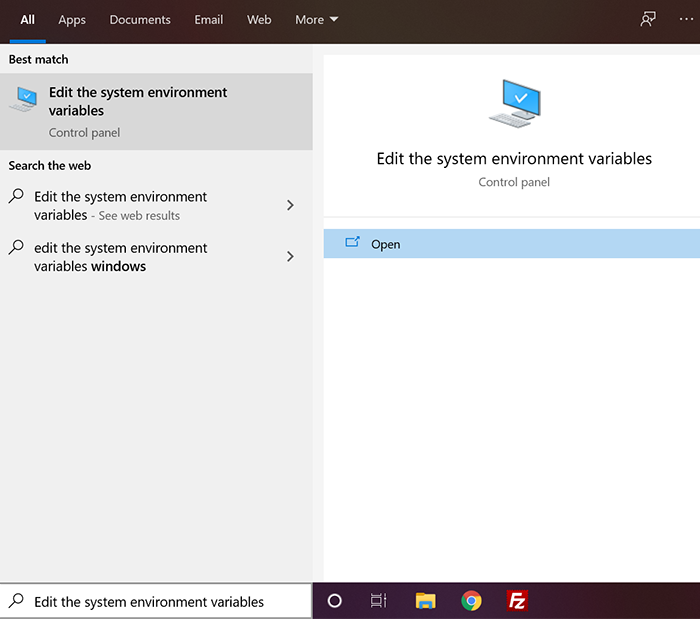
Step 1. Launch the Cortana search box, search for Edit the system environment variables, and click on it when you see it in the search results.
Step 2. A dialog box will open with various options in it. You want to make sure you’re in the Advanced tab. Then, find the button that says Environment Variables and click on it.

Step 3. On the following screen, under the variables for your username, select the variable that says Path and click on the Edit button. It’ll let you add a new path to the list.

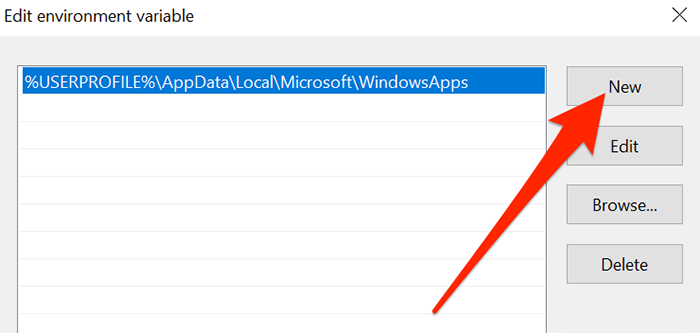
Step 4. A new box will open on your screen. Click on the button that says New in the right-sidebar to add a new path to the list.
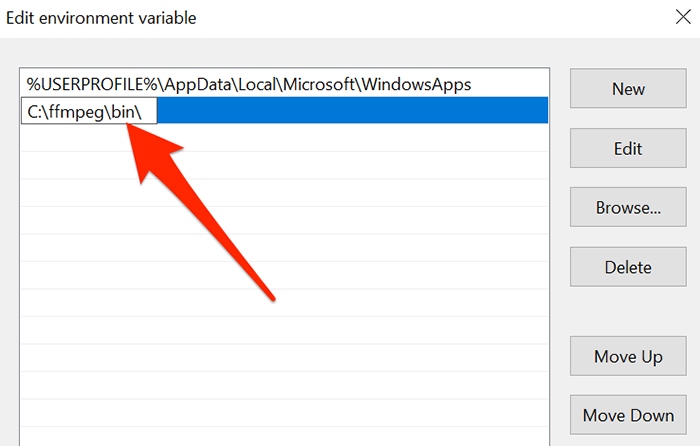
Step 5. Type in the following path and hit Enter on your keyboard. Then, click on OK at the bottom to save the changes.
C:\ffmpeg\bin\
The path for FFmpeg has now been added to your computer.
Verify the Installation of FFmpeg on Windows 10
Although the path was successfully added to your computer, you’ll want to ensure the utility was successfully installed on your machine. One of the ways to verify that is to run a command from the Command Prompt utility.
If everything goes well, you’ll see a confirmation on your screen that FFmpeg indeed works on your system.
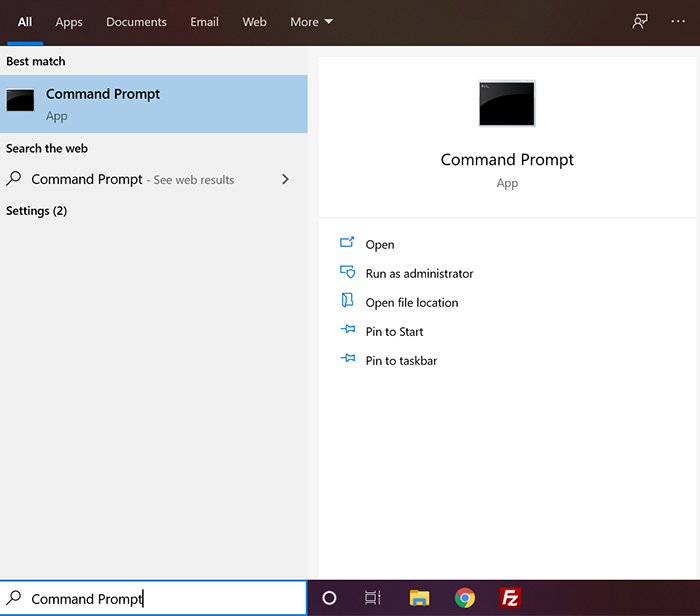
Step 1. Search for Command Prompt using the Cortana search box and click on it when it appears in the search results.
Step 2. When it opens, type in the following command and hit Enter. It invokes the FFmpeg utility on your computer.
ffmpeg
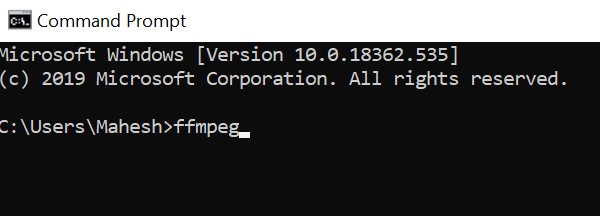
Step 3. You’ll see something like the following if the utility was properly installed on your computer.
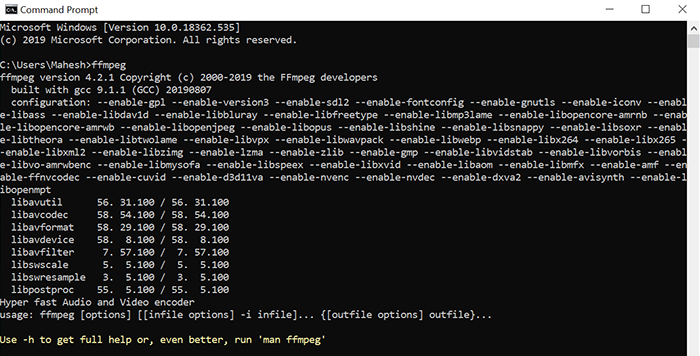
You can now start using FFmpeg on your Windows 10 computer to perform various types of media conversion tasks.