Have you ever run into the issue that shows WiFi authentication errors when you try to connect to a WiFi network? Well, if you’ve been using a wireless connection for quite some time, you’ve likely run into that or similar issues. Today we show you how to fix those issues on your Windows 10 computer.
WiFi authentication errors are quite common and they could be caused due to various reasons. Maybe your drivers aren’t properly installed. Or maybe your PC is trying to save the power by turning off your network adapter.
Whatever the reason is, the following methods should help you get rid of the authentication errors for your WiFi network.
Reconnect to the Network to Fix WiFi Authentication Errors
The easiest, quickest, and the most basic solution is to disconnect from your WiFi and then reconnect to it. This helps resolve many of the minor issues related to your network and the great thing is that it works. It’s worked for many users and it should work for you, too.
You can get the task done from the Settings app on your Windows 10 computer.
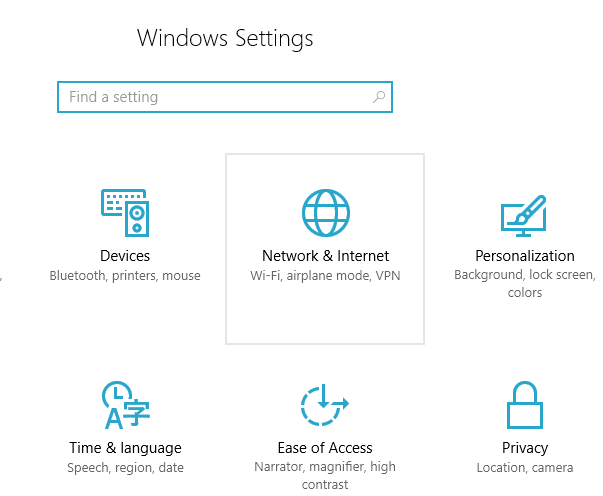
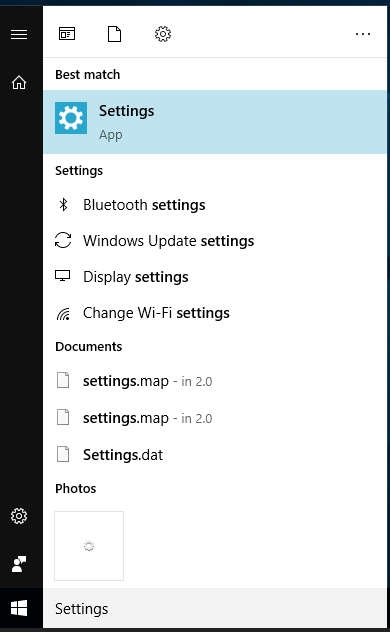
Step 1. Search for Settings using the Start Menu search and open the app when you find it.

Step 2. On the following screen, find and click on the option that says Network & Internet. It’ll let you manage your WiFi network settings.
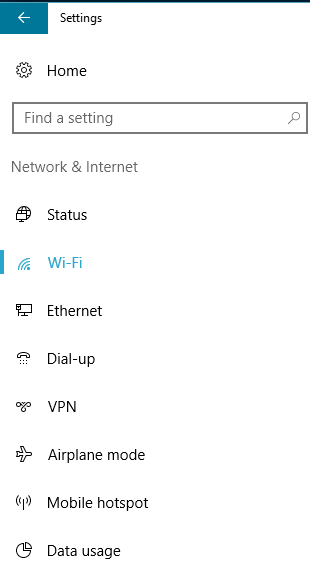
Step 3. On the next screen, find the option that says Wi-Fi in the left sidebar and click on it to open it.
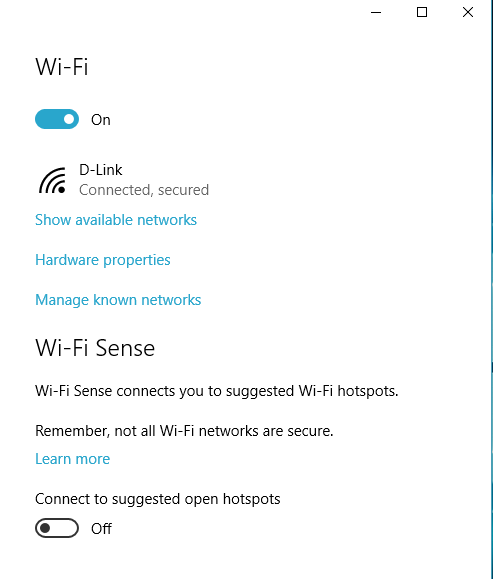
Step 4. You’ll see several options on the right-hand side pane letting you manage your network settings. Find the option that says Manage known networks and click on it.
Step 5. Choose your WiFi network on the following screen by clicking on it. Then, click on the button that says Forget to forget your network.
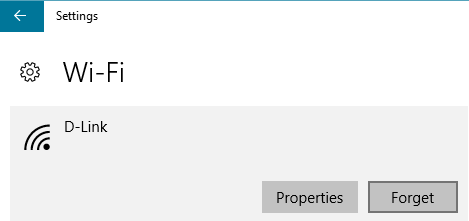
Step 6. Once you have forgotten your network on your PC, reconnect to it as you would normally.
You should no longer have any authentication errors for your WiFi network on your computer.
Resolve WiFi Authentication Errors by Reinstalling the Network Drivers
Your network adapter drivers define how your physical adapter should work with your computer. If these drivers are outdated or are simply not properly working, it can cause various WiFi issues including authentication errors on your computer.
A simple way to get around the issue is to reinstall these drivers on your computer. It can be done as follows.
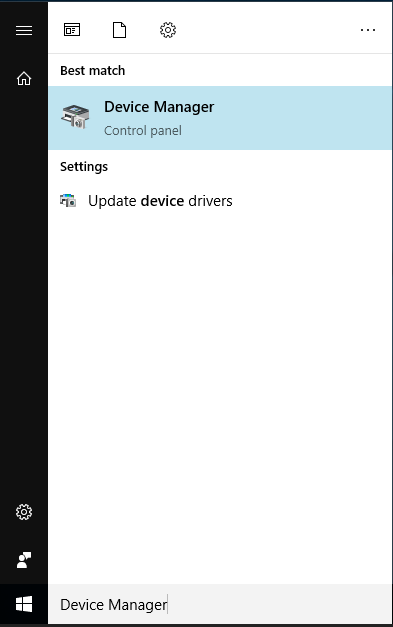
Step 1. Use the Start Menu search to search for and open Device Manager. That’s where you can find drivers for all of your devices.
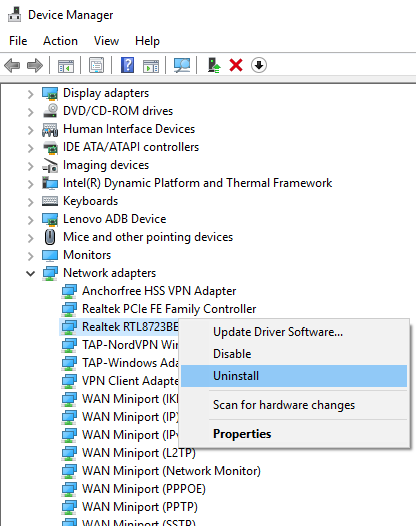
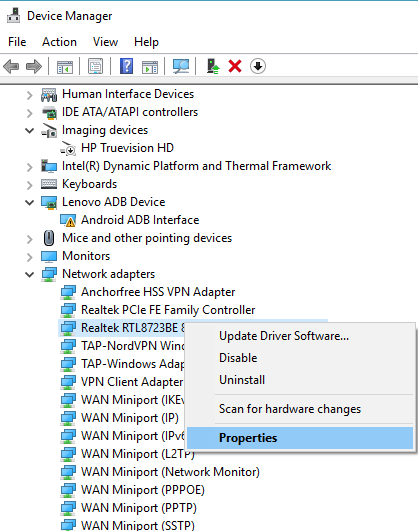
Step 2. Click on the Network adapters option to expand the entry. Then, find your adapter from the list, right-click on it, and select Uninstall device.
Step 3. Once the device is uninstalled from your computer, close the Device Manager utility.
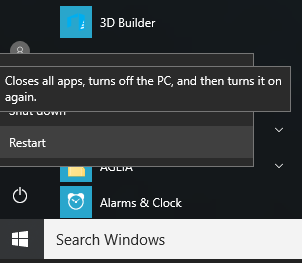
Step 4. Open the Start Menu, click on the power icon, and select Restart. It’ll reboot your computer.
Step 5. When your computer boots back up, it’ll automatically find and install the required drivers for your network adapter.
That should definitely help you fix the WiFi authentication issues on your machine.
Disable Power Management for Your Network Adapter
Power management is one of the really useful features on Windows machines as it lets you save power by turning off unnecessary services on your computer. Sometimes, though, it ends-up suspending the WiFi service that results in various WiFi errors on your computer.
To fix it, all you basically need to do is disable the power management feature for your network adapter. Your adapter will then no longer be turned off to save battery.
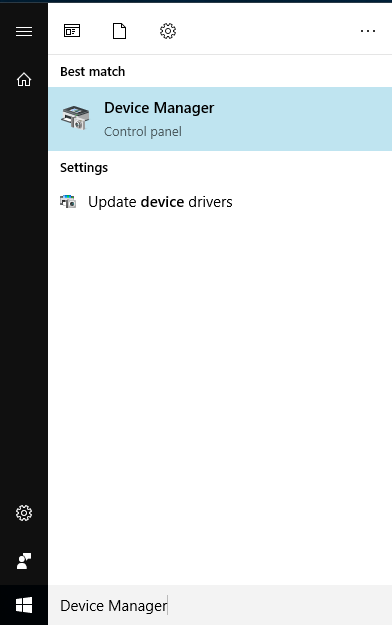
Step 1. Launch the Device Manager utility on your computer by searching for and clicking on it in the Start Menu search.
Step 2. Look for the entry that says Network adapters and click on it to expand the view. Then, find your adapter in the list, right-click on it, and select Properties.
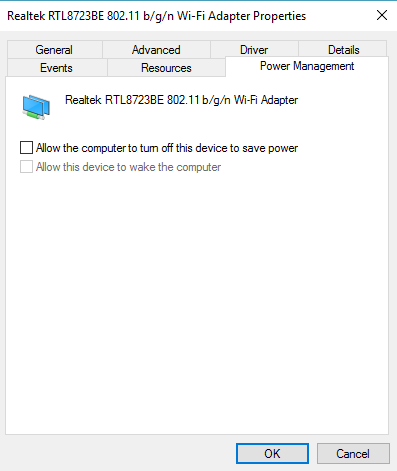
Step 3. A box will open on your screen. Click on the tab that says Power Management to open the power settings for your adapter.
Step 4. You’ll find a checkbox saying Allow the computer to turn off this device to save power. Untick the box and click on OK at the bottom.
Your network adapter will now continue to run and won’t be turned off for power saving.
Reset Network Settings to Fix WiFi Authentication Issues
Network settings is an essential part of your WiFi network as it gives direction to your adapter as to how to connect to various services. If there are any issues with this configuration, it can prevent you from connecting to your own WiFi network.
If you aren’t sure about the network settings of your machine, you can always reset them to the factory defaults. It should fix the issue in most cases.
Step 1. Launch the Settings app using your preferred way.

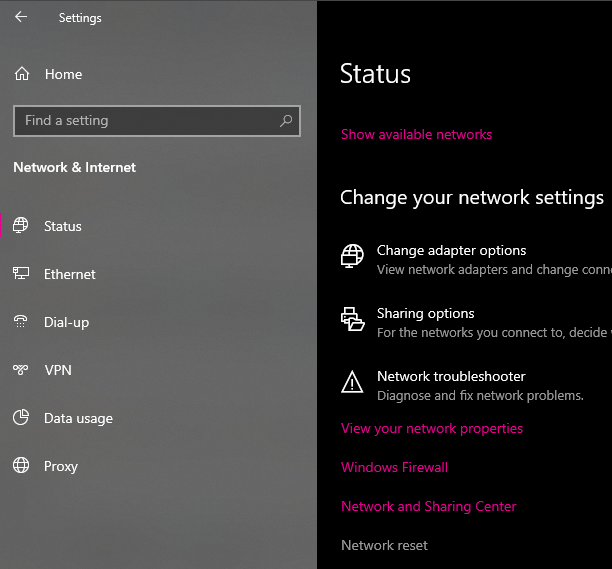
Step 2. Click on the option that says Network & Internet.

Step 3. Click on Status in the left sidebar. Scroll down on the right-hand side menu and select the option that says Network reset. It should be the last option on the screen.
Step 4. Click on Reset now to start resetting your network settings.
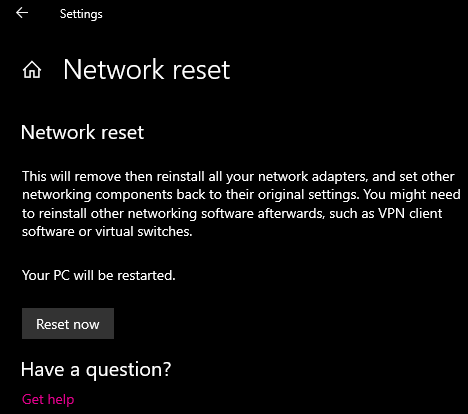
When the settings are all reset, try connecting to your WiFi network and you should find it no longer causes any problems.
Use Network Troubleshooter to Fix WiFi Issues
Windows 10 comes with a network troubleshooter to help you find and fix issues automatically on your computer. You can use it to fix your WiFi issue if you can’t find a way for yourself.
Step 1. Open the Settings app as you would normally.
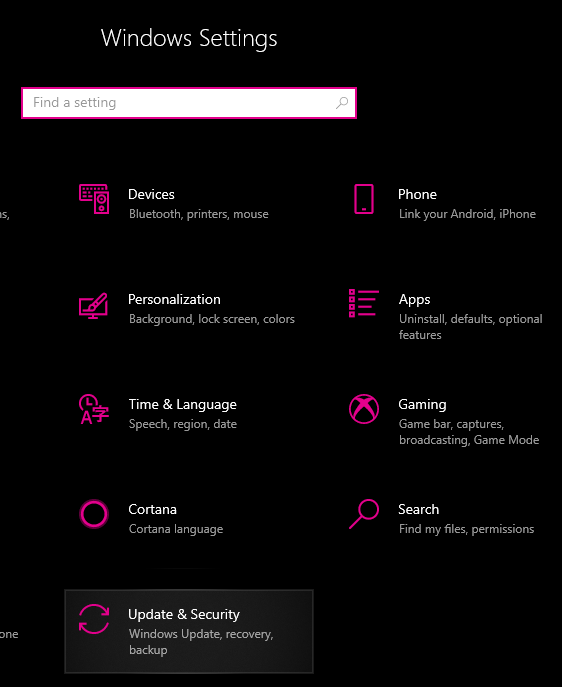
Step 2. Click on Update & Security.
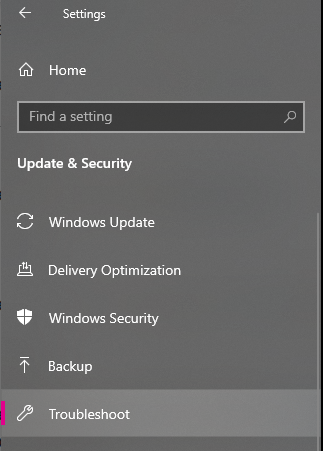
Step 3. Select Troubleshoot from the left sidebar.
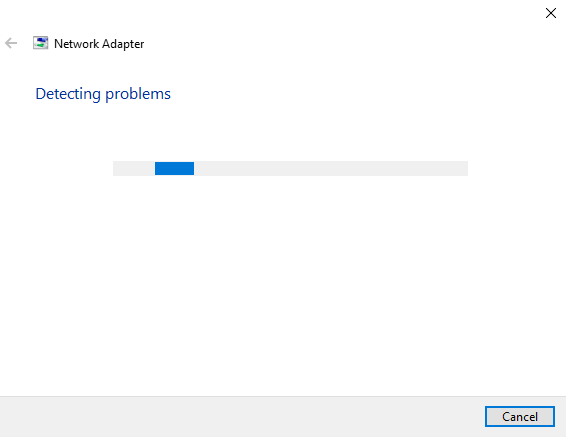
Step 4. Click on Network Adapter on the right-hand side and choose Run the troubleshooter.
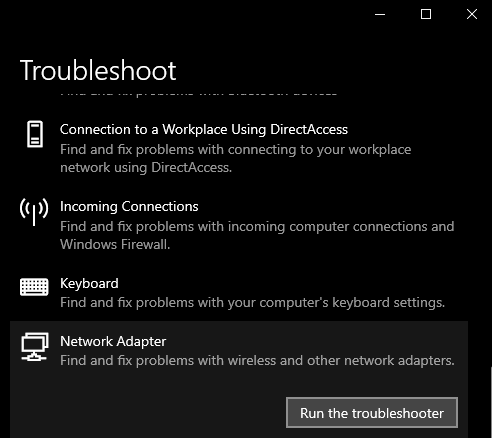
Step 5. Let it find and fix the issue for you.
Not being able to connect to your WiFi due to authentication errors can cause interferences in your work as these days you really can’t work on anything unless you have an active Internet. We hope the above guide helps you fix the issue and lets you connect to the world wide web.