The antimalware service executable file draining up your CPU resources could be the result of various things. When it occurs, you’ll notice a significant slowdown in all other processes on your computer as it’s busy handling the high CPU usage of the aforementioned item.
If you’re facing the issue on your Windows 10 computer and haven’t been able to figure it out yet, this guide will help you out.
The antimalware service executable is actually related to the Windows Defender utility on your computer. The file looks for malware on your computer and helps you get rid of them from your machine. The malfunction of the item can be fixed by applying the following fixes.
Change the Windows Defender Scan Privilege
The first thing you can do to fix the antimalware service executable high CPU usage is to reduce the priority of Windows Defender scan. When you do that, your computer won’t give it the utmost priority hence decreasing its load on your CPU.
It’s actually pretty easy to change the priority of that file for Windows Defender and the following shows how you go about doing it on your computer.
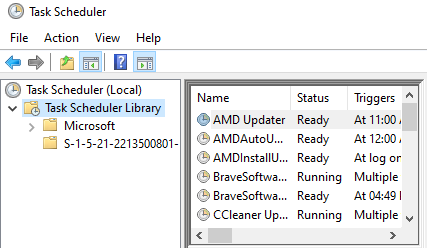
Step 1. Use the Start Menu to search for and open the Task Scheduler utility.

Step 2. When it opens, click on the item that says Task Scheduler Library in the left sidebar to expand it.
Step 3. Head to the following path by expanding and selecting appropriate items in the left sidebar.
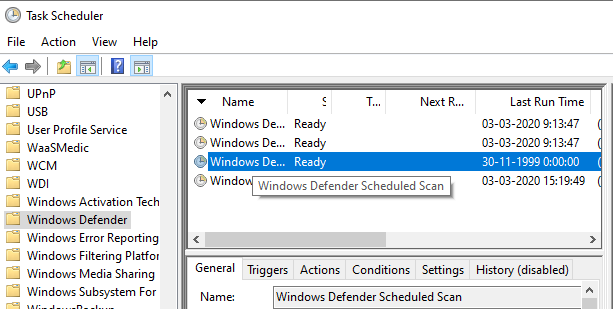
Task Scheduler Library > Microsoft > Windows > Windows Defender
Step 4. On the right-hand side, you’ll find various entries for Windows Defender. Double-click on the one that says Windows Defender Scheduled Scan and it’ll open.
Step 5. The following screen has an option that says Run with highest privileges. Untick the box to disable the option and then click on OK at the bottom.
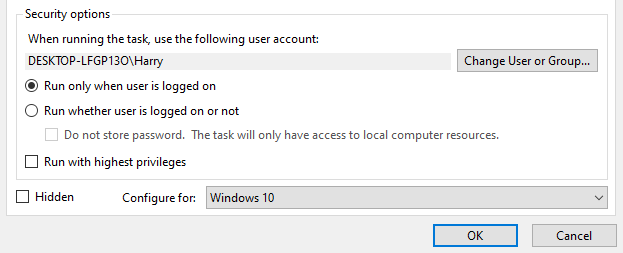
Since Windows Defender Scheduled Scan will no longer have the highest priority, it won’t be able to eat up all of your CPU resources.
Include Antimalware Service Executable in Windows Defender’s Exclusion List
The other way to fix the issue is to add the aforementioned service to the Windows Defender exclusion list. This means the service won’t be checked for any virus or malware by Defender and hence reducing the CPU usage.
You can do it using the Settings app on your Windows 10 computer.
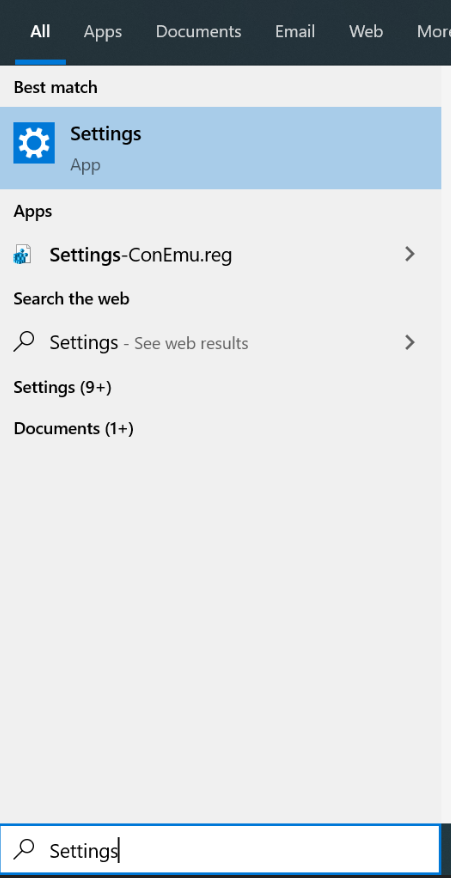
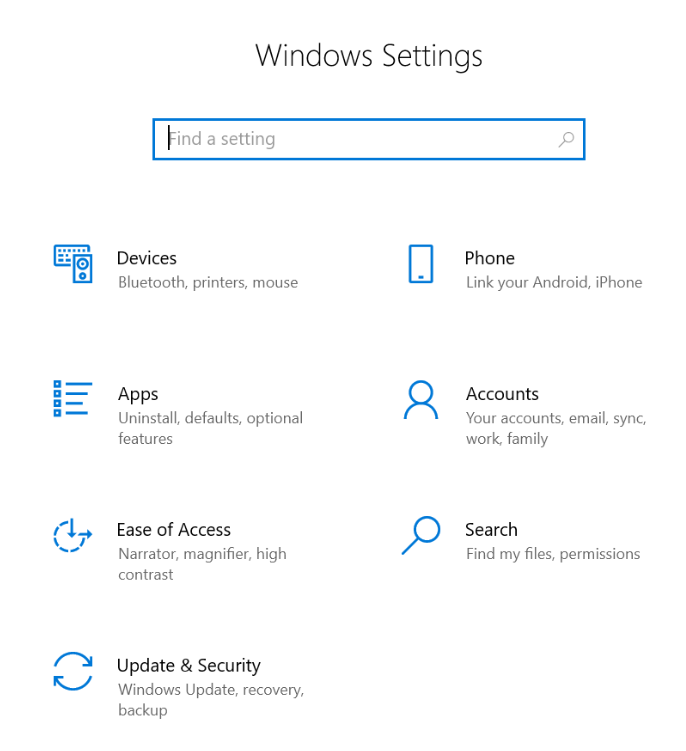
Step 1. Press the Windows key to open the Start Menu, search for Settings, and click on it to open it.
Step 2. On the following screen, you’ll find various settings options. Find the one that says Update & Security and click on it to open it.
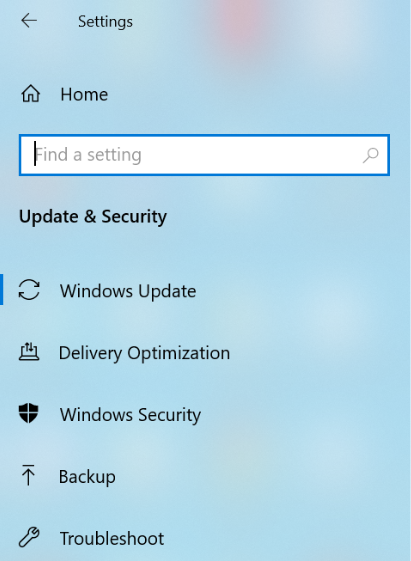
Step 3. Select Windows Security from the left sidebar on the following screen.
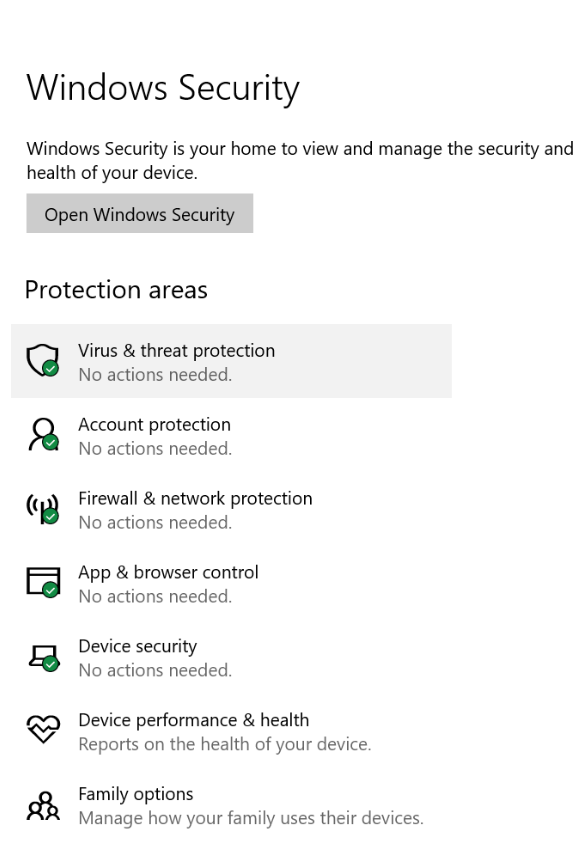
Step 4. Click on Virus & threat protection on the right-hand side menu to access the option you’re looking for.
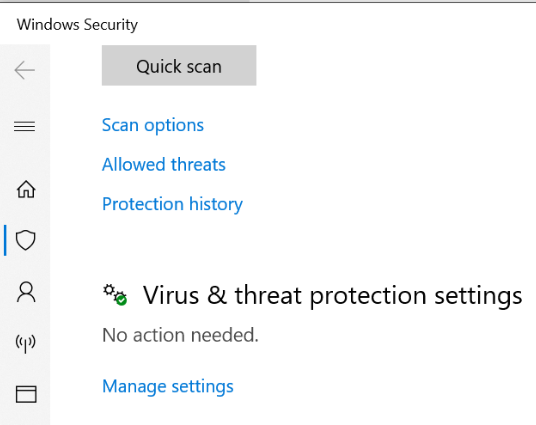
Step 5. Scroll down on the following screen and click on Manage settings under the Virus & threat protection settings heading.
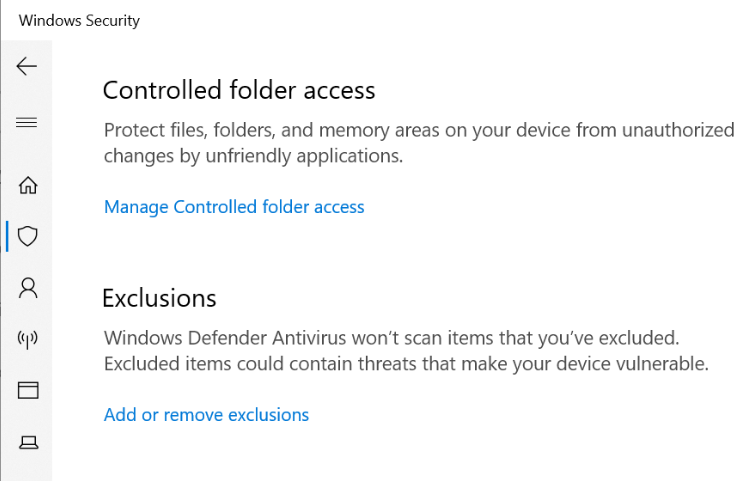
Step 6. Scroll down until you see the Exclusions option on the following screen. Find the option that says Add or remove exclusions and click on it.
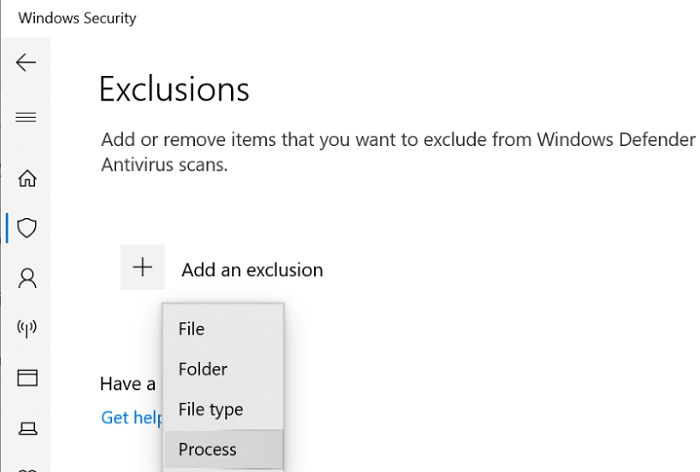
Step 7. Click on Add an exclusion and choose Process.
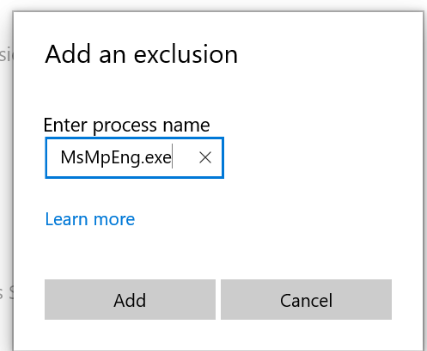
Step 8. Enter the following into the Enter process name box and click on Add.
MsMpEng.exe
You’re all set. Windows Defender should now exclude the high CPU file from being scanned helping you fix your issue.
Check and Fix Corrupt Files and Drives on your Computer
While chances are very rare that corrupt files can cause high CPU usage by the antimalware service executable on your computer, it’s worth checking it to see if your machine has any corrupt files and get them fixed.
Windows has a really great utility that automatically checks and scans any corrupt files on your computer. You can access it from a Command Prompt window as the following shows.
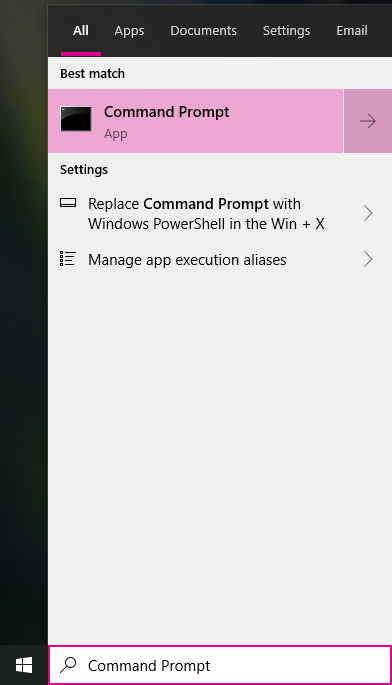
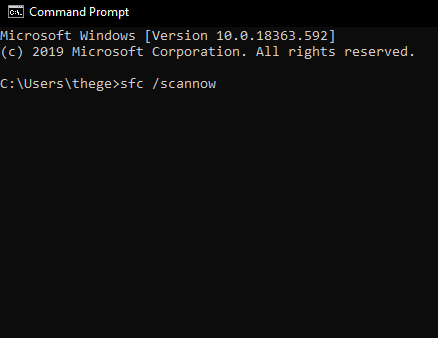
Step 1. Search for Command Prompt from the Start Menu and open it.
Step 2. Type in the following command and hit Enter.
sfc /scannnow
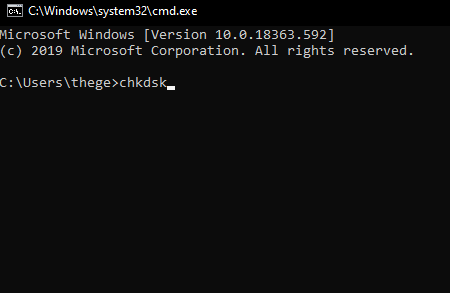
Step 3. When the files are checked and fixed, run the following command to check your drives for any issues.
chkdsk
The above should fix any corrupt files and drives on your machine.
Disable Windows Defender on your Computer
While the above methods should have fixed the issue for you, in case you’re still facing the issue, your last option should be turn off the Windows Defender completely.
It can be done using a registry edit as the following shows.
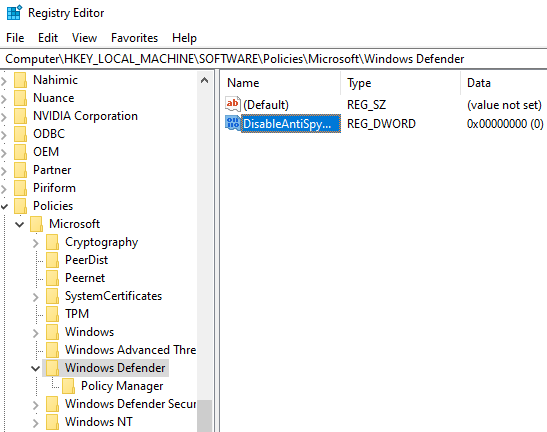
Step 1. Press the Windows + R keys at the same time, type in regedit, and hit Enter.

Step 2. Access the following path in the registry editor.
HKEY_LOCAL_MACHINE\SOFTWARE\Policies\Microsoft\Windows Defender
Step 3. Find the entry named DisableAntiSpyware on the right-hand side and double-click on it to open it.
Step 4. Enter 1 in the Value data box and click on OK.
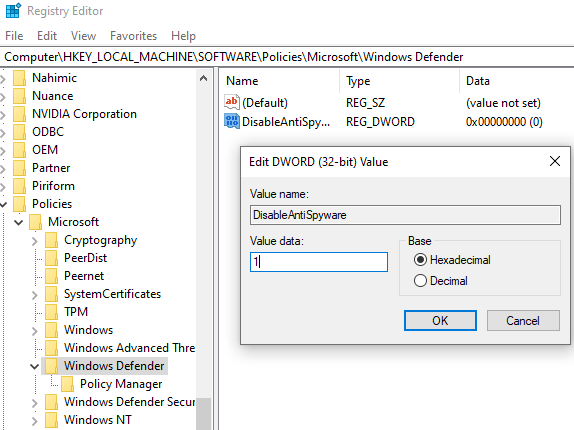
Windows Defender should now be turned off and so it should fix all your antimalware service executable issues on your computer.