![]()
- To update PowerShell using a graphical method, open the Start menu, find Microsoft Store, launch it, find Powershell, and click Update.
- To update the tool using the command line, open the Start menu, find Command Prompt, select Run as administrator, choose Yes in the prompt, type the winget install –id Microsoft.Powershell –source winget command, and press Enter.
Just like any other Windows application, Windows PowerShell receives regular updates. These updates can introduce new features or resolve known issues with your current version. As such, if you’re a frequent PowerShell user who wants to experience its latest features, update PowerShell on your Windows 11 PC using any of the below methods.
Update PowerShell Using the winget Command
The fastest way to update PowerShell on Windows 11 is by running the winget command in Command Prompt. Windows Package Manager, aka winget, lets you download and install programs directly from command-line tools, saving you the hassle of traditional installation processes.
Microsoft Learn describes this tool as:
The winget command line tool enables users to discover, install, upgrade, remove and configure applications on Windows 10 and Windows 11 computers. This tool is the client interface to the Windows Package Manager service.
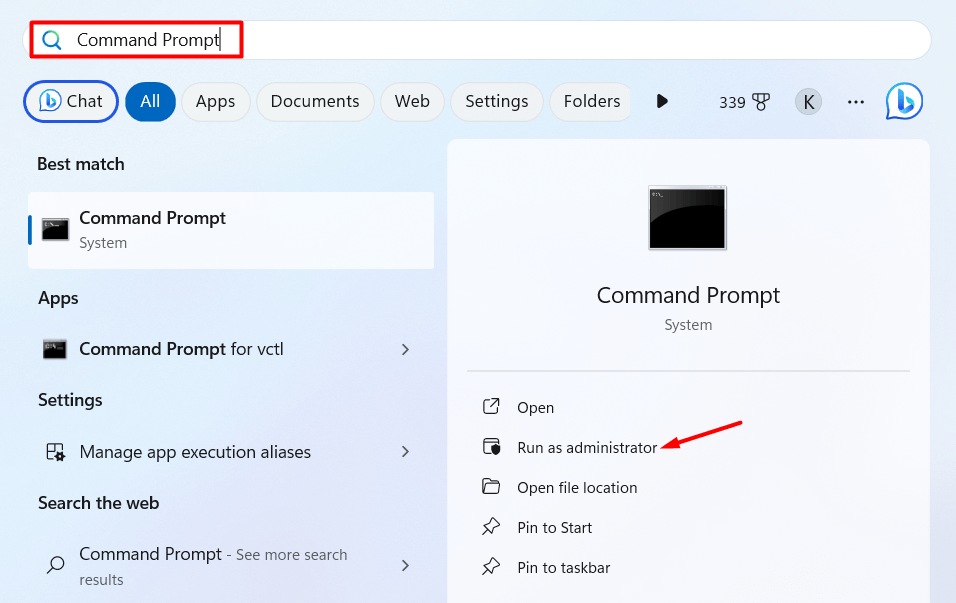
To use this method, open the Start menu, type Command Prompt in the search bar, and choose Run as administrator. Click Yes to the User Account Control prompt that crops up.
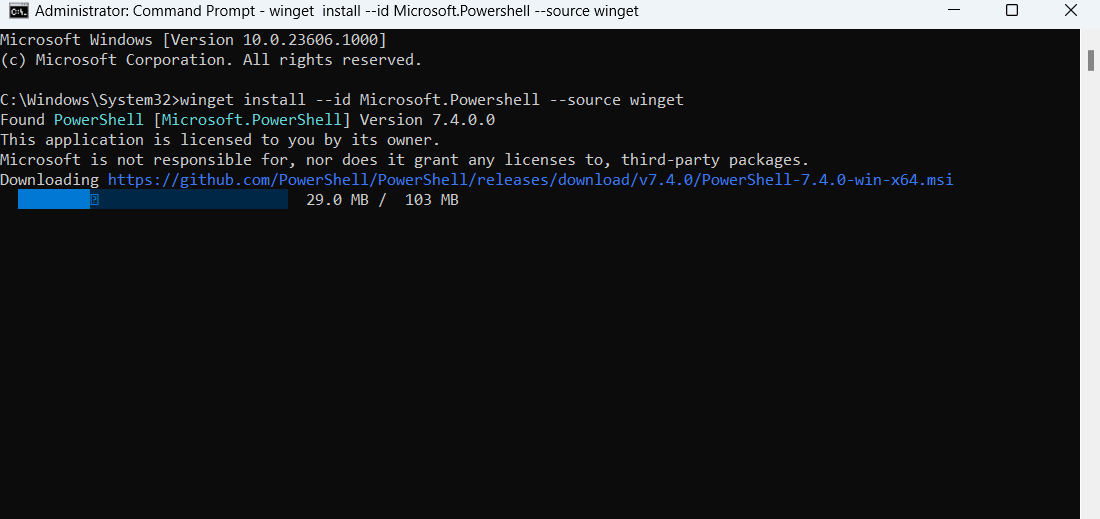
Type the following command in the console and hit Enter. It’ll download and install the latest stable version of PowerShell from the Microsoft GitHub repository.
winget install --id Microsoft.Powershell --source winget
However, if you want to try out features still in the testing phase, you can download the PowerShell beta version. To do this, execute the following command in the elevated Command Prompt window.
Note: The beta versions are often buggy and should only be used to try out new features.
winget install --id Microsoft.Powershell.Preview --source winget
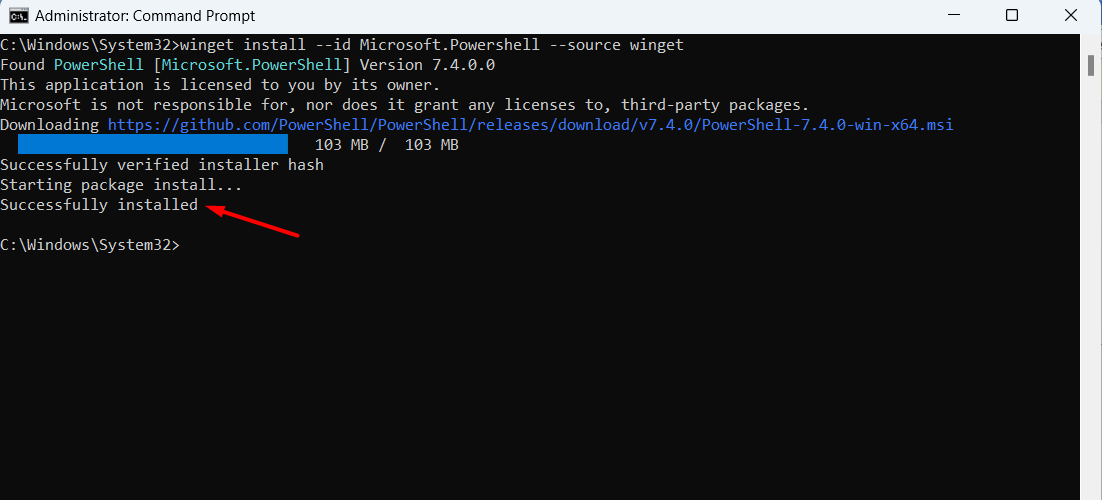
After the command is executed, you will see the Successfully installed message. Restart your computer, and you’ll have the latest PowerShell version installed.
Update PowerShell From the Microsoft Store
The Microsoft Store is the go-to place to download and update UWP (Universal Windows Platform) apps installed on your Windows computer. Here’s how to update PowerShell using it.
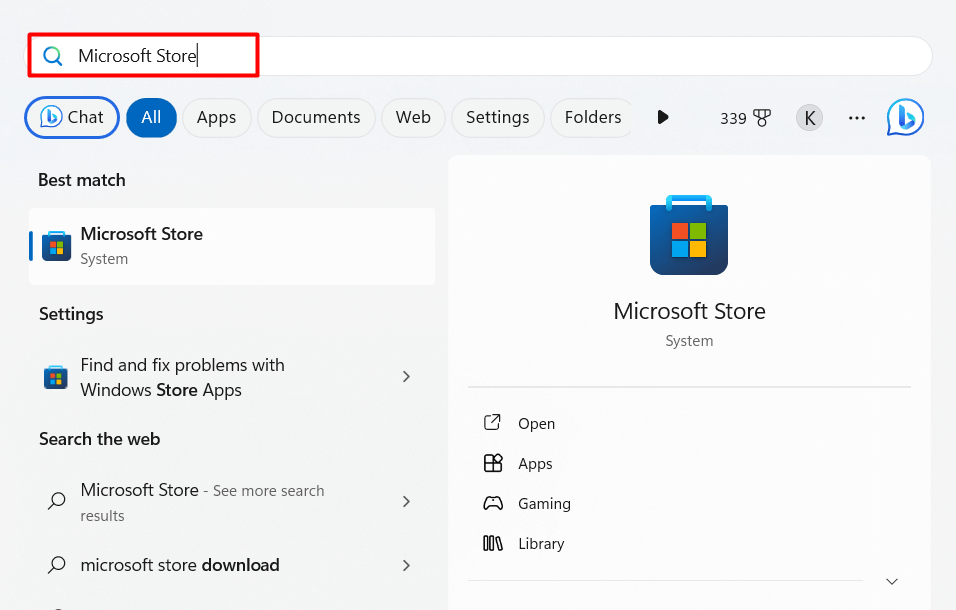
Open the Start menu, type Microsoft Store in the search bar, and press Enter.
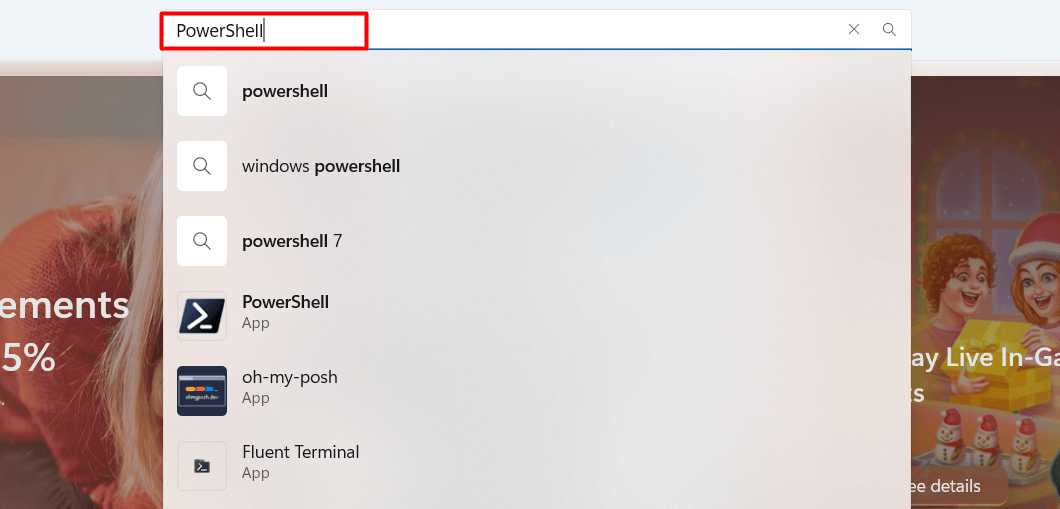
In the Microsoft Store search bar, type PowerShell and hit Enter.
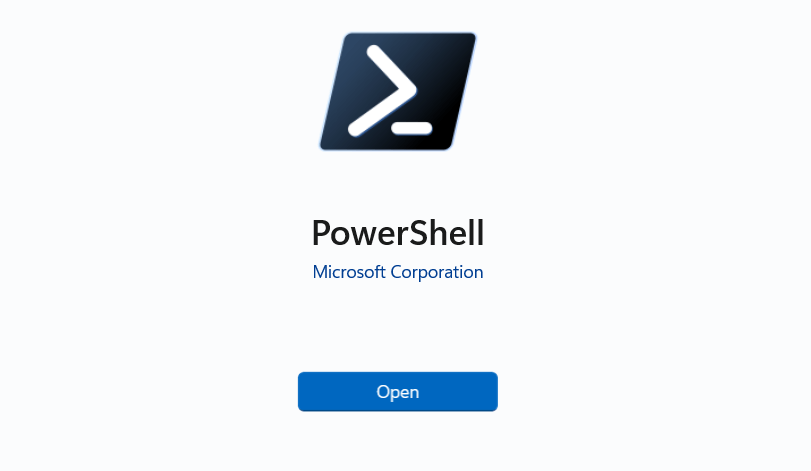
You’ll see an Update button next to PowerShell if an update is available. Click it to start the update process.
Note: You don’t see the Update button in the following screenshot because we’re running the updated version of the tool on our PC.
 Once the update is complete, you can close the Microsoft Store and start using the newest version of Windows PowerShell.
Update PowerShell From the PowerShell GitHub Repository
You can download the latest version of PowerShell from the PowerShell GitHub Repository as well.
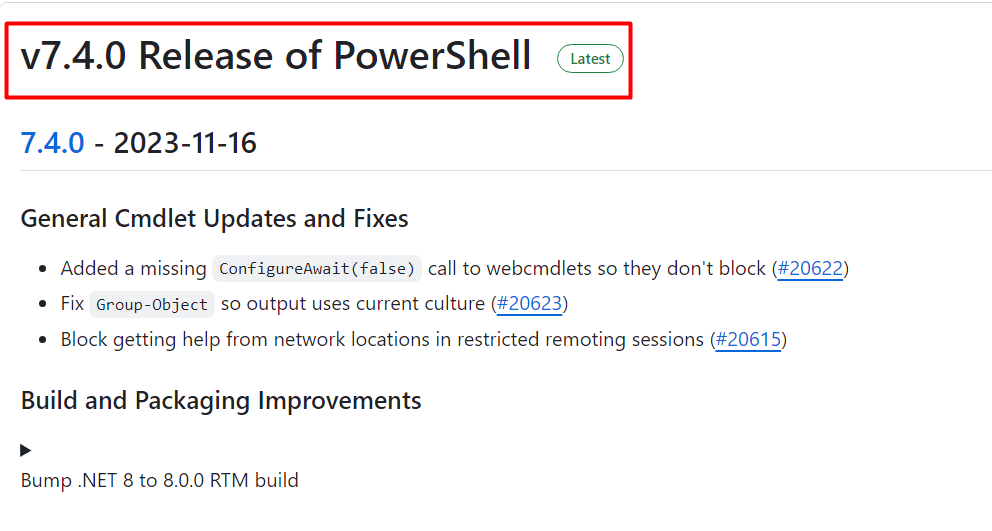
To do this, open the GitHub PowerShell page and choose the latest version of PowerShell.
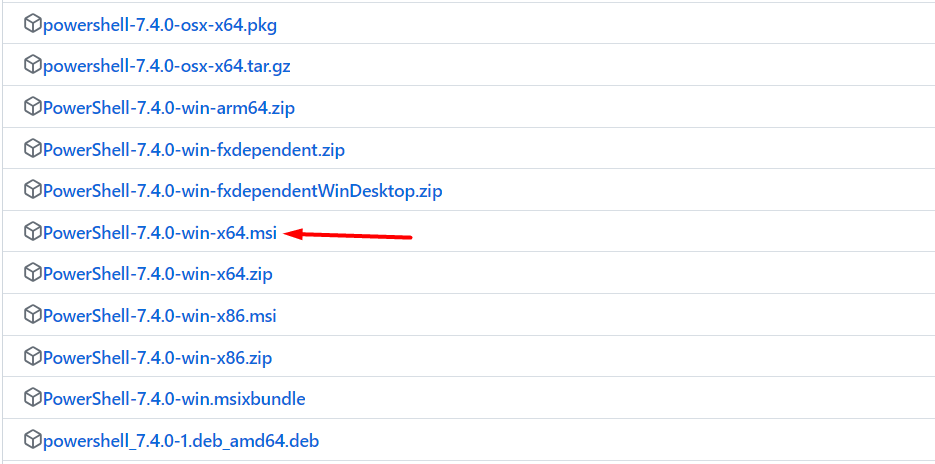
Click on Assets to see its drop-down menu.
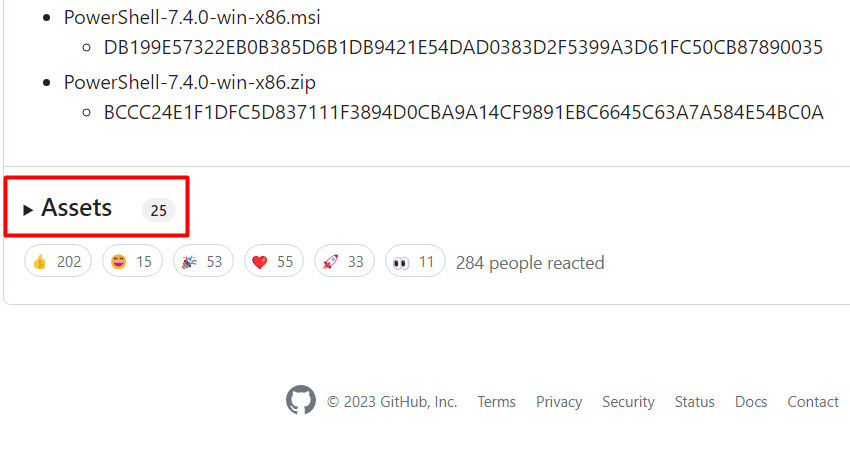
Click the Windows version of PowerShell to start downloading it. At the time of writing, it’s PowerShell-7.4.0-win-x64.msi.
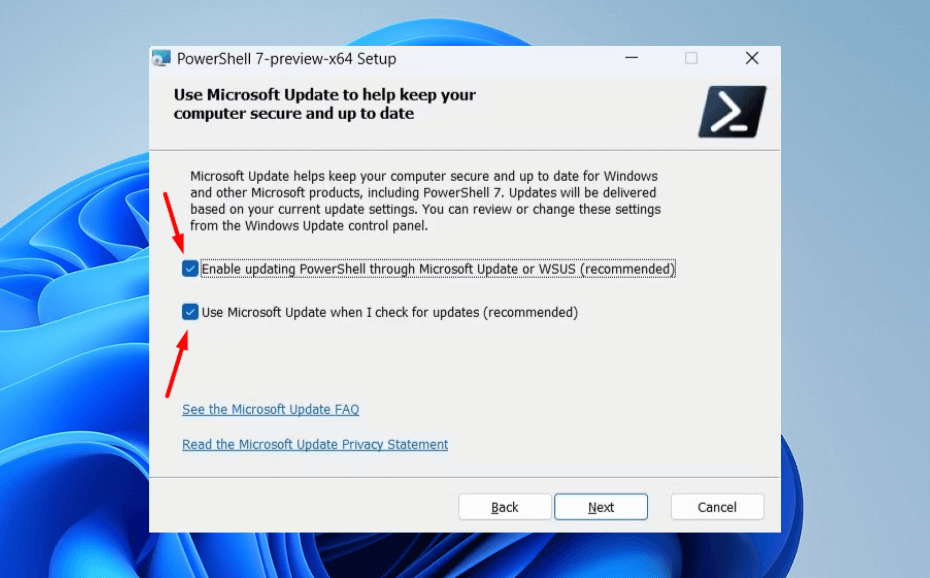
Open the downloaded file and follow the on-screen instructions to complete the installation. During installation, make sure to check the following boxes:
- Enable updating PowerShell through Microsoft Update or WSUS (recommended)
- Use Microsoft Update when I check for updates (recommended)
And that’s about it. Once the installation is complete, you will have the latest version of PowerShell.
Does Updating PowerShell Replace Your Current Version?
Updating PowerShell doesn’t completely overwrite your existing version. Instead, both versions remain installed on your computer but in separate locations. This means you can easily switch between them, depending on your needs.
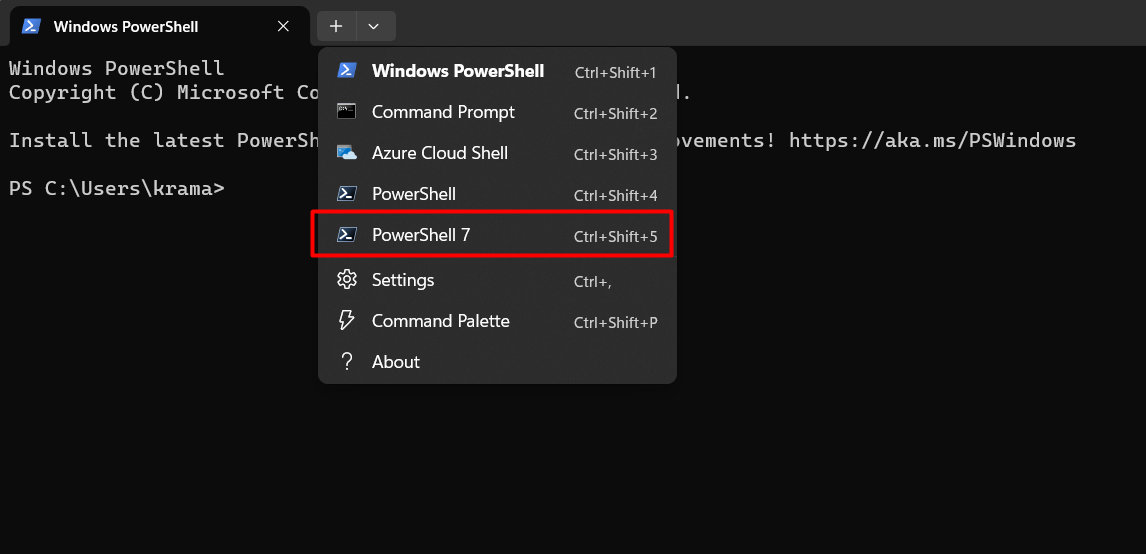
By default, Terminal opens the older version of PowerShell, but switching to the latest one is a breeze. Simply click the drop-down icon in Terminal and choose the desired version.