- To delete a partition on your Windows 11 PC, head into Settings > System > Storage > Advanced storage settings > Disks & volumes, select Properties next to your partition, select Delete, and choose Delete volume in the prompt.
Whether it’s to free up storage space or expand an existing volume’s allocated storage, removing a partition on Windows 11 is easy. We’ll explain what happens when you delete a partition and show you how to do it using two graphical and two command line methods.
You Lose All Your Partition Data When You Remove the Partition
When you delete a partition, your data becomes inaccessible. The files stored inside your partition are deleted, and you can’t recover those files in most cases. The space previously occupied by the deleted partition is marked as unallocated. Windows 11 recognizes this space as available for future use.
The steps to deleting a partition cannot be undone. That’s why, before following the methods below, consider backing up your important data.
How to Delete a Partition on Windows 11
To remove a partition, you have two graphical methods: Settings and Disk Management. The command line methods are Command Prompt and PowerShell. Each method achieves the same result; choose the one you prefer.
If you aren’t sure what method to pick, go for the Settings one.
Method 1. From Settings
Press Windows + I on your keyboard to open Settings. Go to the System tab and choose Storage.
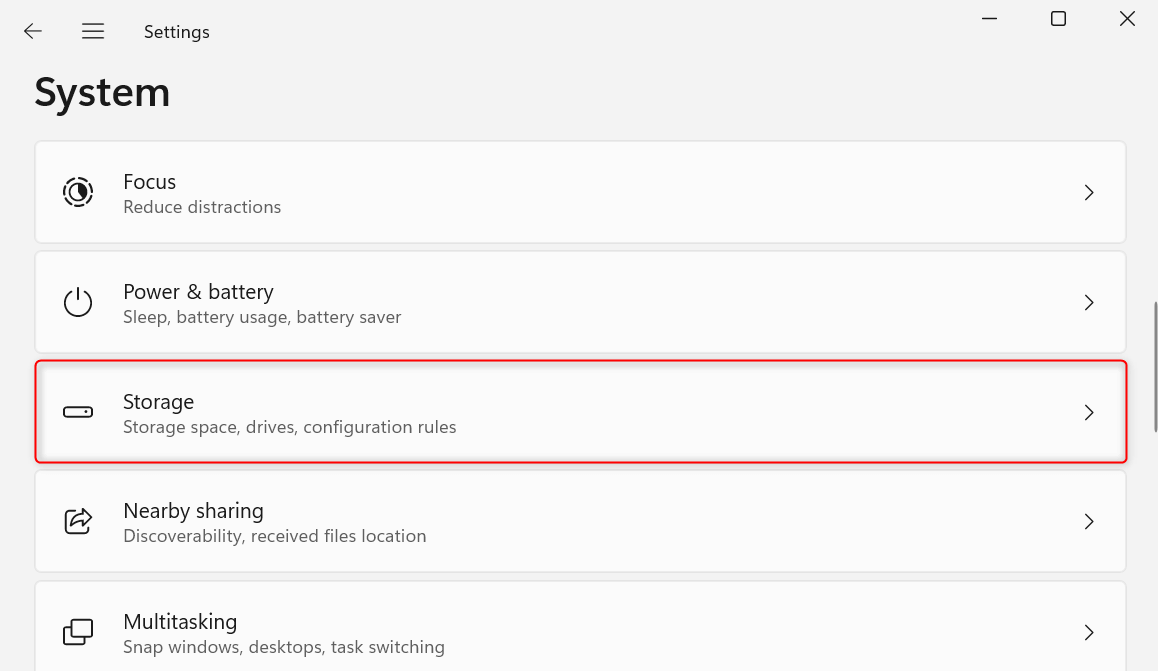
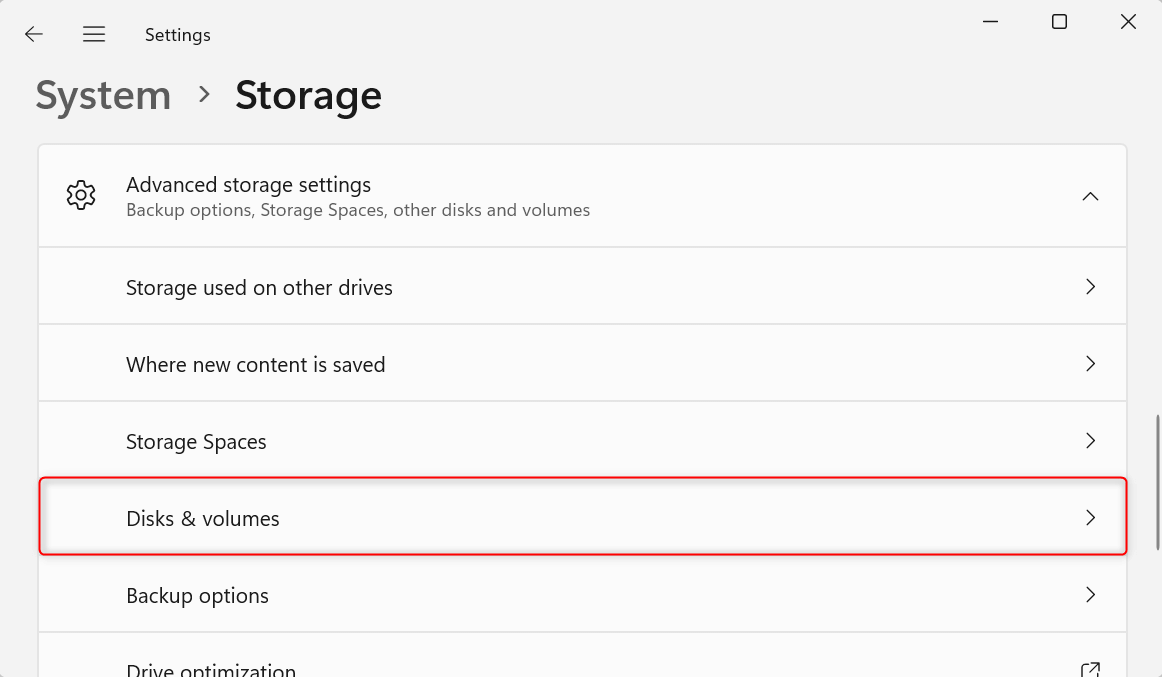
Under Storage management, expand the Advanced storage settings drop-down.
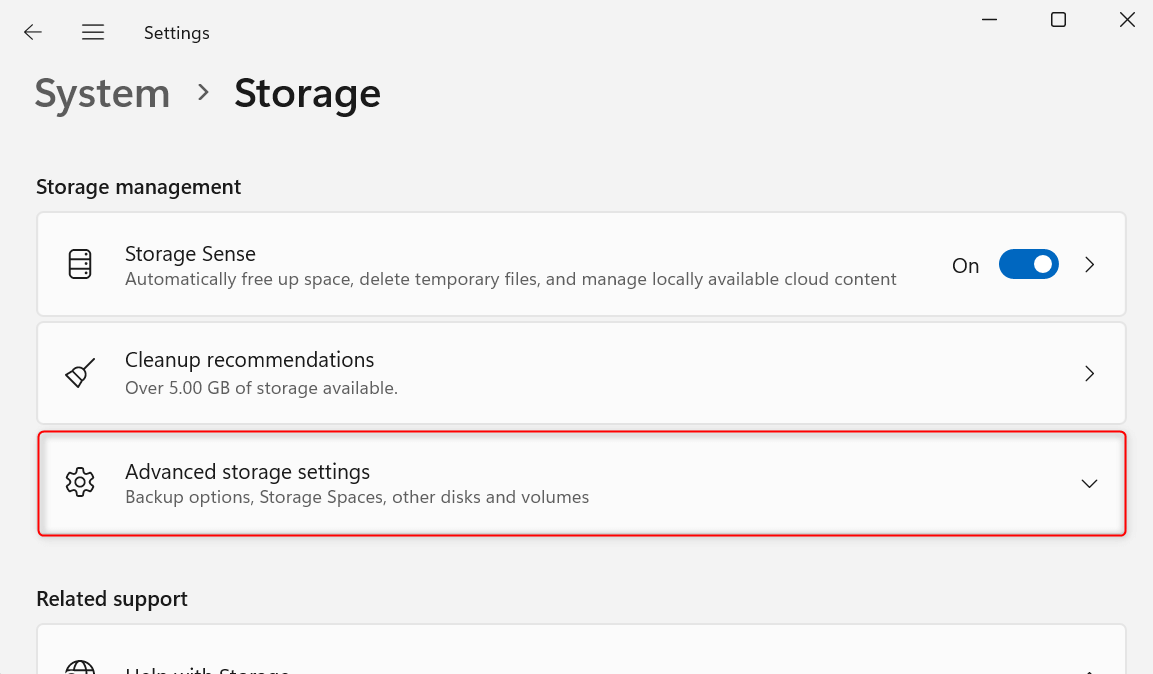
From the options displayed, choose Disks & volumes.
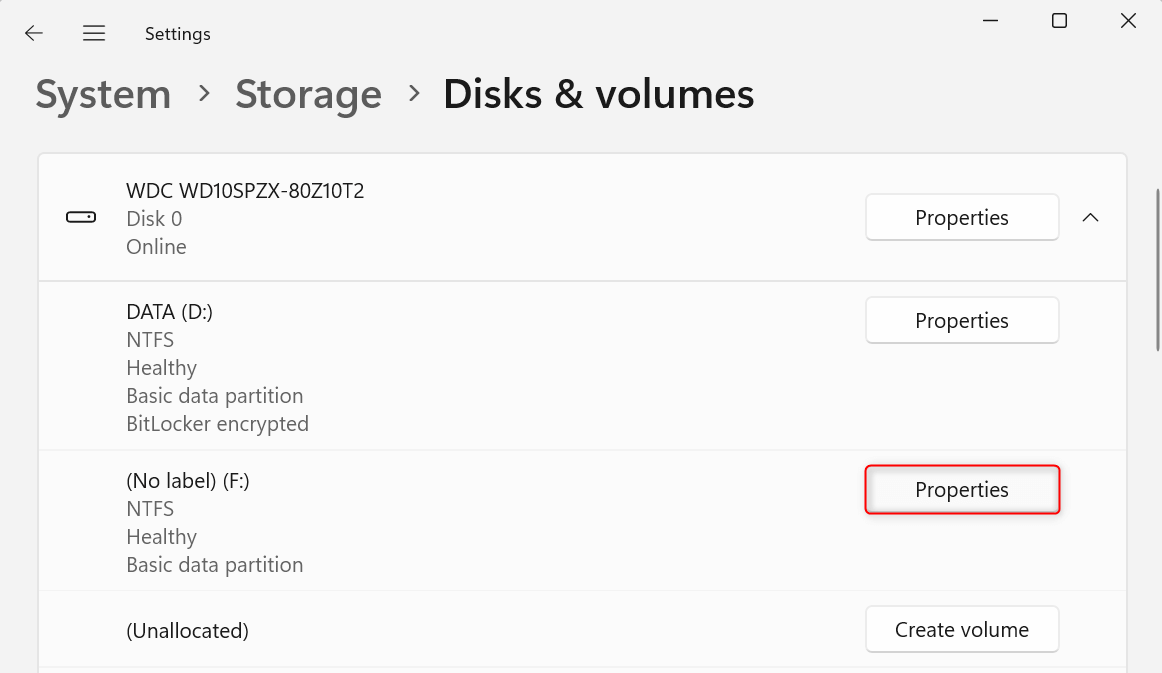
You’ll see a list of all existing partitions on your PC. Find the volume that you want to remove and click its Properties button.
In the specific options available for your partition, scroll down to the Format section and click Delete.
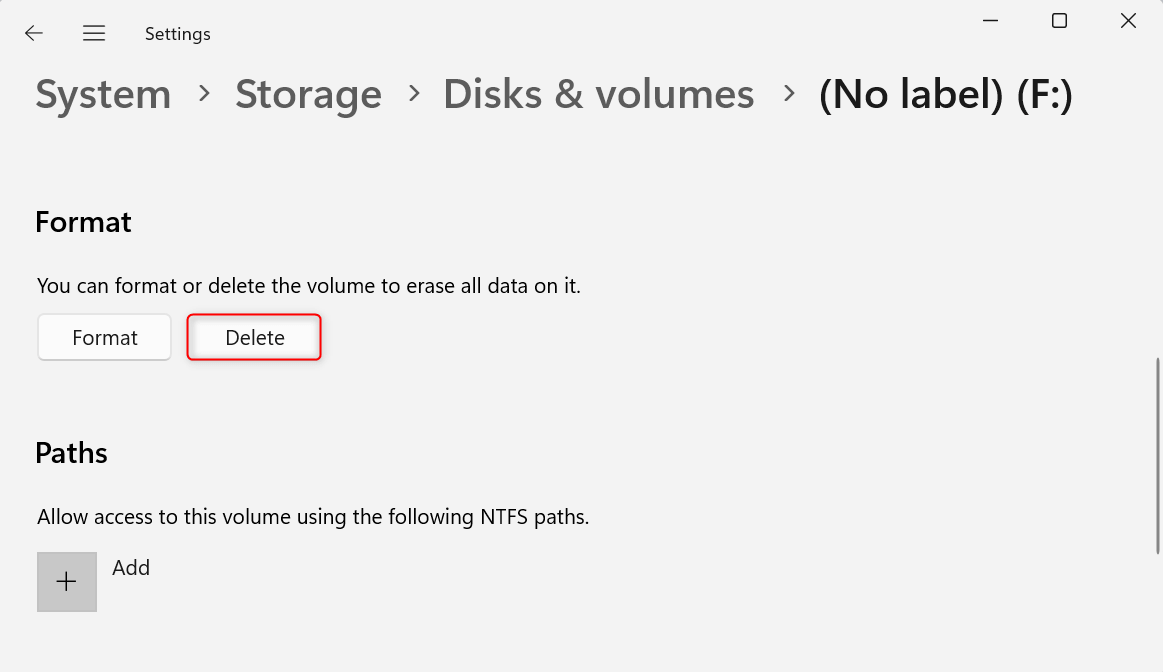
When asked to confirm the deletion, click Delete volume.

Your partition will be removed.
Method 2. Using Disk Management
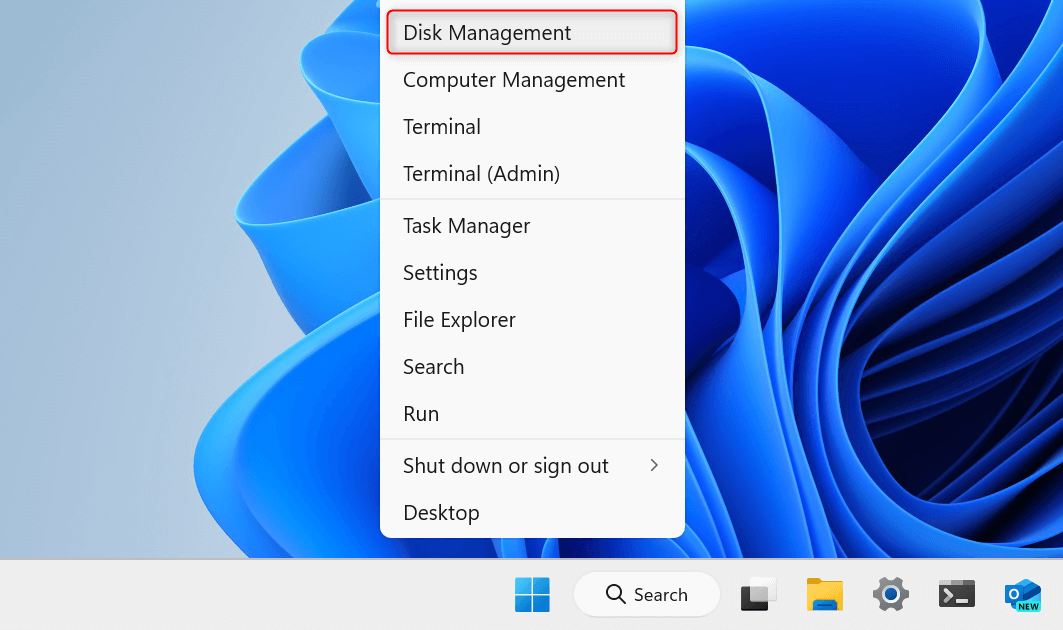
Press Windows + X to open the Power User Menu. From the options, choose Disk Management.
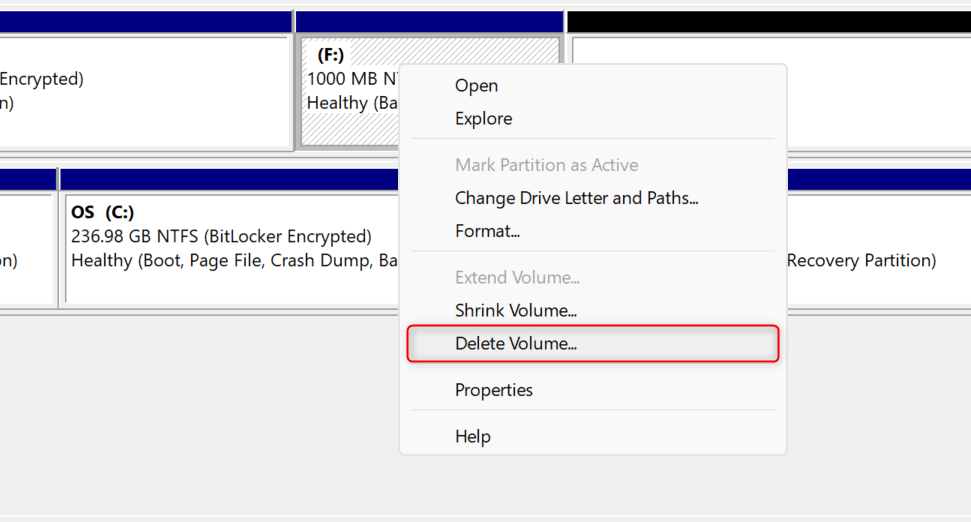
From the Graphical View section, find and right-click the volume that you want to remove. From the appearing context menu, choose Delete Volume.
In the Delete simple volume dialog, click Yes to confirm.

Your PC will remove your partition.
Method 3. From Command Prompt
In Command Prompt, use the diskpart tool to remove chosen partitions.
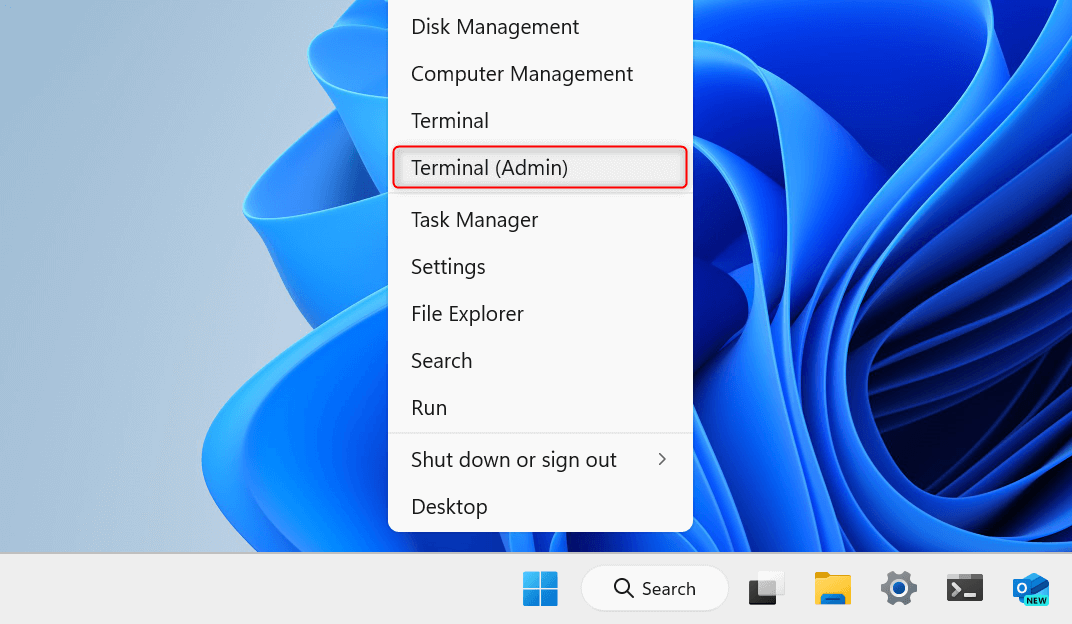
To start, press Windows + X to open the Power User Menu. Then, click Terminal (Admin) from the listed options.
In the User Account Control dialog, click Yes to grant administrator permissions to the Terminal app. You need to elevate the app to use the diskpart command.
Once the Terminal app launches, at the top of the window, click the Open a new tab drop-down and choose Command Prompt.

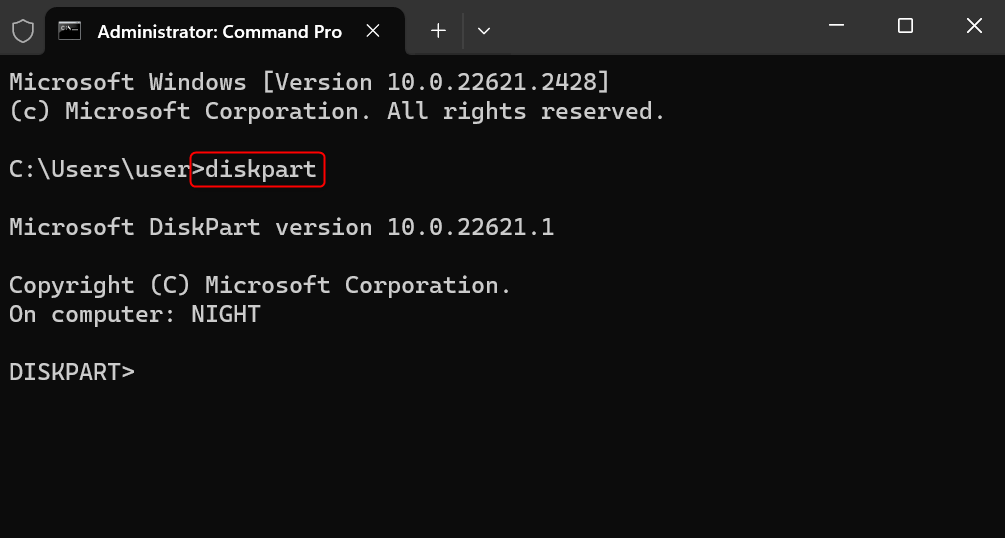
In the Command Prompt tab, type diskpart and press Enter. This initiates the diskpart tool.
Once done, run list disk. This will display a list of all available disks on your computer, their disk number, status, size, and more. Take note of the disk number where your to-delete partition is located.
Run select disk #. Replace the hash symbol with your noted disk number.

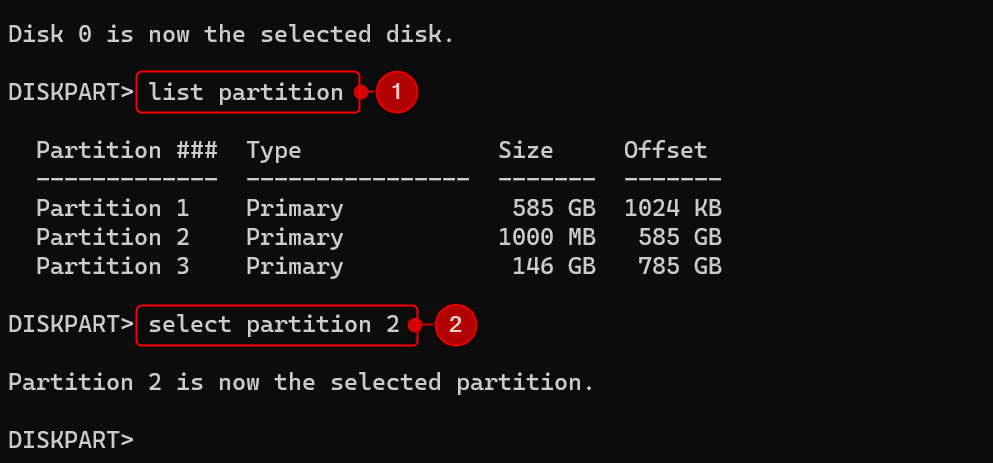
Once the disk is selected, run list partition to see all available partitions.
Then, run select partition #. Replace the hash symbol with the number of the partition you want to delete.
After that, run delete partition.
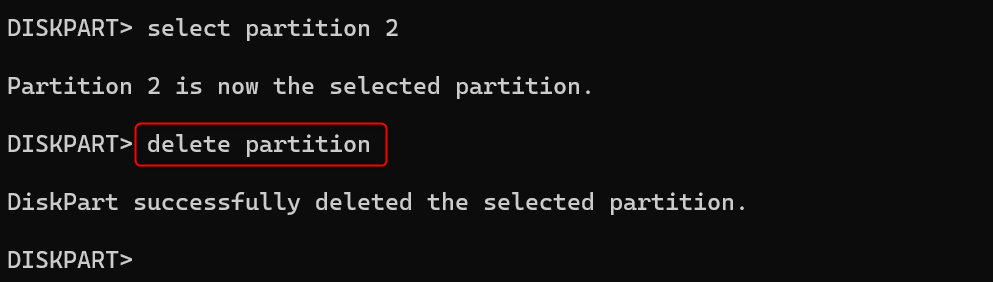
Wait for Command Prompt to finish the removal process, and you’re good to go.
Method 4. Using PowerShell
If you prefer using Windows PowerShell, follow these steps.
Press Windows + X and choose Terminal (Admin) from the Power User Menu. Then, in the User Account Control confirmation dialog, choose Yes. This will open an elevated Windows PowerShell tab in the Terminal app.
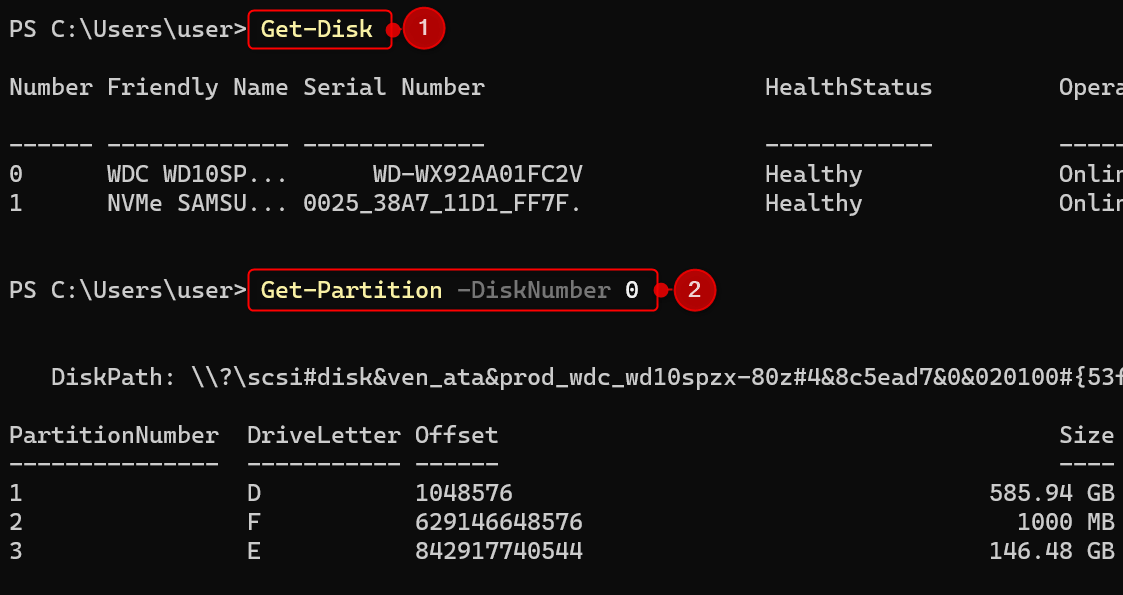
Type Get-Disk and press Enter. PowerShell will display the disks available on your machine. Note down the number of the disk where your partition is located.
Run Get-Partition -DiskNumber #. Replace the hash symbol with your disk’s number. This will list all of the existing partitions. Remember the number of the partition that you want to delete.
Finally, run the following command. Replace [DISK-NUMBER] and [PARTITION-NUMBER] with the numbers you noted earlier.
Remove-Partition -DiskNumber [DISK-NUMBER] -PartitionNumber [PARTITION-NUMBER]
PowerShell will prompt you to confirm the deletion. Type Y and press Enter to proceed.

Your partition will be deleted. Exit Terminal once done.
The steps above allow you to remove partitions that may or may not have an assigned drive letter. However, if you know the drive letter of your partition, you can shorten the command to Remove-Partition -DriveLetter [PARTITION-LETTER].
And that’s how you remove a partition on Windows 11. After these steps, you can expand the allocated storage size of your existing partitions, create a new volume, or leave the space unallocated in the meantime. If you want to restore your partition data, make sure to use data recovery software as quickly as possible.