- To keep your Wi-Fi from disconnecting on Windows 11, forget and re-join your current network. Go to Settings > Network & internet > Wi-Fi > Manage known networks. Find your network from the list and click Forget. Connect to your network again once done.
- Other ways to resolve the problem include restarting your router, using network-related troubleshooters, updating/reinstalling your network drivers, and resetting your network settings.
Tired of having to reconnect to your Wi-Fi network repeatedly on your Windows 11 PC or want to ensure that you don’t lose important work? We’ve got you. We’ll show you different fixes to prevent your Wi-Fi from randomly disconnecting, including forgetting your network, using Windows troubleshooters, updating your drivers, and resetting your network settings.
Fix 1. Restart the Router
The simplest way to fix your random network disconnections is to restart your router. To do this, just press the Power button on your router. Wait for at least ten seconds before turning it back on.
If there’s no Power button available, unplug the router. Again, wait for a while before plugging it back in to ensure that it gets refreshed.
Fix 2. Forget and Re-Join the Wi-Fi Network
If restarting your router doesn’t work, forget your Wi-Fi network and join it again. This deletes the network’s saved credentials from your PC and helps refresh your connection.
Press Windows + I on your keyboard to launch Settings. Once it opens, navigate to Network & internet and choose Wi-Fi.

In the Wi-Fi section, open the Manage known networks option.
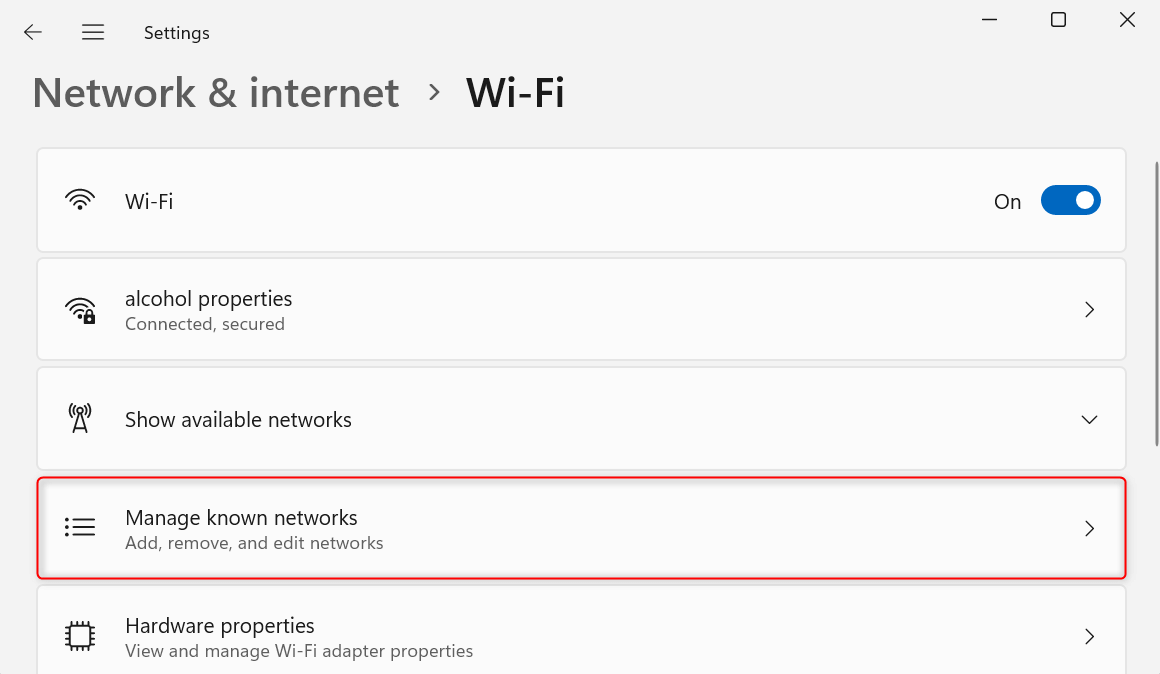
You will find a list of all networks you have connected to in the past. Scroll down the Known networks list or use the search bar provided to find your current network.
Once found, click Forget. Your machine won’t ask you to confirm the action, so make sure to click the button for the right network.

After that, go back to the Wi-Fi section and expand the Show available networks drop-down. From the list, find and click your Wi-Fi network. Then, click Connect. Enter the necessary credentials and proceed.
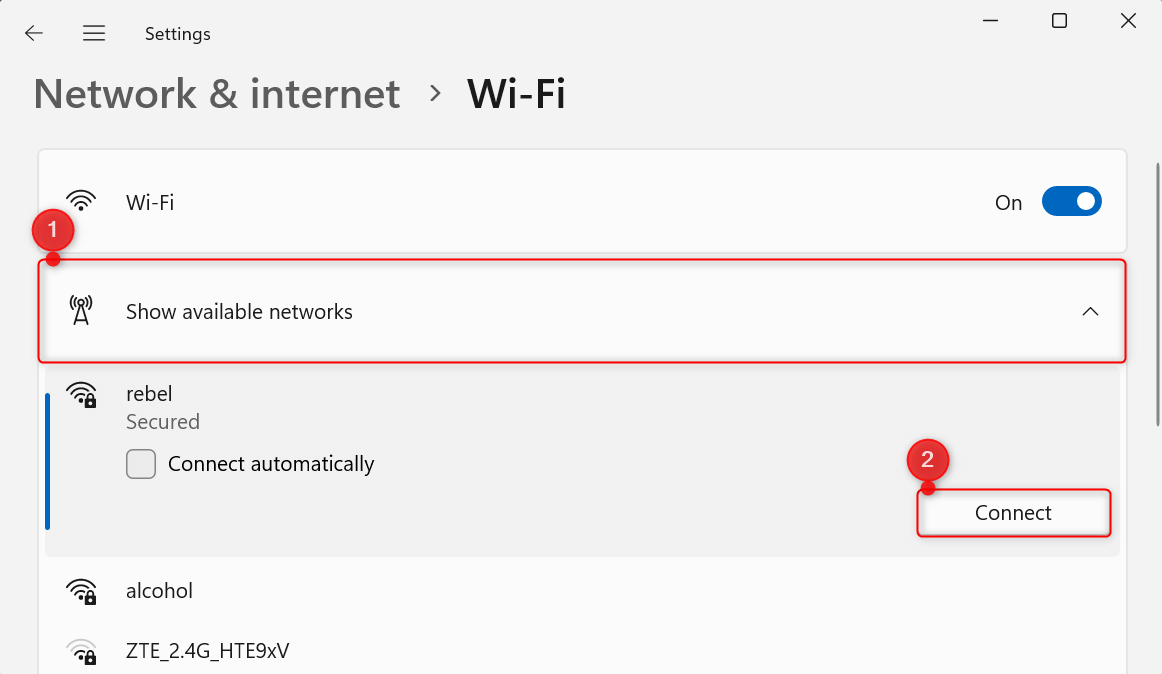
You will now be connected to your Wi-Fi network again.
Fix 3. Use the Network Adapter Troubleshooter
It might be your network adapter causing your connection issues. Fix potential bugs and other underlying problems by running its dedicated troubleshooter.
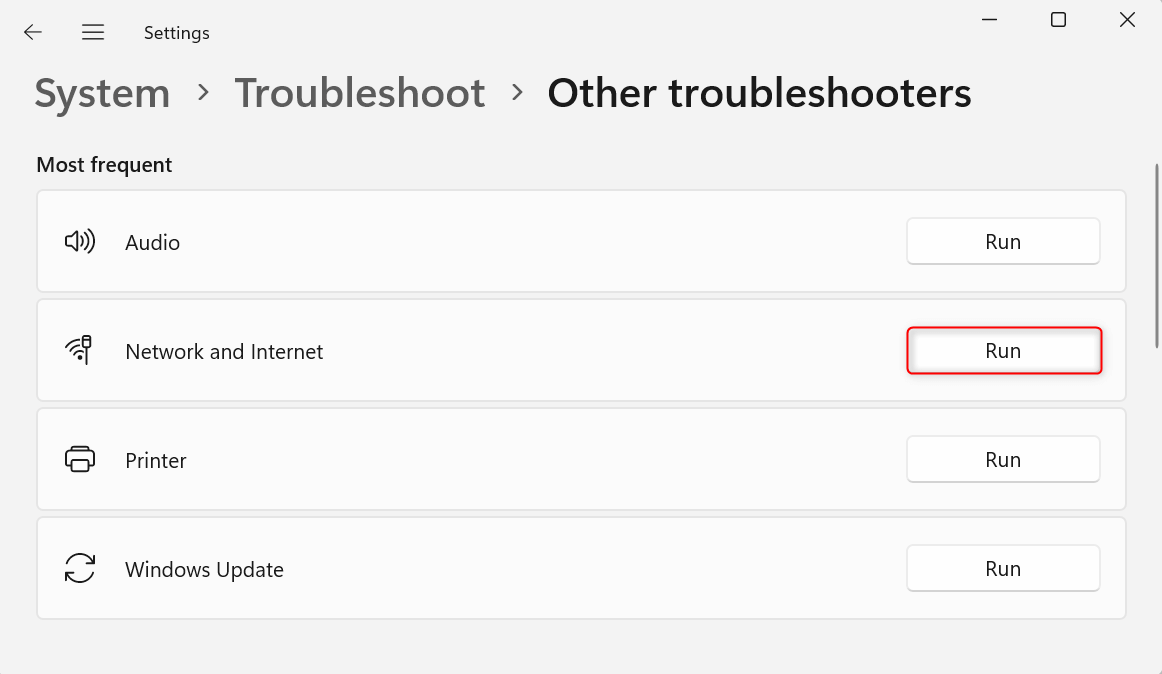
Open Settings and go to System > Troubleshoot. In this section, open the Other troubleshooters option.
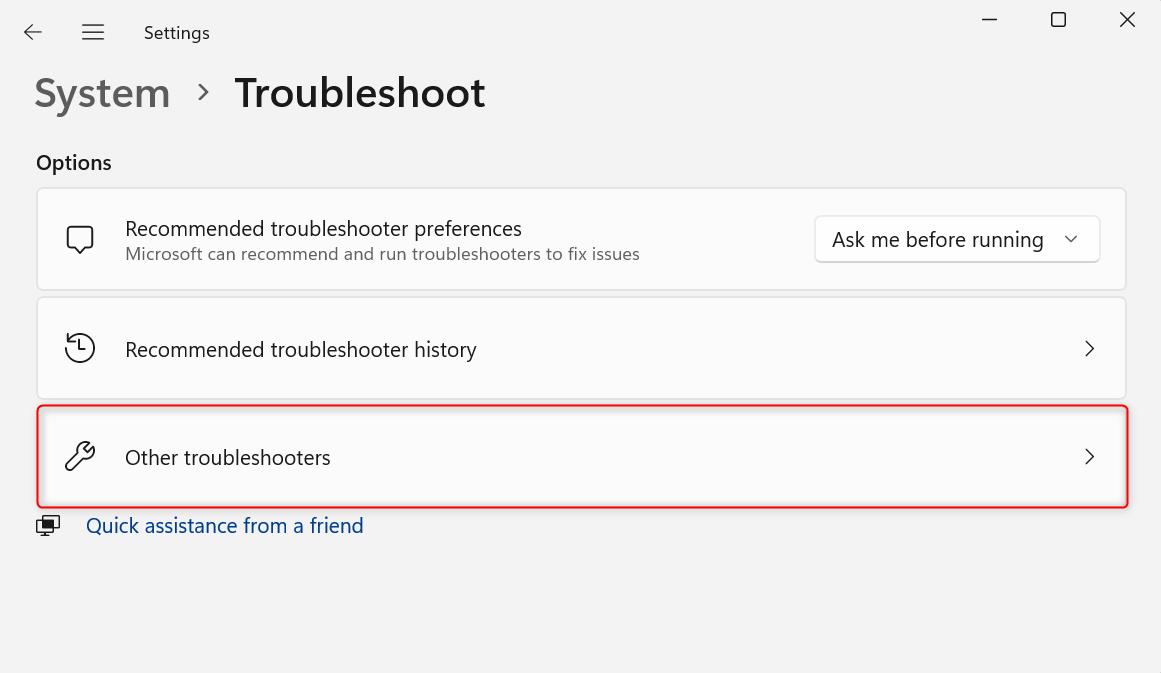
From the list of available troubleshooters, find Network Adapter and click its corresponding Run button. Then, in the Network Adapter interface, select Wi-Fi and click Next.
Note that this troubleshooter might be missing in some versions of Windows 11, such as in our example. Run the Network and Internet troubleshooter instead to perform a similar check.
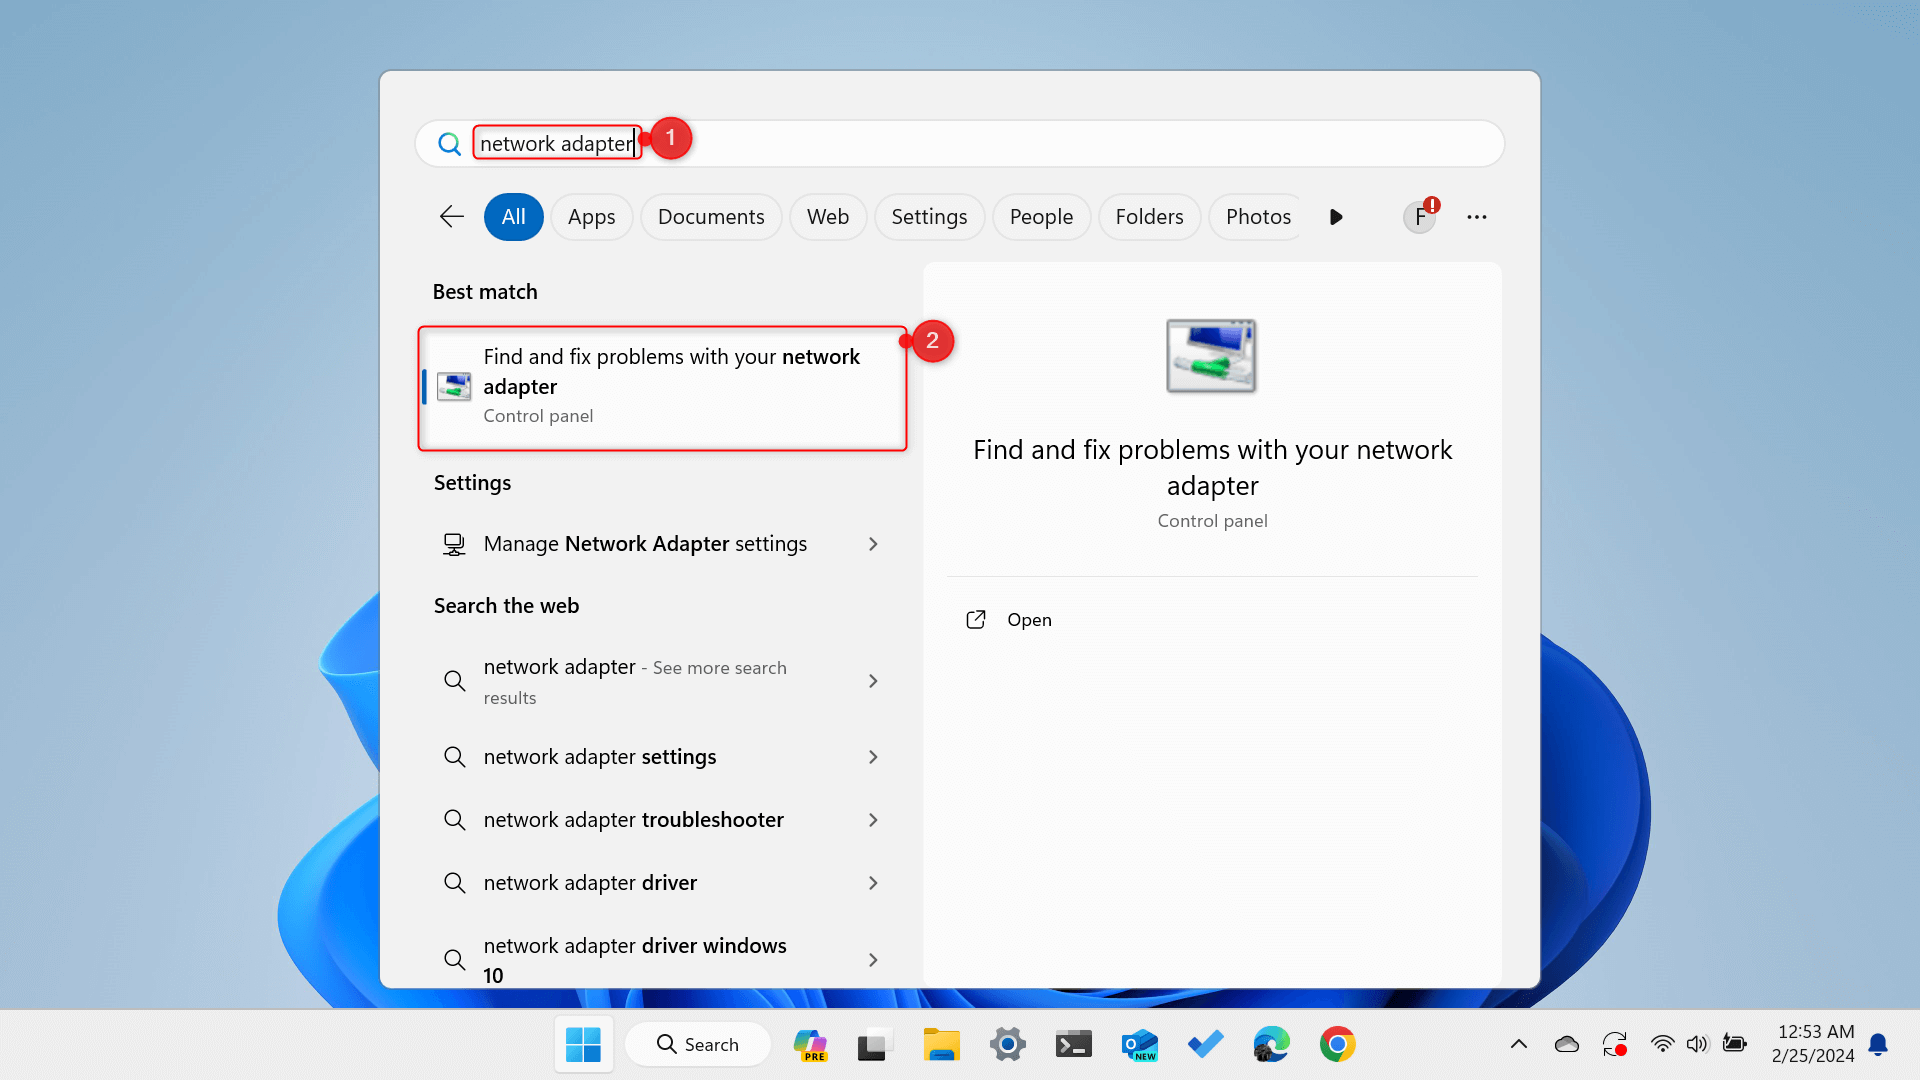
Alternatively, you can use the old troubleshooter of Windows. Do this by opening the Start menu and typing network adapter. From the search results, click Find and fix problems with your network adapter.
Once the troubleshooter opens, click Next to run the check.
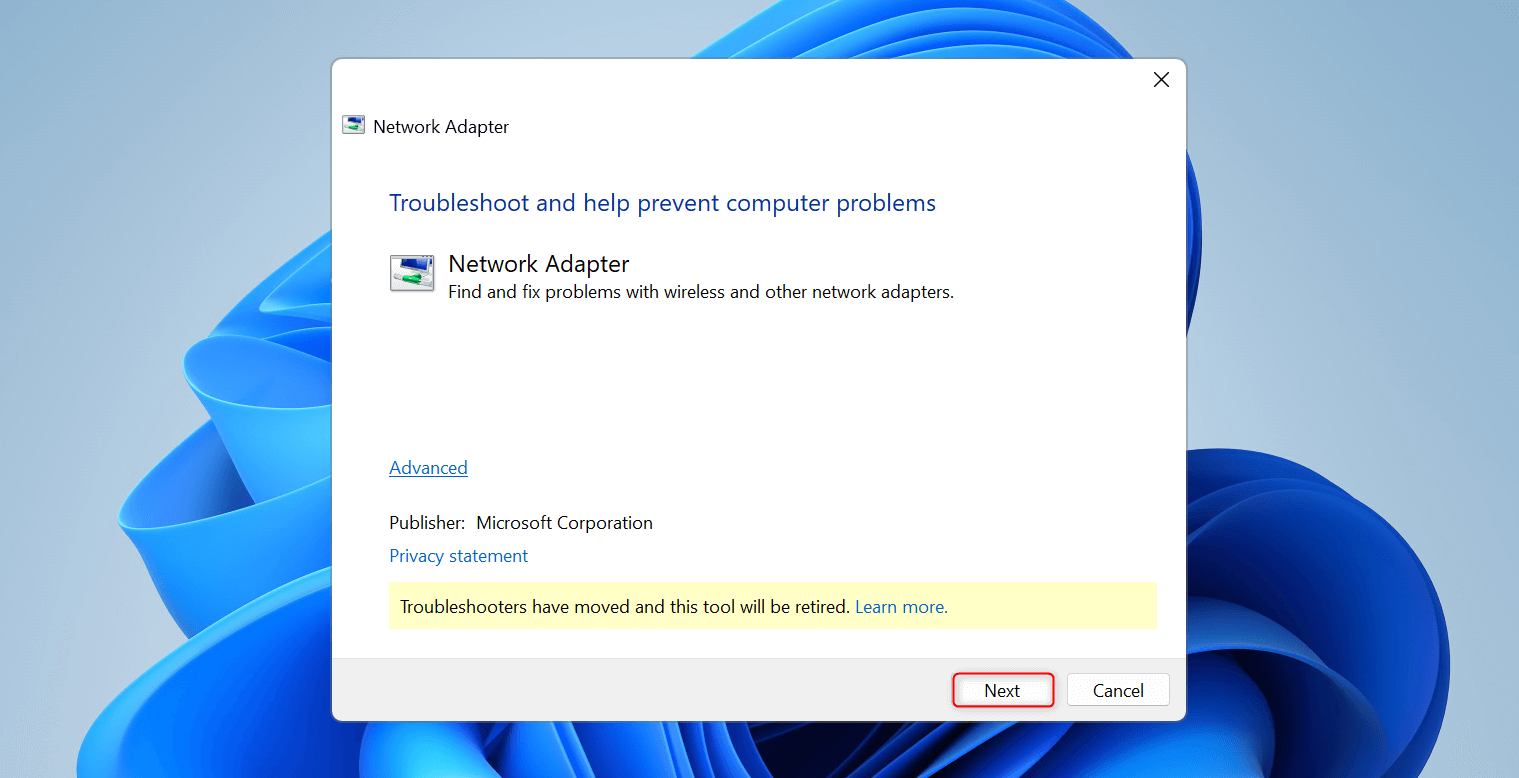
Note that this troubleshooter, including those that you can find on Control Panel, are gradually being phased out by Microsoft. They’re being relocated to the redesigned Settings app.
Fix 4. Update Network Adapter Drivers
The network adapter drivers on your machine might already be outdated or corrupted. Update those drivers to fix issues that have already been patched up in later driver versions.
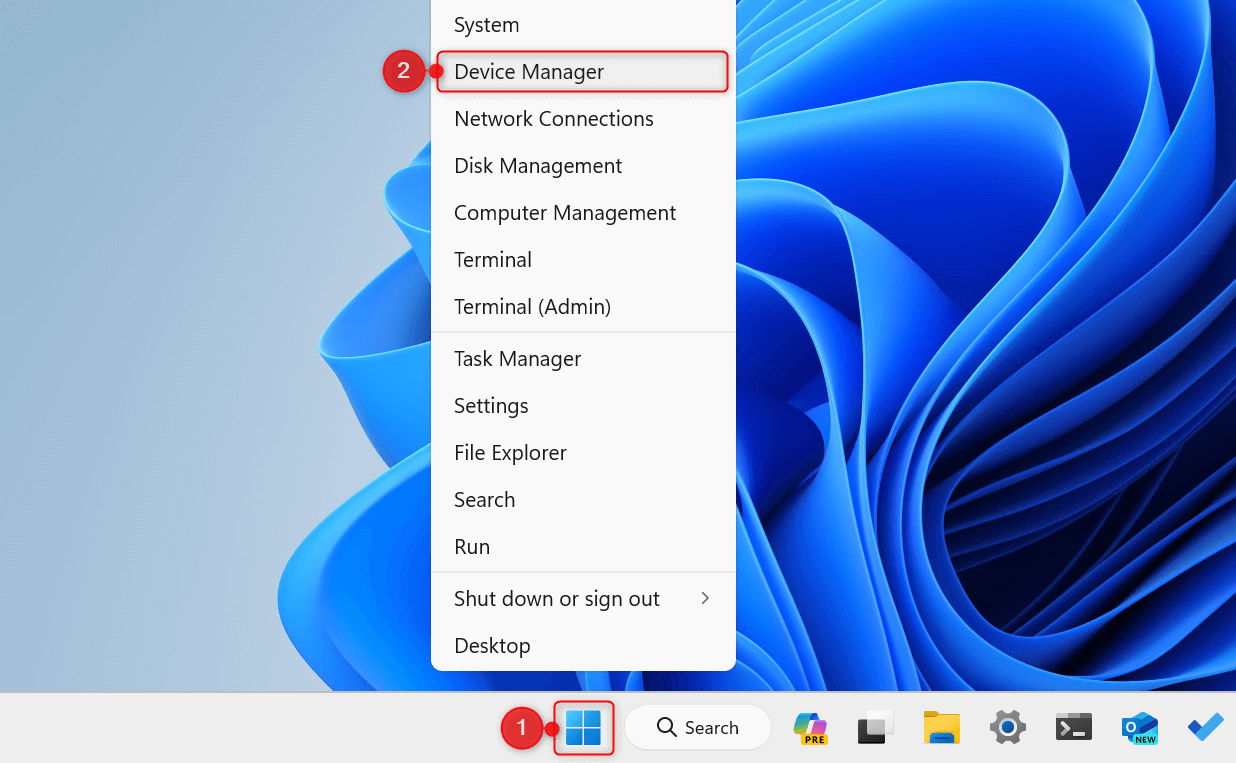
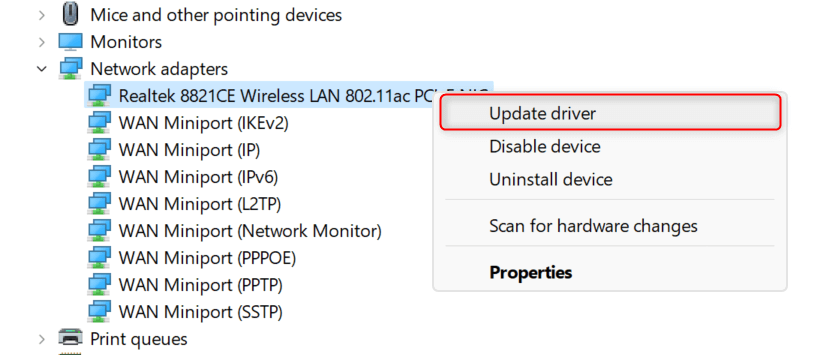
Right-click the Start button and choose Device Manager from the Power User menu.
In the Device Manager window, find and expand Network adapters. Right-click the wireless adapter option from the list. Then, from the context menu that appears, choose Update driver.
In the Update Drivers window, select Search automatically for drivers.
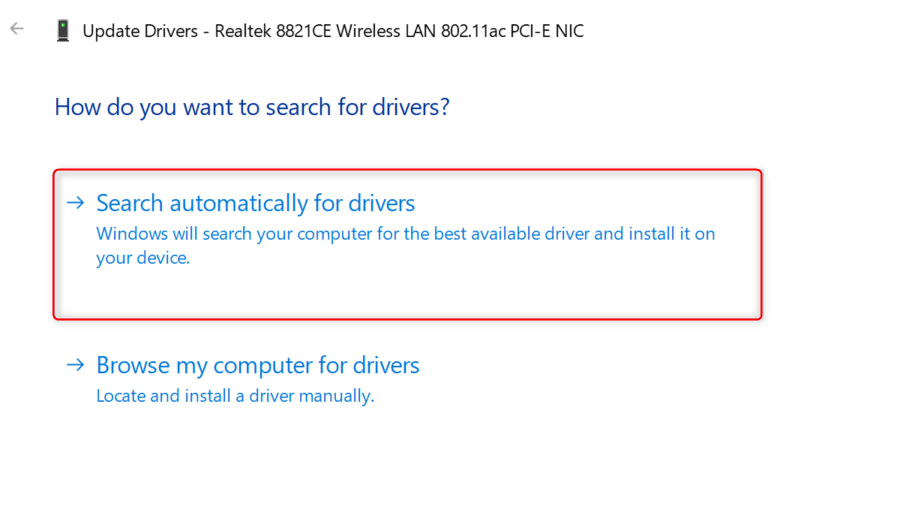
Simply install the drivers found (if any) to finish.
If no drivers are found, you can also choose Search for updated drivers on Windows Update for a more thorough look.

Fix 5. Reinstall Network Adapter Drivers
For a deeper fix to your network adapter drivers, uninstall them. Windows 11 will automatically reinstall them after rebooting your PC.
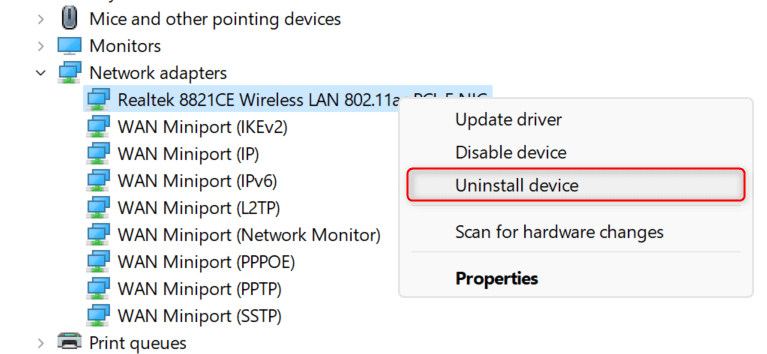
Right-click Start and choose Device Manager from the Power User menu. Then, expand the Network adapters section. Right-click the available wireless adapter driver, and from the context menu that appears, select Uninstall device.
Windows will warn you about the action in a separate dialog box. To proceed, check the box for Attempt to remove the driver for this device. Then, click Uninstall.
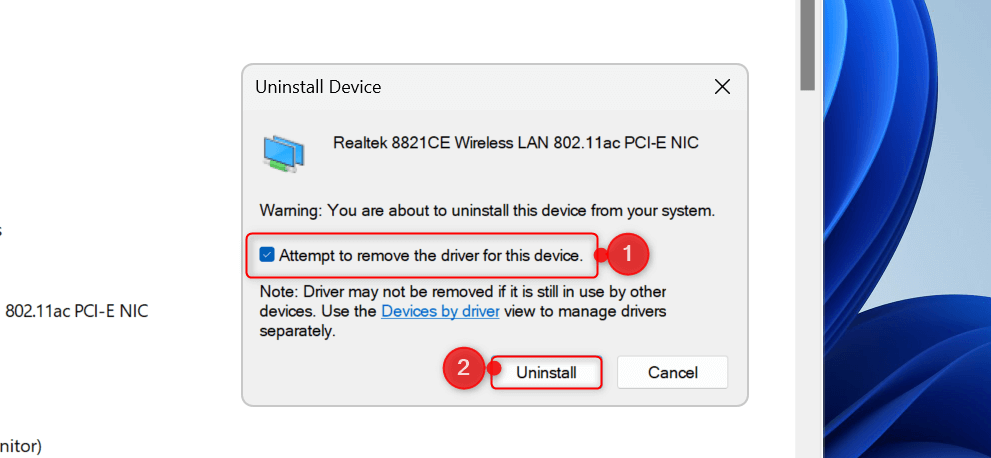
Restart your computer and see if the issue has been fixed.
Fix 6. Reset Network Settings
If none of the fixes above resolves the random network disconnection problem you’re experiencing, reset your network settings to their defaults. This will completely refresh all network-related details on your machine.
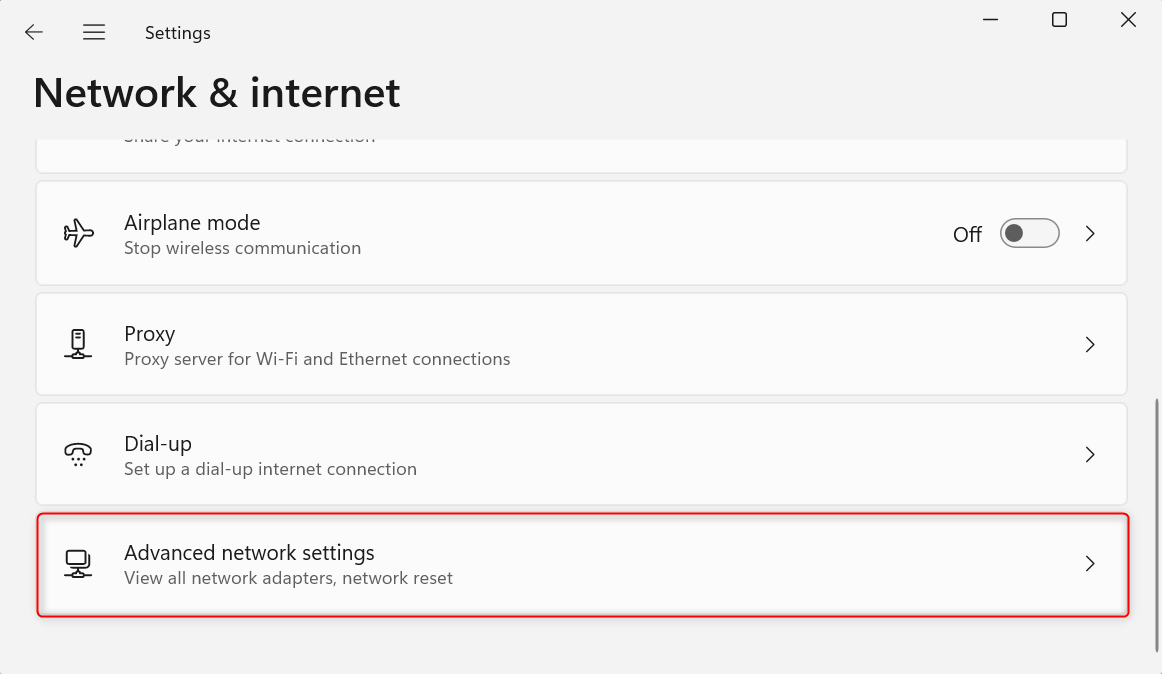
Press Windows + I to open Settings. Then, go to Network & internet and choose Advanced network settings.
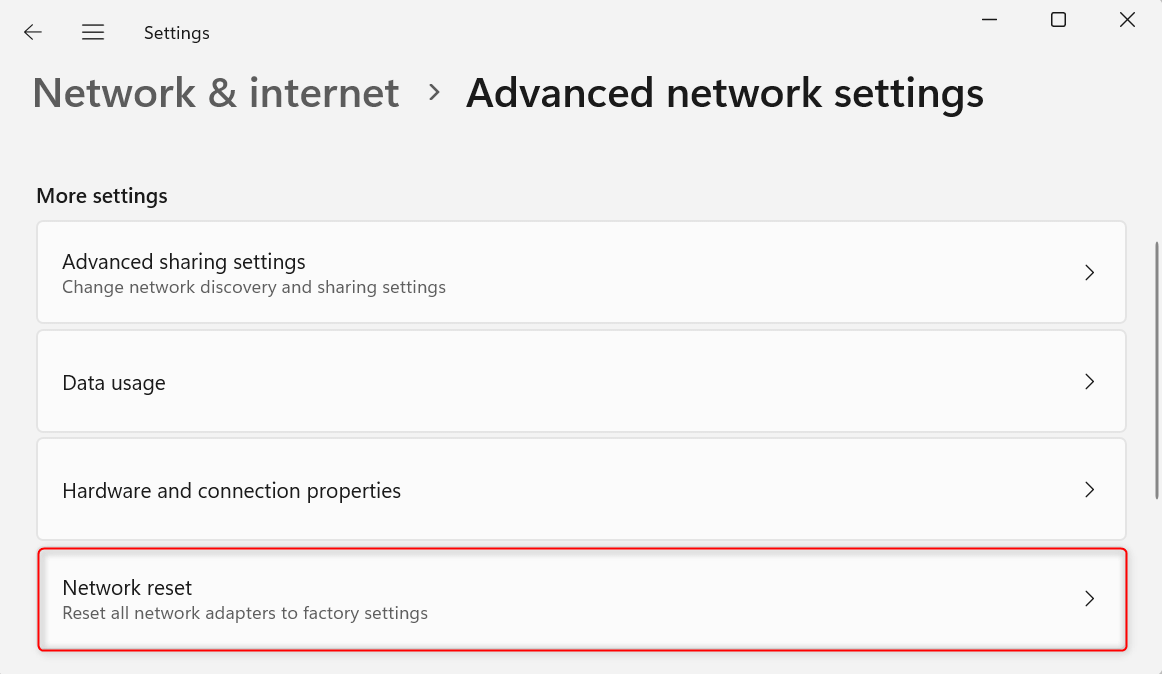
Under the More settings section, open the Network reset option.
In the Network reset section, read the prompt and click Reset now to proceed.
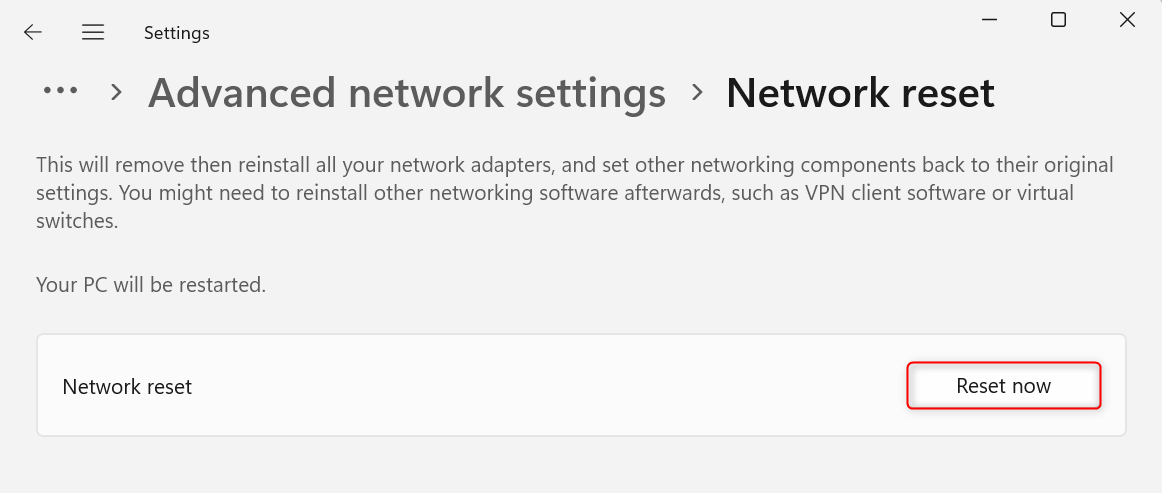
Windows will ask you to confirm the reset in a separate dialog box. Click Yes to continue. After the network reset, connect to your Wi-Fi network and check if your connection still drops at random.
And that’s how you fix your Wi-Fi from randomly disconnecting on Windows 11. If these fixes still don’t work for you, consider getting a new router or a new Wi-Fi adapter. Or to keep things simple, use an Ethernet cable.