If you’re coming from an old version of Windows to Windows 10, you’re going to find a number of new tools and utilities in this newer version of the operating system. One of these new tools is PowerShell. It’s a command-line program that allows you to run commands and scripts on your Windows 10 based computer.
It works pretty much the same way as the Command Prompt tools and lets execute a number of tasks on your machine. What you can do with Command Prompt can be done with PowerShell.
One of the features of PowerShell is to let you create and run PowerShell scripts on your computer. You can write these scripts for yourself and they’ll automate many of your tasks on your machine. If you’re new to it and haven’t actually jumped on to see how it works, the following guide will be of great help to you.
Creating your First Ever PowerShell Script on Windows 10
Before you can run a script, you’re going to need to first create it. Creating a PowerShell script requires some basic knowledge of commands. There are a ton of resources on the Internet to learn to create various kinds of scripts, and you can use any of them to get PowerShell to do amazing things on your computer.
In this tutorial, we’re going to create a basic script to give you an idea how they’re created and how you can run PowerShell scripts on your Windows 10 computer. You’re going to be using Notepad to write the script and then save it in the format that PowerShell supports.
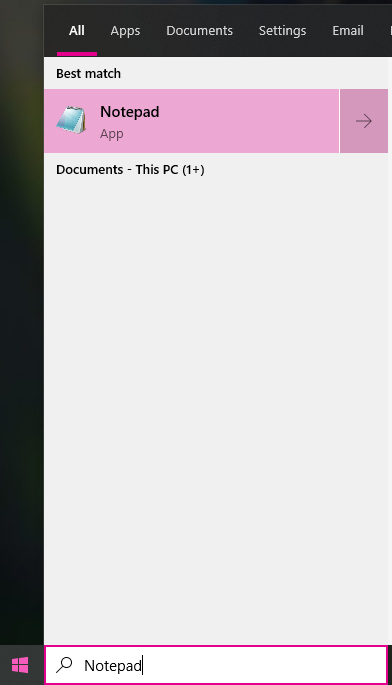
Step 1. Use the Start Menu to search for and open Notepad on your computer.
Step 2. When Notepad opens, you can start writing your script. If you aren’t sure what to start with, you can use the following sample code in your file.
Write-Host "This is your first PowerShell script!"
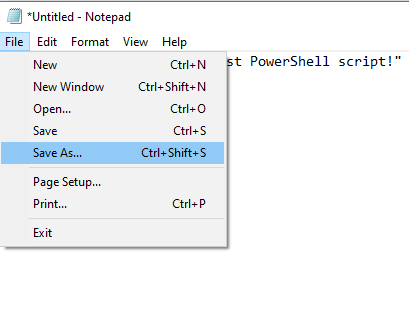
Step 3. Once you’ve finished writing your script, you need to save it. Click on the File menu at the top and select the option that says Save As.
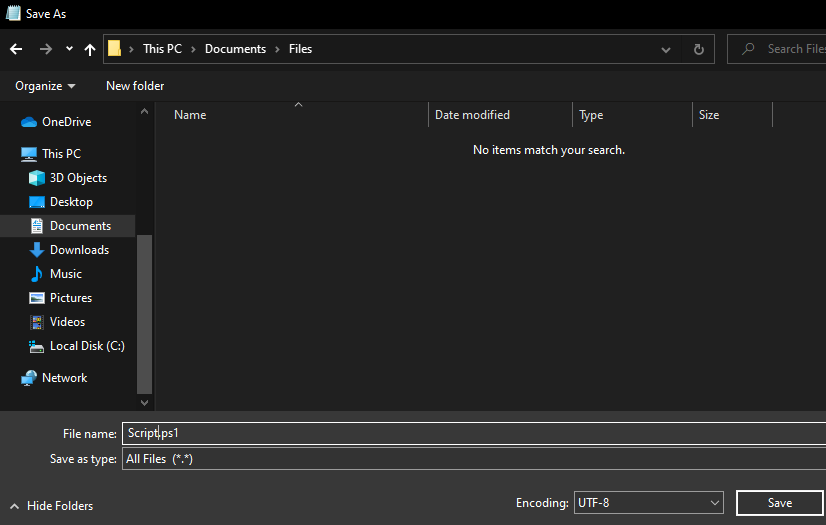
Step 4. A box will appear letting you define the file name, format, and the save location. In the name field, enter a name for the file and then use .ps1 as the extension of the file. Remember not to save the file as a text file or it won’t execute. Then, click on the Save button to save the file.
How to Run a PowerShell Script on Windows 10
Now that your script is ready, you want to test it and see how it gets executed in PowerShell. Unlike some other scripts, you can’t just double-click on the file to launch it. You’re first going to need to configure an option in the tool so that it allows you to run PowerShell scripts on your computer.
Configuring PowerShell to run scripts isn’t as difficult as you might think. In fact, all you basically need to do is run a command in the tool and it’ll be configured. The following should teach you what to do to run PowerShell scripts on your computer.
Step 1. The first thing you’re going to need to do is launch PowerShell with admin rights on your computer. To do it, open the Start Menu and search for PowerShell. When it appears in the search results, right-click on it and select Run as administrator.

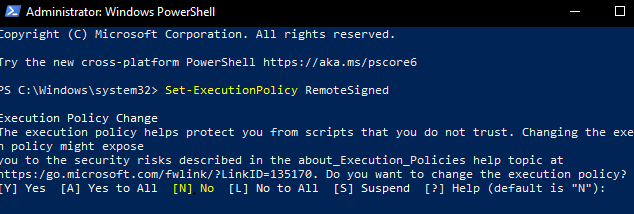
Step 2. When PowerShell opens, type in the following command and press Enter.
Set-ExecutionPolicy RemoteSigned
Step 3. It’ll likely prompt you to confirm your action. You want to type A on your keyboard and press the Enter key. It’ll confirm the action and let you proceed further.
Step 4. Once that’s done, you’re ready to run your script. Type in the following command in PowerShell and press Enter. Make sure to replace PATH with the actual path of your PowerShell script.
& "PATH"
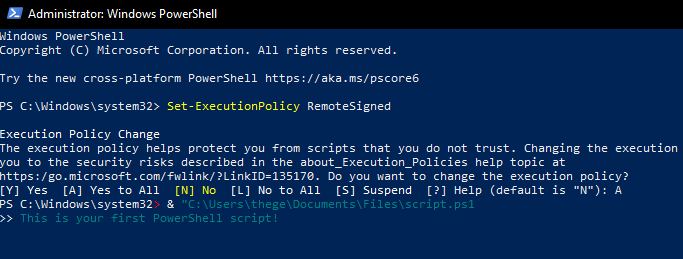
Step 5. If everything goes well, you should see the result of your first PowerShell script on your screen.
You’re all set. As you can see, it’s pretty easy to create and run PowerShell scripts on a Windows 10 computer. As you may have also noticed, you had to run a command to change the policy of PowerShell before you could run your script.
It was because PowerShell wants to protect your computer from any external threats. As a precaution, it doesn’t let any scripts run on your computer. You need to change this policy before you can run any scripts, even the ones written by you.
It comes with the following restrictions and you might find learning it useful if you’ll be creating such scripts in the future.
Restricted – this prevents any script from executing.
RemoteSigned – this only lets those scripts run that have been created on the computer.
AllSigned – this allows all the signed scripts to run on your computer.
Unrestricted – this puts no restrictions on any scripts and lets you run any script without any limitations at all. You should be cautious while using it.
We hope the above guide helps you create and run PowerShell scripts on your Windows 10 machine without any hassle.