
Suddenly see a Hypervisor blue screen of death (BSOD) error on your Windows 11 computer? Don’t panic. Such unexpected crashes can be frustrating, but there are ways to fix them. We’ll walk you through the steps to troubleshoot a Hypervisor BSOD error on your computer.
Why the Hyper-V Error Occurs
Hyper-V crashes can happen due to faulty RAM and storage media. Outdated display drivers and memory controllers can also lead to them. Other reasons include corrupted system files and Hypervisor-related services that are causing issues for your PC.
Note that Hyper-V is only available to the Pro, Education, and Enterprise editions of Windows 11. However, some users can tweak their PC’s BIOS and execute some commands to enable it on the Home edition. Also, boot your computer in safe mode before doing the troubleshooting steps below. BSOD errors might not let you turn on your machine normally.
Fix RAM Issues
You can fix potential issues with your RAM and other storage media using the Windows Memory Diagnostic tool. Here’s how.
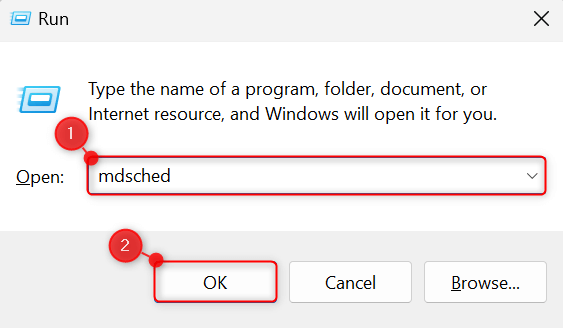
On your keyboard, press the Windows + R keys to launch Run. Once it launches, on the Open field, type mdsched. Click OK to start the Windows Memory Diagnostic tool.
In the dialog, choose Restart now and check for problems (recommended). If you have unsaved work, you can also choose the second option to perform the check at a later restart.

Your PC will now restart. Then, before you see the login interface, the Windows Memory Diagnostic interface will appear on your screen and show you the scan progress. You may also see certain issues regarding your memory here, too.
Update Device Drivers, Including Optional Ones
For frequent Hypervisor BSODs, you might need to update your display drivers, memory controllers, and system devices. You can do this in two ways, including:
Way 1. Use Windows Update
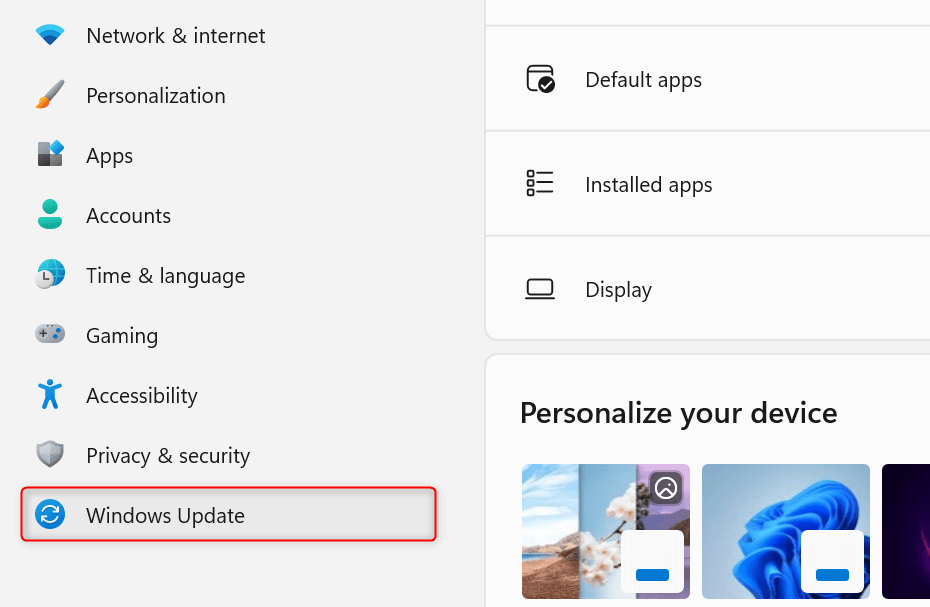
On your keyboard, press the Windows + I keys to open Settings. From the left pane, choose Windows Update.
Click the Check for updates button to see if there is anything new to your version of Windows. If updates are indeed available, proceed to download and install them.
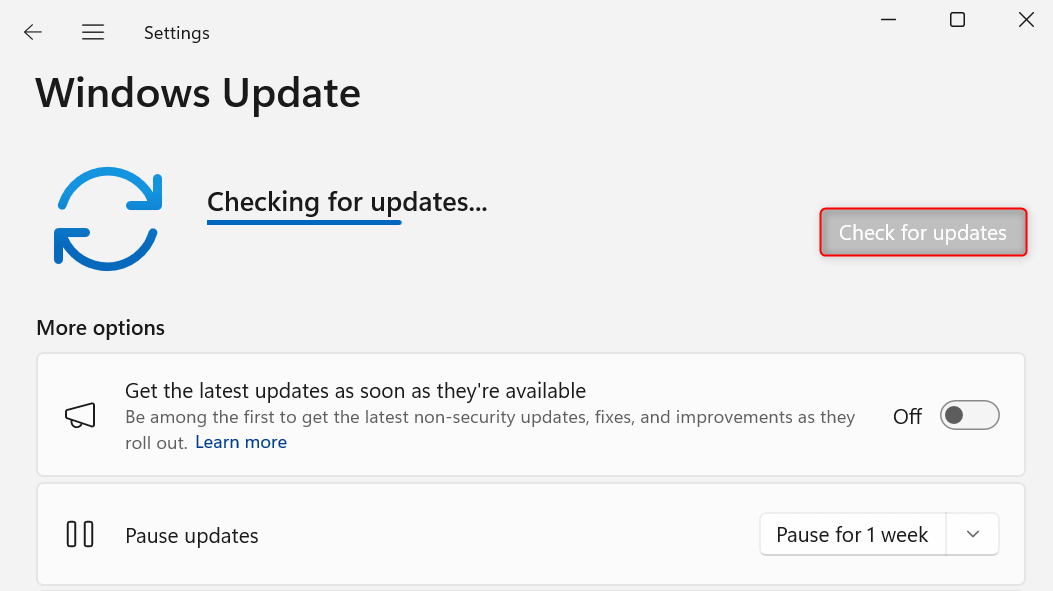
Updating your Windows also updates many of your device drivers. To ensure that all drivers are up-to-date, under More options, choose Advanced options.

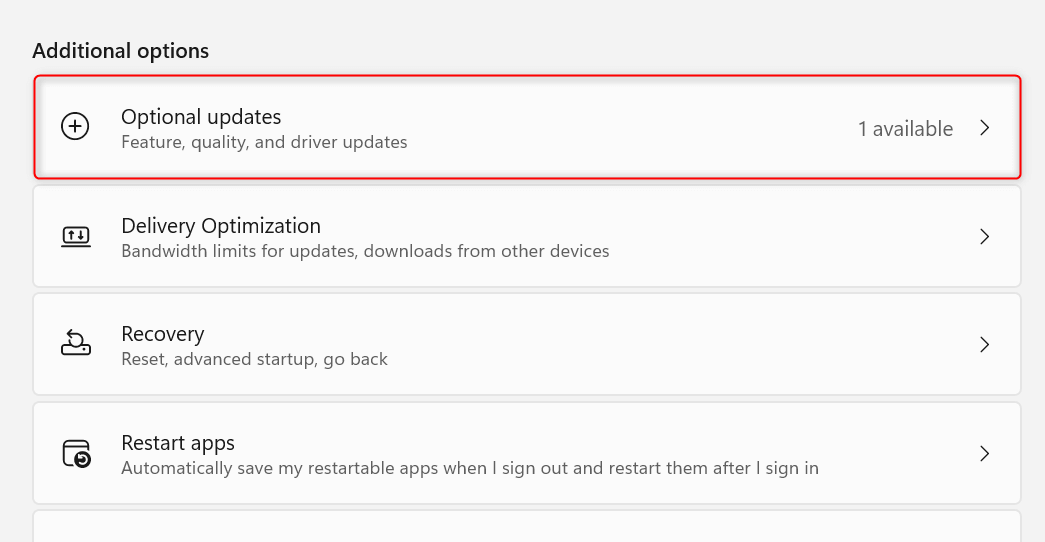
In the Advanced options section, under Additional options, click Optional updates.
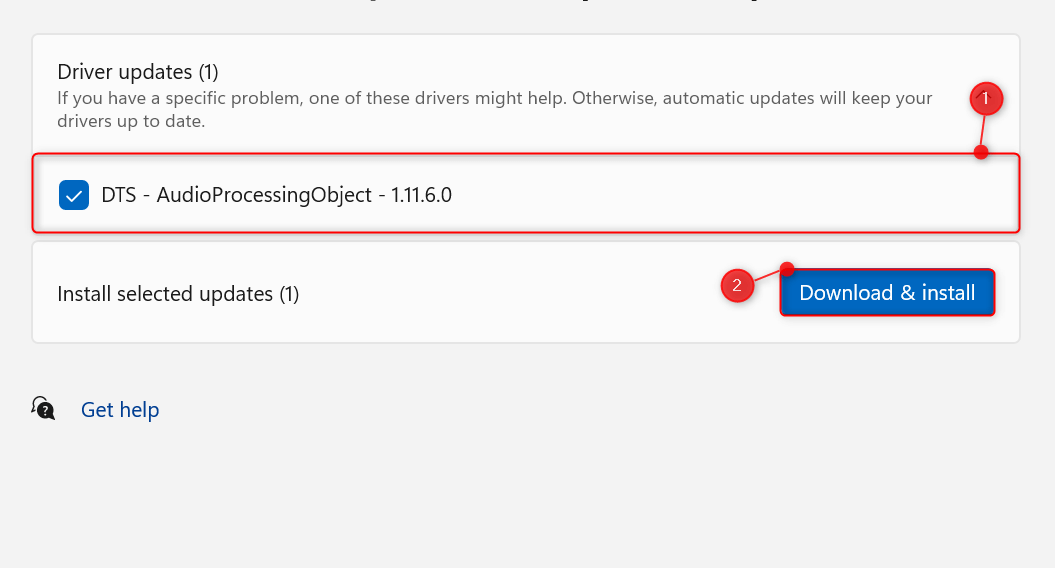
In the Optional updates section, expand Driver updates and check all available drivers you can update manually. On the right of Install selected updates (n), click the Download & install button.
Way 2. Download Driver Updates from the Manufacturer’s Website
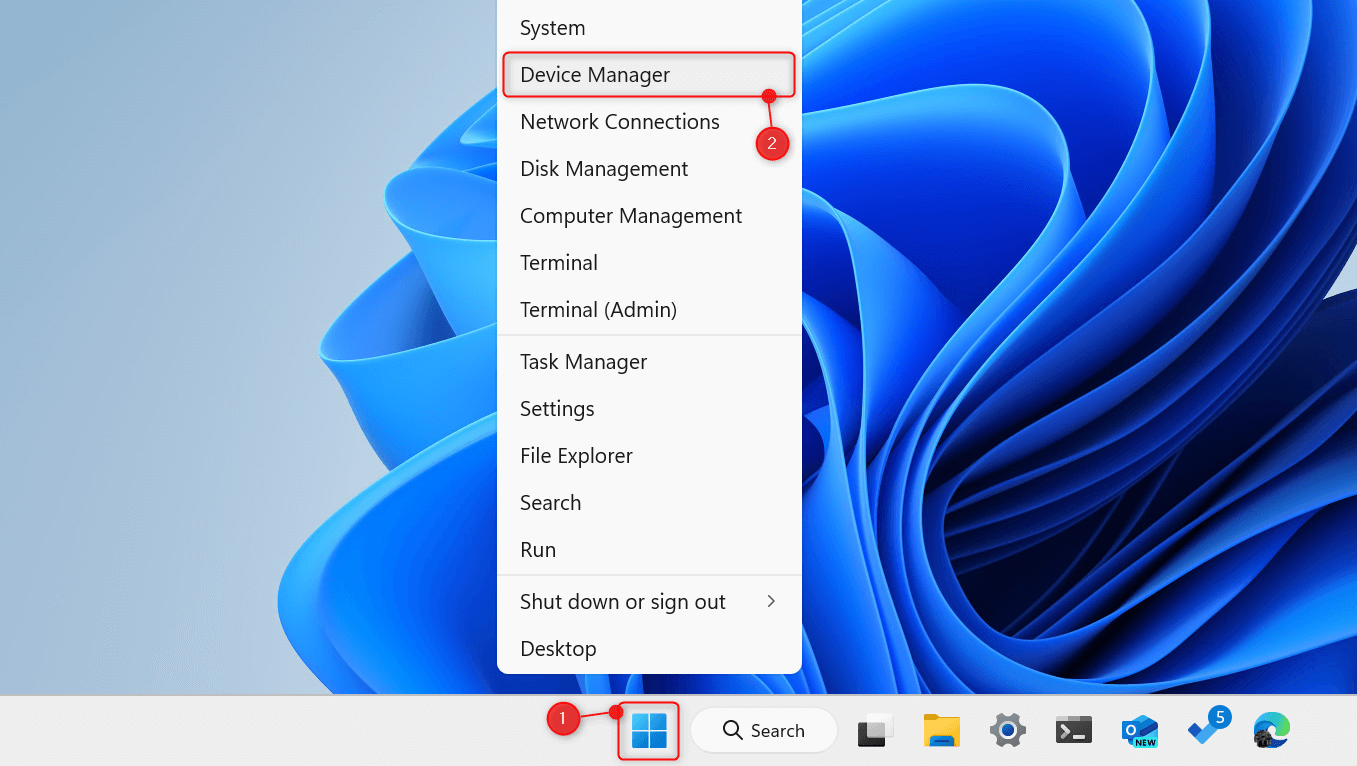
Right-click the Start button to open the Power User Menu. Then, from the listed options, click Device Manager.
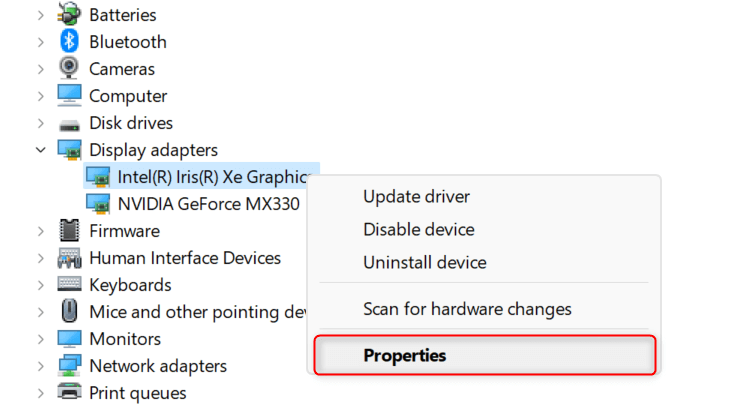
When Device Manager opens, from your drivers, right-click a display driver, memory controller, or system device, and choose Properties.
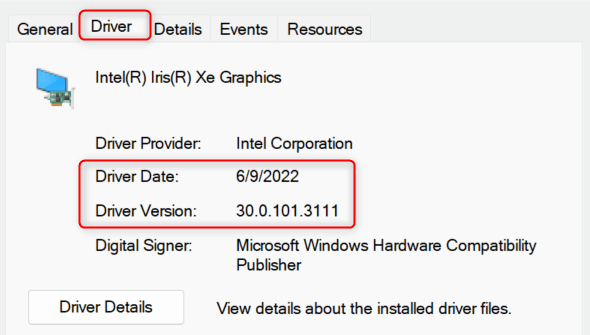
This will open the Properties panel. In the Driver tab, note down its version and date.
Go to the device driver’s manufacturer and look for driver updates. If there are versions newer than your current device driver, download the relevant update files from their website.
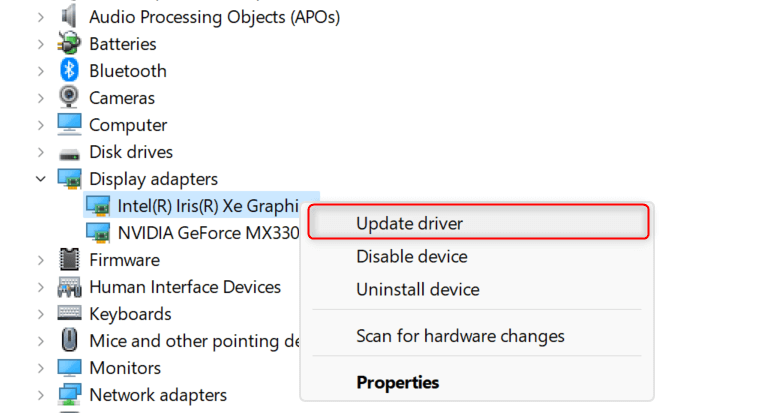
Launch Device Manager again. Right-click the driver you want to update and choose Update driver from the context menu.
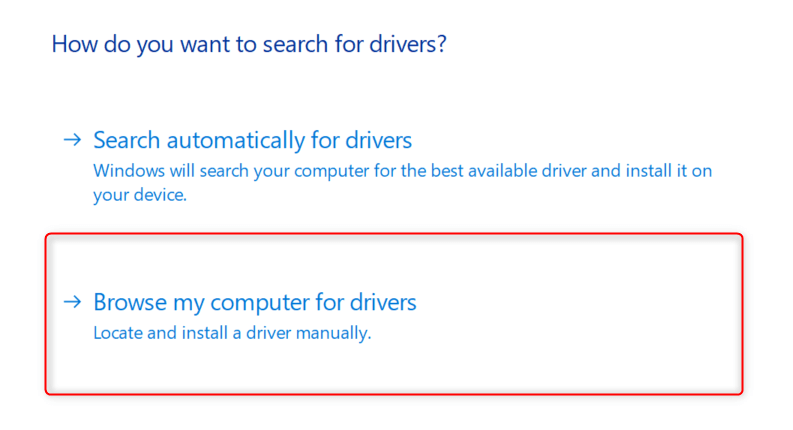
From the dialog that appears, under How do you want to search for drivers?, choose Browse my computer for drivers.
Under Search for drivers in this location, click the Browse button and choose the folder where your newly downloaded driver is located. Also, toggle on Include subfolders. Lastly, click Next.

Follow any further on-screen instructions to update your device driver.
Disable and Re-Enable Hyper-V
Blue screen crashes can also happen when your services related to Hyper-V aren’t well-configured. Restart them with these steps.
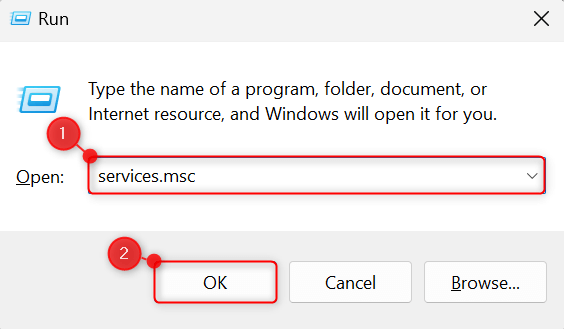
Launch the Run utility by pressing Windows + R. Type services.msc on the given text field and click OK.
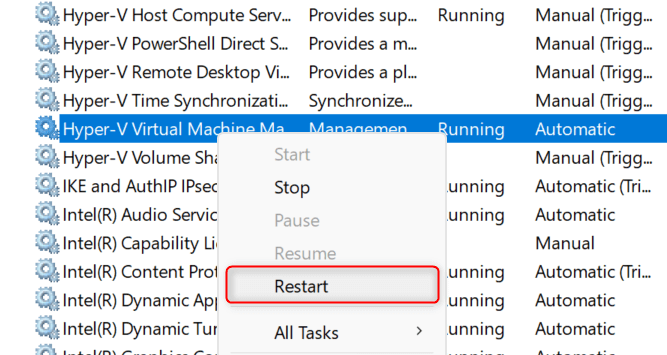
This will open the Services window on your screen. From the list of local services, find and right-click Hyper-V Virtual Machine Management. In the context menu, click Restart.
To make sure that all your changes apply, restart your computer.
Fix Windows’ Corrupted System Files
The System File Checker (SFC) and the Deployment Image Servicing and Management (DISM) are two system tools that can fix corrupted system files, which can cause a Hypervisor BSOD error on your PC. Here’s how you use them.
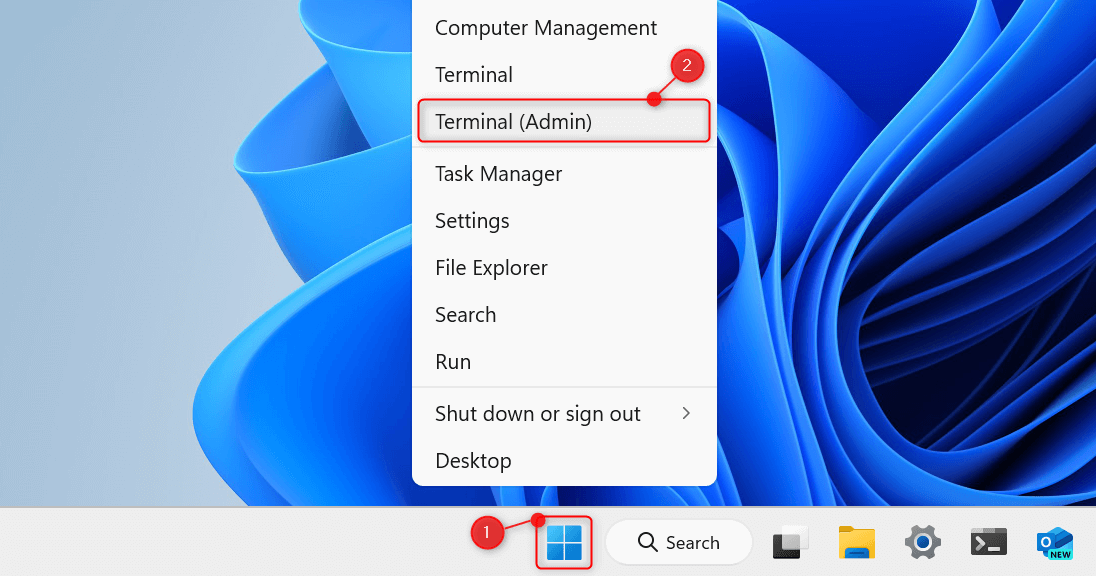
Right-click the Start button and choose Terminal (Admin) from the Power User Menu. Choose Yes in the User Account Control dialog.
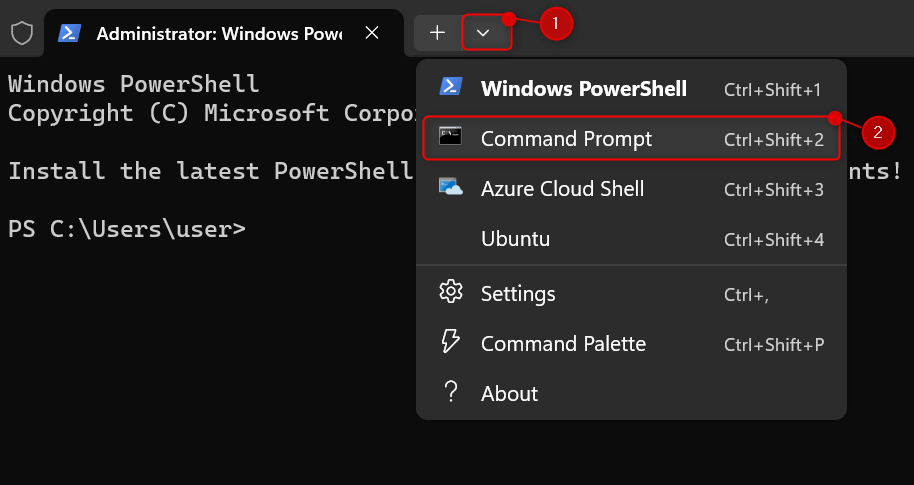
When an elevated Terminal launches, click the Open a new tab drop-down and choose Command Prompt. Alternatively, on your keyboard, press Ctrl + Shift + 2.
To scan and repair corrupted system files on your Windows 11 PC, run the command below:
sfc /scannow
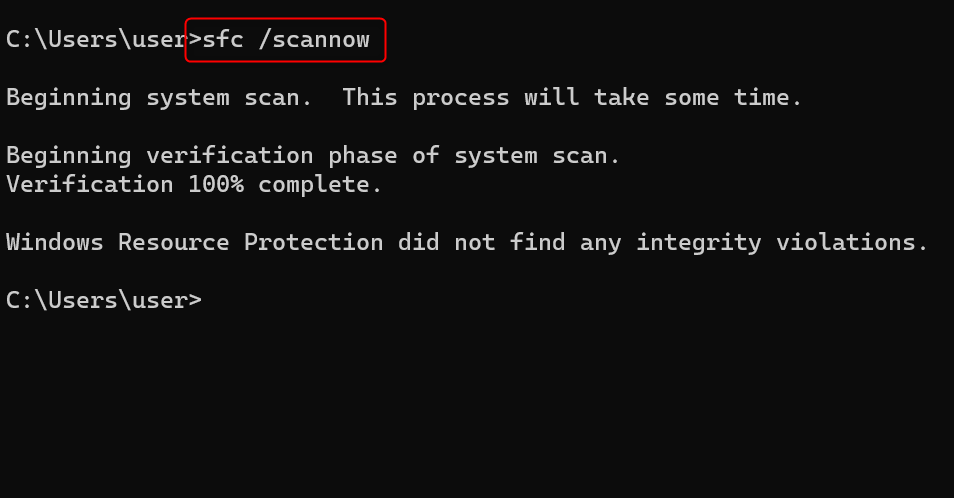
When detected, SFC will replace a corrupted or modified system file with its correct version. If that doesn’t fix the issue that causes a Hypervisor BSOD, run the following DISM command to repair your PC’s Windows system image:
DISM /Online /Cleanup-Image /RestoreHealth
Roll Back Your System Changes
When all of the above methods fail, restoring your system to an earlier version is your best bet. Note that you may lose data when using this method. These only include the operating system and program files you installed before rolling back system changes. Your personal files, such as documents, videos, and photos, won’t be affected.
Note that this method only works if you’ve enabled System Protection on your PC.
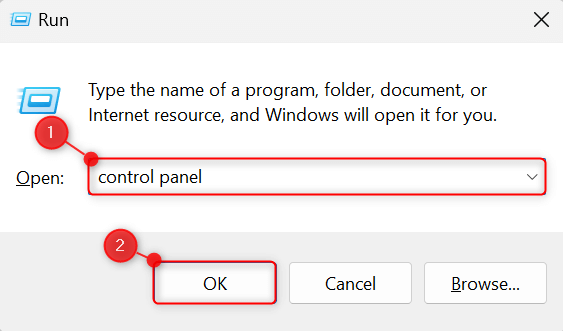
Launch Run by pressing Windows + R. Then, type control panel and click OK.
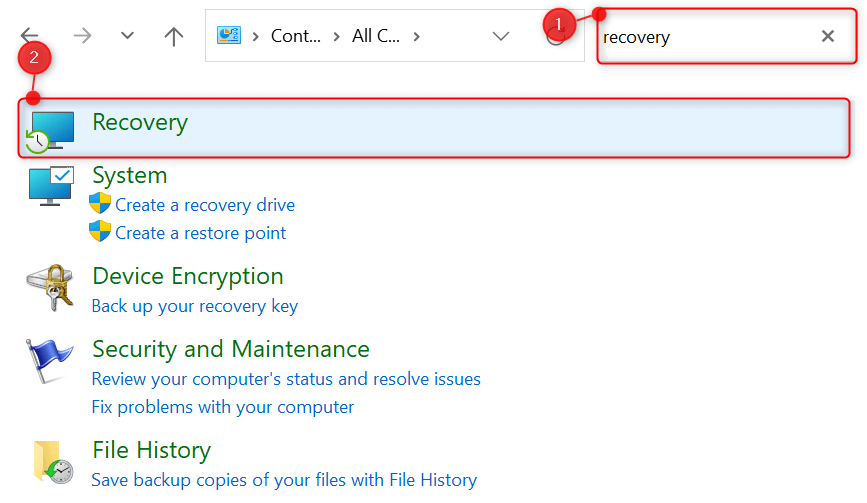
On the top right, click Search Control Panel and type recovery. Choose Recovery from the search results.
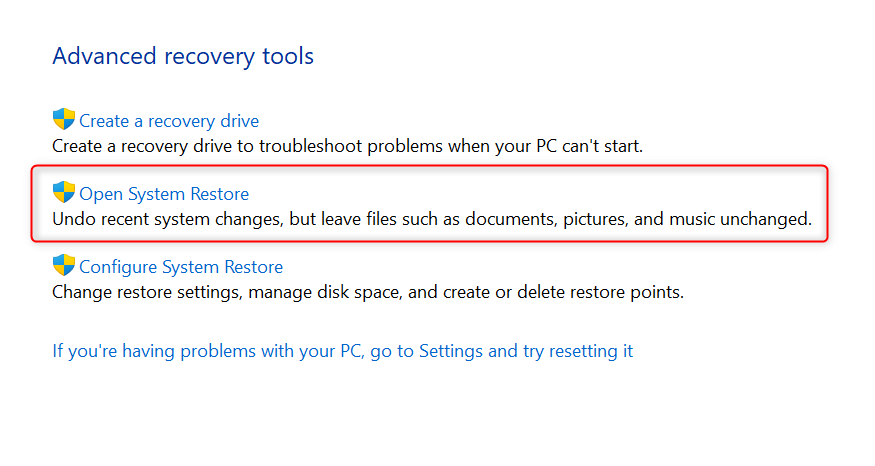
Under Advanced recovery tools, click Open System Restore.
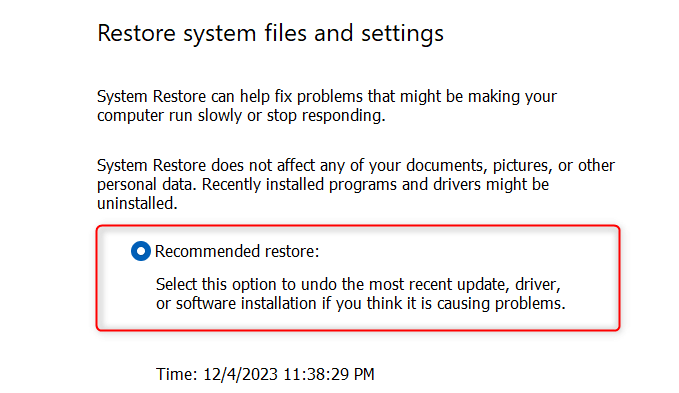
In the Restore system files and settings dialog box, choose Recommended restore and click Next.
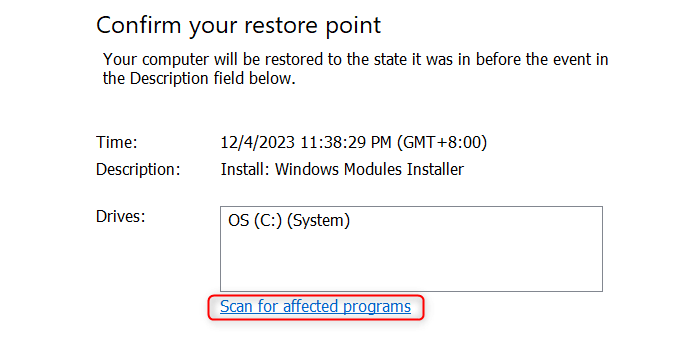
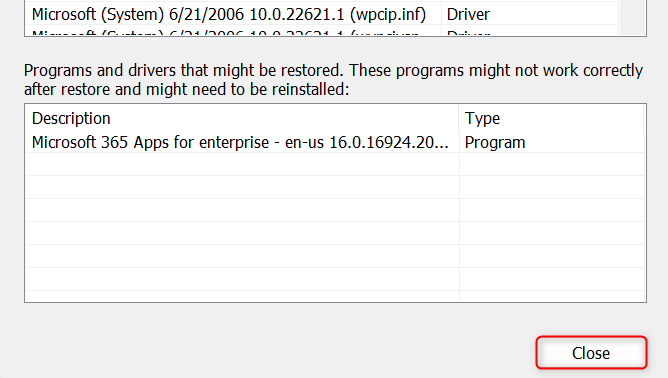
Choose and confirm your restore point in the next section. Then, click the Scan for affected programs link.
Another dialog box will appear on your screen, letting you know about all the apps that may be deleted or re-added after restoring your system. If you’re fine with this, click Close > Finish.
And you’re done.
A Hypervisor BSOD error can be frustrating, but there’s always a way around it. Keep in mind that there are many reasons for it to happen on your Windows 11 computer, so taking these approaches one by one is your best bet to fix the error.