![]()
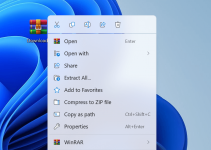
- You might not have enough permissions to install an app. To grant admin access, right-click your app installer file and select Run as administrator from the context menu. In the User Account Control dialog, choose Yes.
- Other ways to fix this issue include restarting your PC, enabling app installs from outside Microsoft Store, cleaning up your storage, checking for app compatibility, and disabling your antivirus program.
Can’t install new apps or programs you need on your Windows 11 PC? We’ve got you covered. We’ll show you six different methods to make sure you can install your applications, from basic reboots to advanced fixes like enabling apps from third-party sources and disabling your antivirus.
Run the App Installer as an Admin
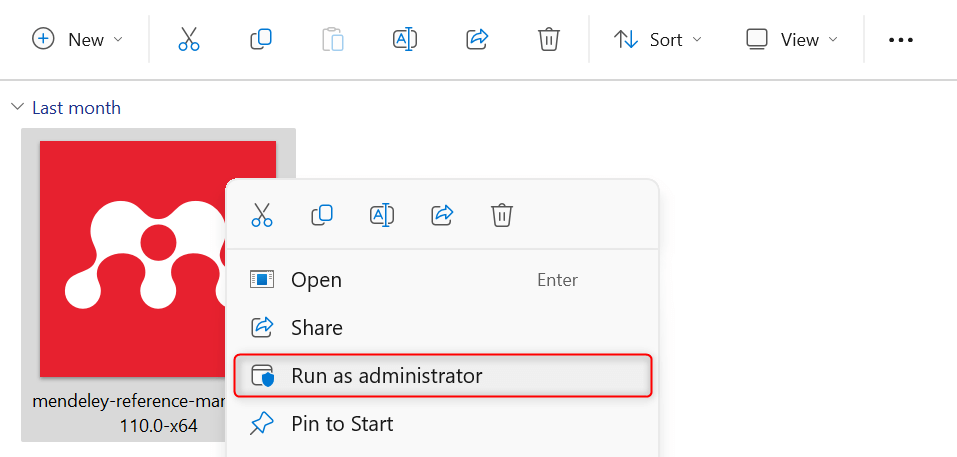
When you install an app, it needs to place files in specific locations like the Programs folder or Start menu. These folders require admin access for changes. Run your app installer as an administrator to ensure successful installation.
Press Windows + E to open File Explorer. Then, navigate to the folder where your app installer file is located (for example, the Downloads folder).
Right-click the installer file. From the context menu that appears, choose Run as administrator.
A User Account Control dialog box will appear on your screen, asking you to confirm the action. Choose Yes to proceed.
Your app installer file will now run with enough access permissions to the secure areas on your machine. If you’re using a company-provided computer, ask your IT administrators to do the installation process for you.
Restart the PC
If running your app installer as an administrator doesn’t help, restart your PC. Press Windows + X to open the WinX menu. Expand the Shut down or restart option and choose Restart.
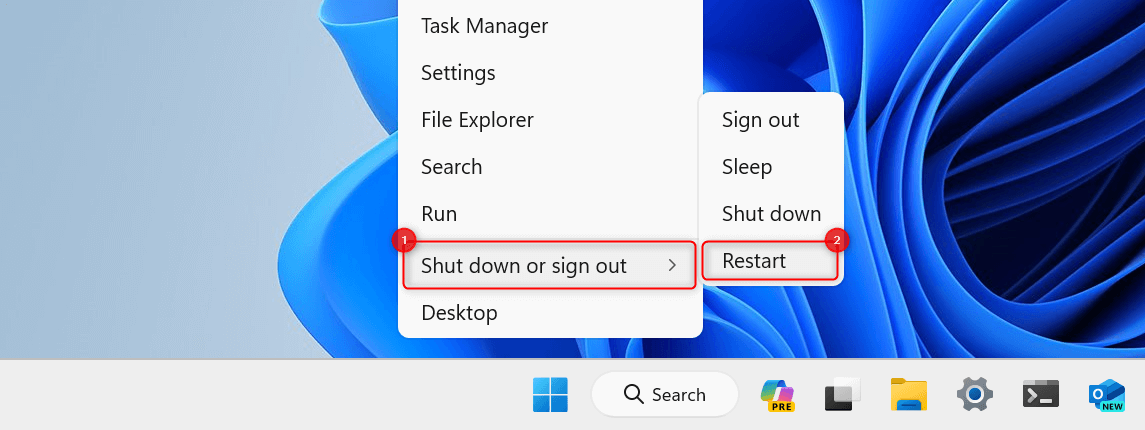
Many programs and processes run in the background while you use your computer. Restarting your PC clears these out, giving the app installation a clean slate without any potential conflicts.
After restarting, run your app installer with or without admin rights and see if it pushes through.
Enable the Option to Get Apps From Anywhere in Settings
Your computer might be set to only allow app installations from Microsoft Store. To change this and enable the option to install apps from other sources, follow these steps.
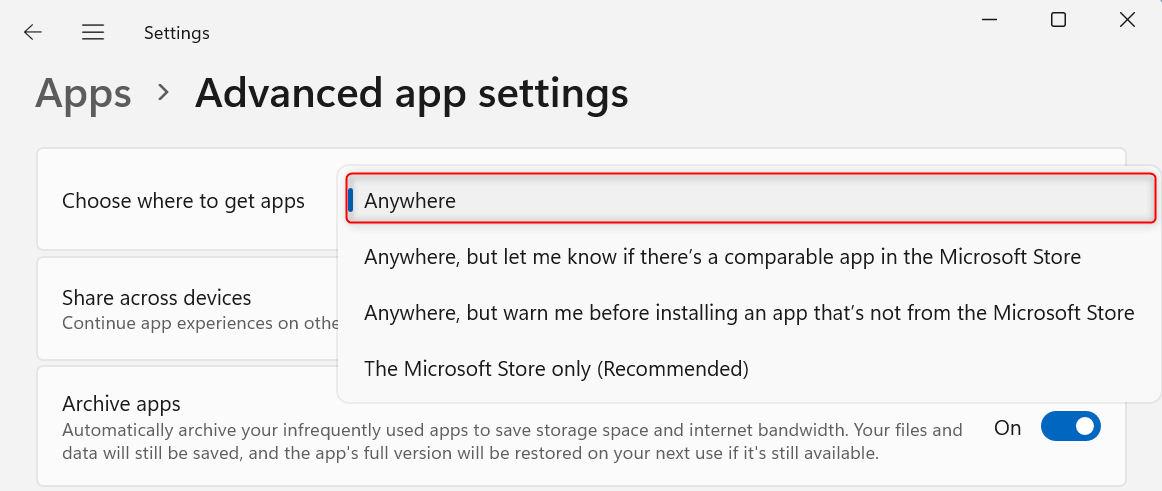
Press Windows + I to open Settings. Switch to the Apps submenu and choose Advanced app settings.
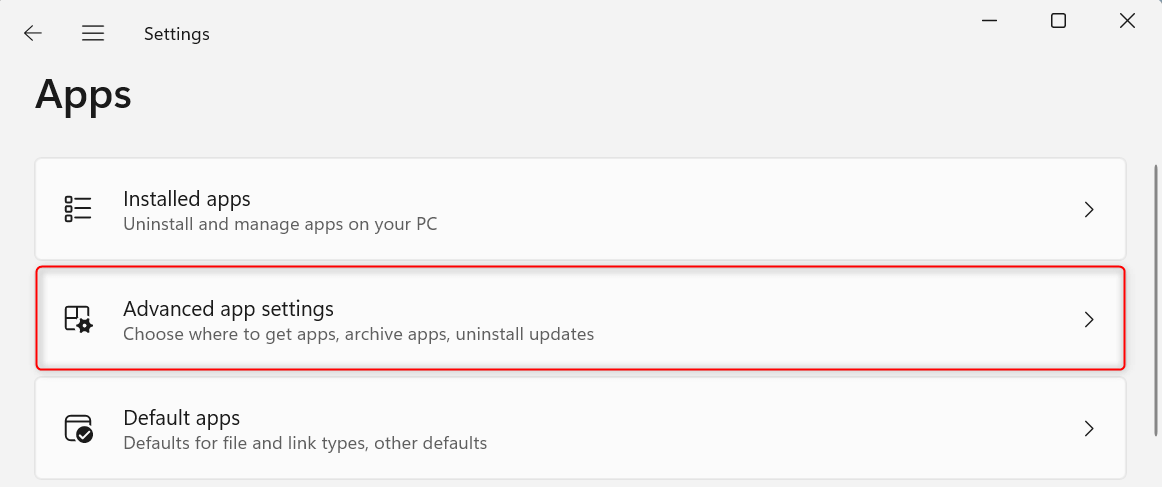
In the Advanced app settings section, expand the Choose where to get apps drop-down and select Anywhere (or any of its variants).
Close the Settings app and restart your computer to ensure that your preferences apply. Once your machine starts, run your app installer files.
Note: If you don’t see that option, you might be using Windows 11 S mode. This is only available to PCs running the Windows 11 Home edition. Under this mode, the only download channel that you can use to get new apps is Microsoft Store.
To turn off S mode, navigate to Settings > System > Activation. Under Switch to Windows 11 Home, click Go to the Store. In a Switch out of S mode page, choose Get and follow any other instructions on your screen.
You will be able to install apps from other sources as soon as you switch out of Windows 11 S mode.
Check if the App Is Compatible With Your PC
It might be that the app you’re trying to install is not compatible with your computer in the first place.
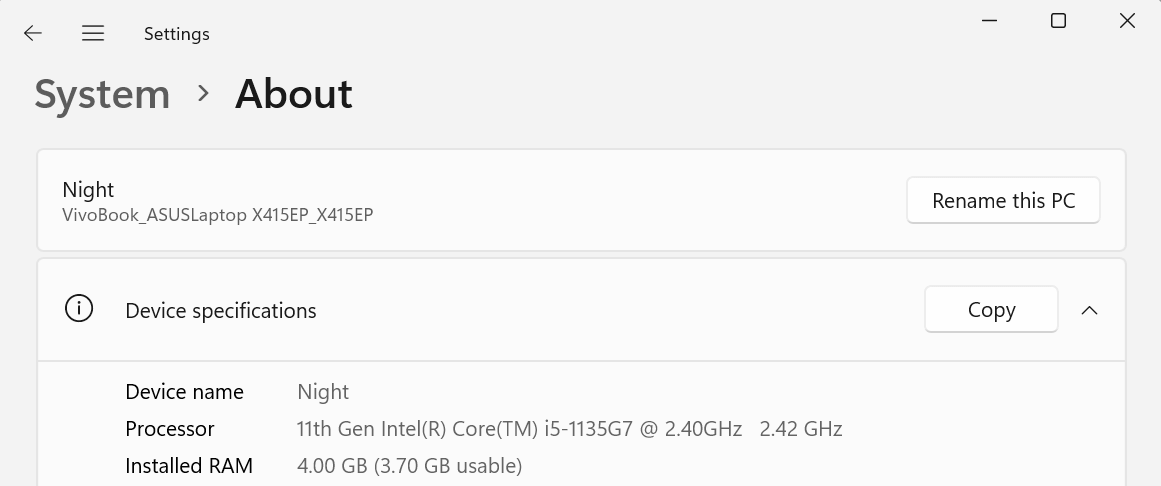
When downloading an app installer file, look for sections like “System Requirements” or “Compatibility.” This section will usually specify the operating system (OS) and hardware requirements (like RAM and processor) needed to run the program.
Compare the listed requirements with your PC’s specifications. To see these details, open Settings (using Windows + I) and navigate to System > About.
If the specifications don’t match, consider finding an alternative that works for your computer.
You can also search for that application on Microsoft Store. If it doesn’t appear from the search results or its purchase button is grayed out, that app isn’t compatible with your PC.
Free Up Storage Space
Apps need to store information on your machine, but that won’t be possible on storage with low space available. To ensure that these apps can install and work properly, free up your storage space.
Manual Cleanup
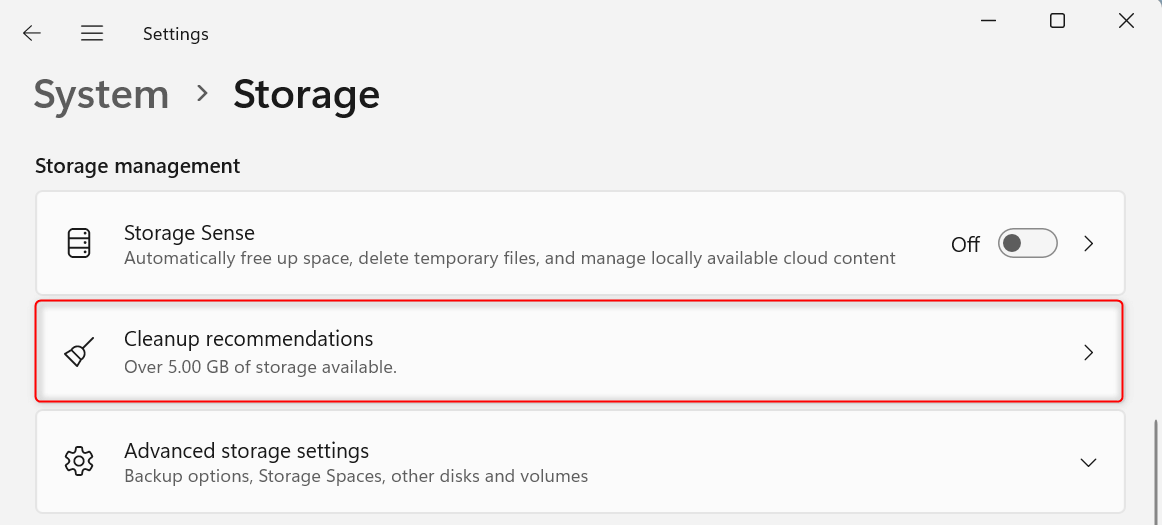
Press Windows + I to open Settings. Navigate to the System submenu and choose Storage. Under the Storage management section, open the Cleanup recommendations option.
In the next section, expand the Temporary files drop-down. If you want to empty the Recycle Bin, check the box for Recycle Bin. You can also select Downloads to further clean your storage. Make sure that you no longer need the files inside these folders before proceeding.
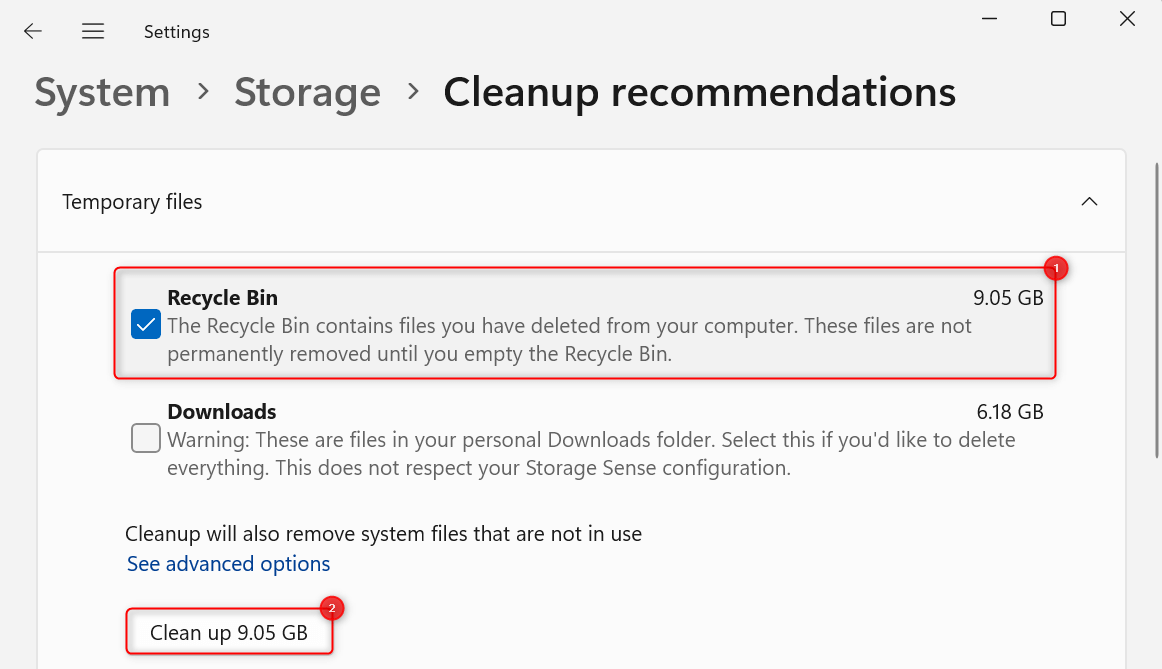
After selecting your options, click Clean up. To further free up your storage space, repeat the process for the other categories available.
Using Storage Sense
You can also set automatic cleanups to ensure that your computer doesn’t run out of available storage. This can be done with the Storage Sense feature from Microsoft.
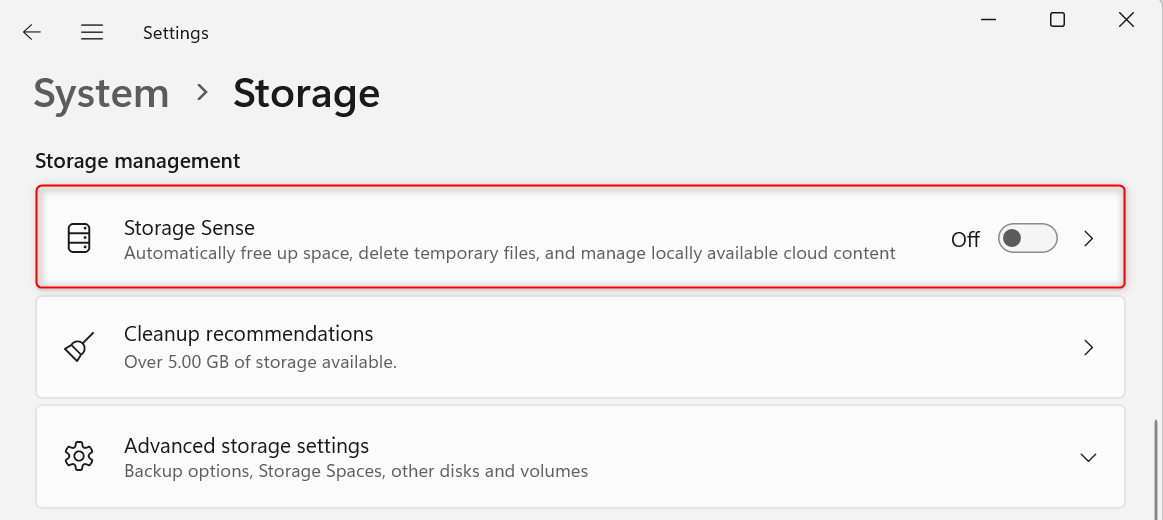
In the Settings app, navigate to System > Storage. Under Storage management, click Storage Sense.
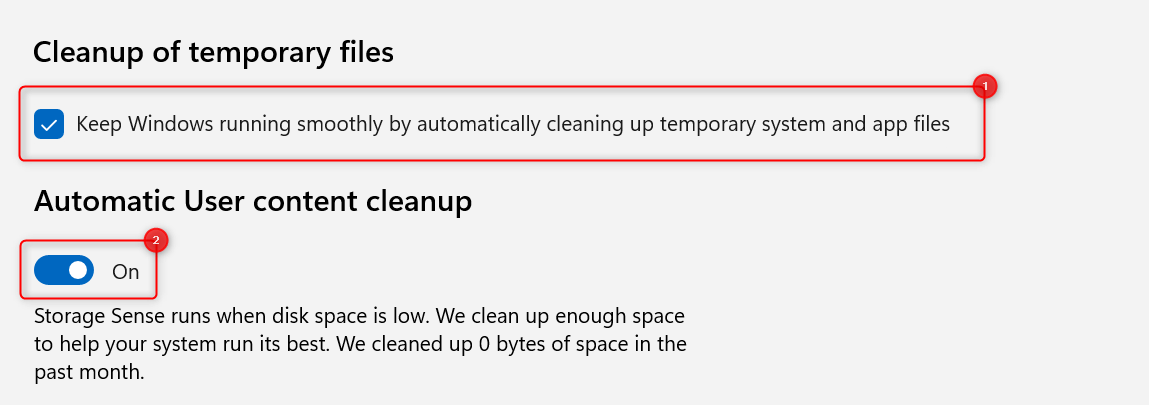
Under Cleanup of temporary files, check the box for Keep Windows running smoothly by automatically cleaning up temporary system and app files.
For Automatic User content cleanup, click the toggle button and ensure that it’s set to On.
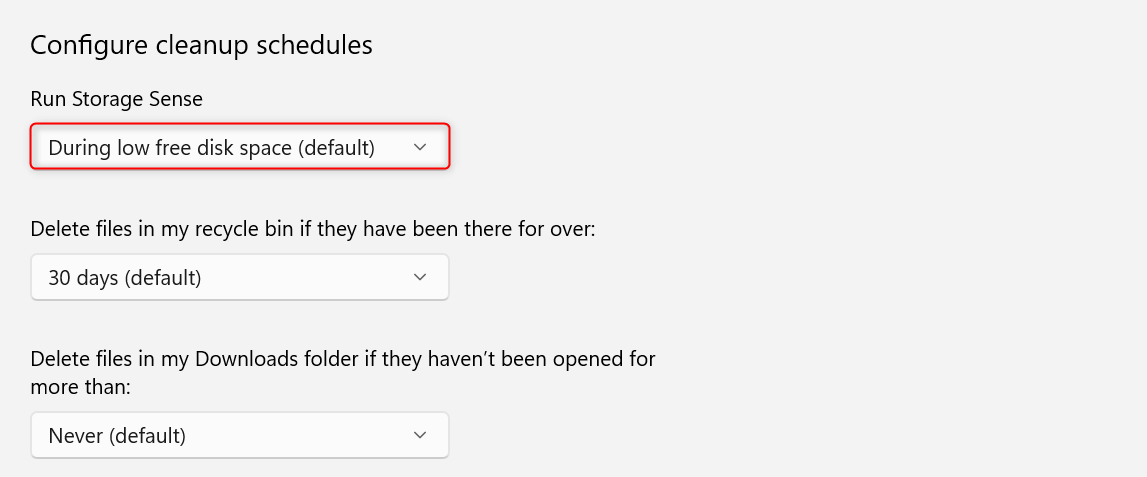
Under Configure cleanup schedules, expand the Run Storage Sense drop-down and select your preferred interval. We recommend you choose During low free disk space to ensure you don’t lose files all of a sudden.
Leave everything else to their defaults. After freeing up your storage, run your installer file and see if you can successfully get your new app.
Temporarily Disable Your Antivirus
Your antivirus might block your app installer if it detects something that might compromise your security. However, antivirus programs are also susceptible to producing “false positives,” where they detect red flags that are actually non-existent.
If you’re sure about the source of your app installer file, temporarily disable your antivirus. The specific interface will vary depending on the program you’re using but here’s how you do it on Microsoft Defender Antivirus.
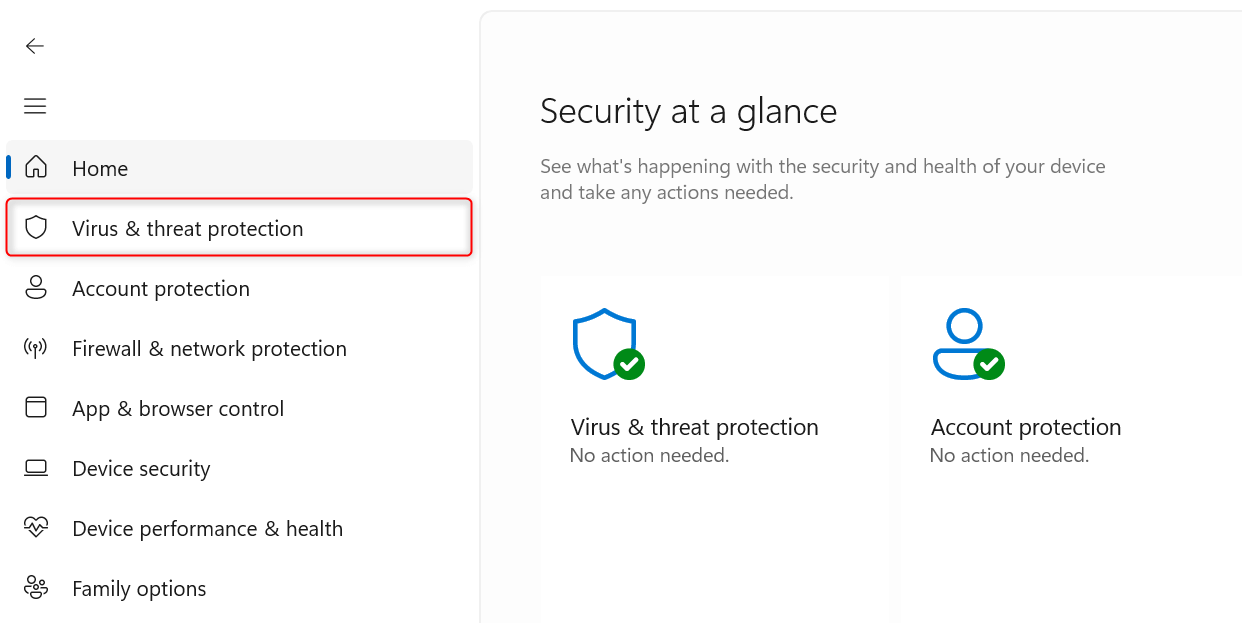
Using the Start menu, find and launch the Windows Security app. Once it opens, switch to the Virus & threat protection tab.
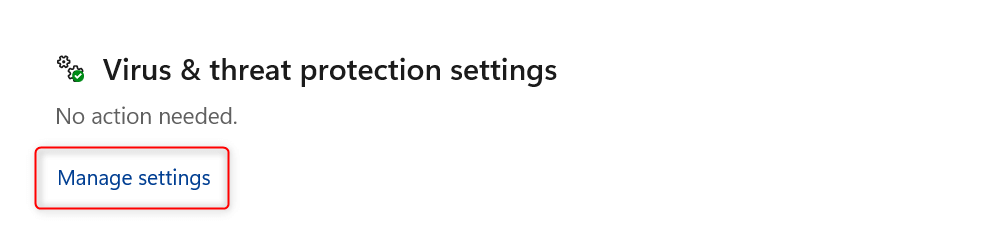
Under Virus & threat protection settings, click Manage settings.
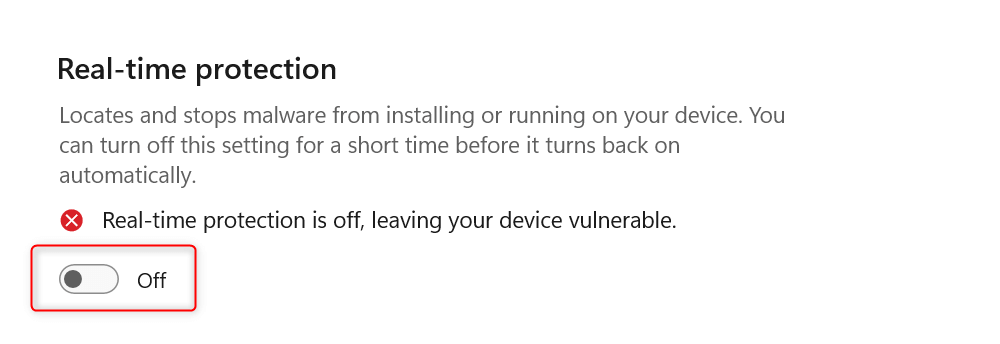
Switch off Real-time protection. In the UAC dialog box, choose Yes. This will temporarily disable Microsoft Defender Antivirus. It will automatically turn back on in a short while.
Run your app installer and proceed with the installation process. Keep in mind that there’s no need for you to turn off other features of Microsoft Defender Antivirus. If the app developer requires you such, that app is likely unsafe.
And that’s how you fix your settings when you can’t install apps on your Windows 11 PC. Unless you get your app installer files from reputable sources, we recommend you install new apps or features from Microsoft Store for both convenience and security.