
- First, remove all installed Linux distros by heading into Settings > Apps > Installed apps, selecting the three dots next to a distro, and choosing Uninstall.
- Second, delete all WSL components by going to Settings > Apps > Installed apps, selecting the three dots next to each Windows Subsystem for Linux instance, and clicking Uninstall.
- Third, deactivate WSL by navigating to Settings > Apps > Optional features > More Windows features, disabling the Windows Subsystem for Linux option, clicking OK, and choosing Restart now.
Want to remove WSL (Windows Subsystem for Linux) from your Windows 11 PC? Whether you prefer an alternative for your Linux distros or simply want it gone, it’s easy to delete WSL and all its components on your computer. We’ll show you how to do just that.
What Happens When You Remove WSL
When you delete WSL from your PC, a few things happen:
- You can’t run Linux distros anymore on your Windows system.
- If you have existing WSL user data, that will all disappear. Backing it up is a good practice if you plan to go back to using WSL in the future.
- If you’re using WSL 2, uninstalling it means its accompanying virtual machine platform will also get deleted.
Know that WSL is not the only option for running Linux out there. If you want to use an alternative, uninstalling it becomes more important to avoid conflict between the two.
Step 1. Uninstall All Installed Linux Distros
If you have installed Linux distros, you need to uninstall them first. Otherwise, files associated with your distro will remain on your system, taking up unnecessary storage space and potentially causing conflicts with other software. There are three ways to do this:
Using the Settings App
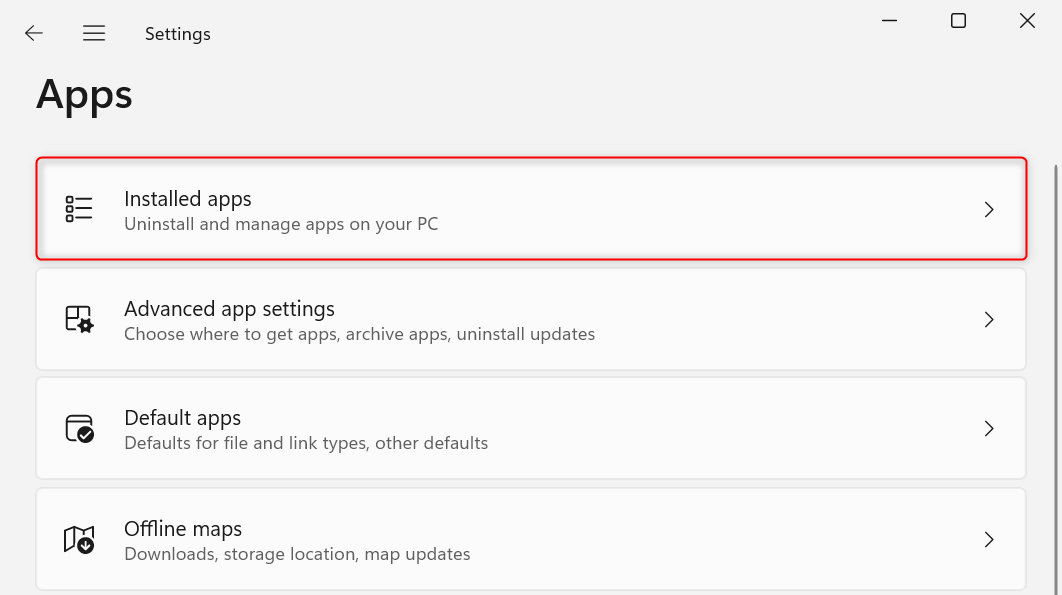
On your keyboard, press the Windows + I keys to open Settings on your computer. Then, go to Apps > Installed apps.
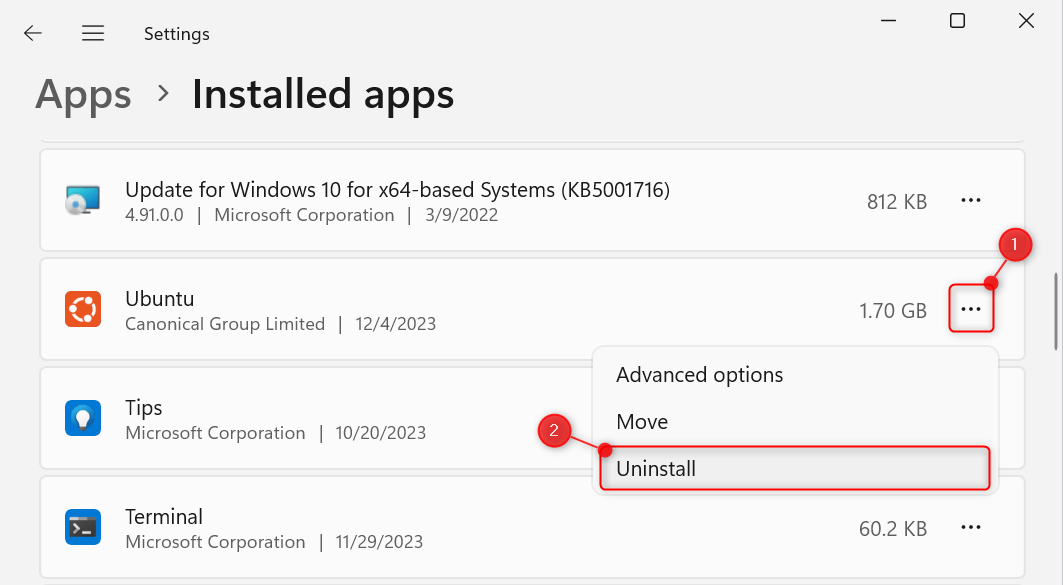
Find your Linux distro from the list (in this example, Ubuntu). Then, click its corresponding ellipsis icon and choose Uninstall from the expanded options.
Using the Windows Package Manager
You can use the Windows Package Manager (which is the winget command in Command Prompt) to uninstall your Linux distros.
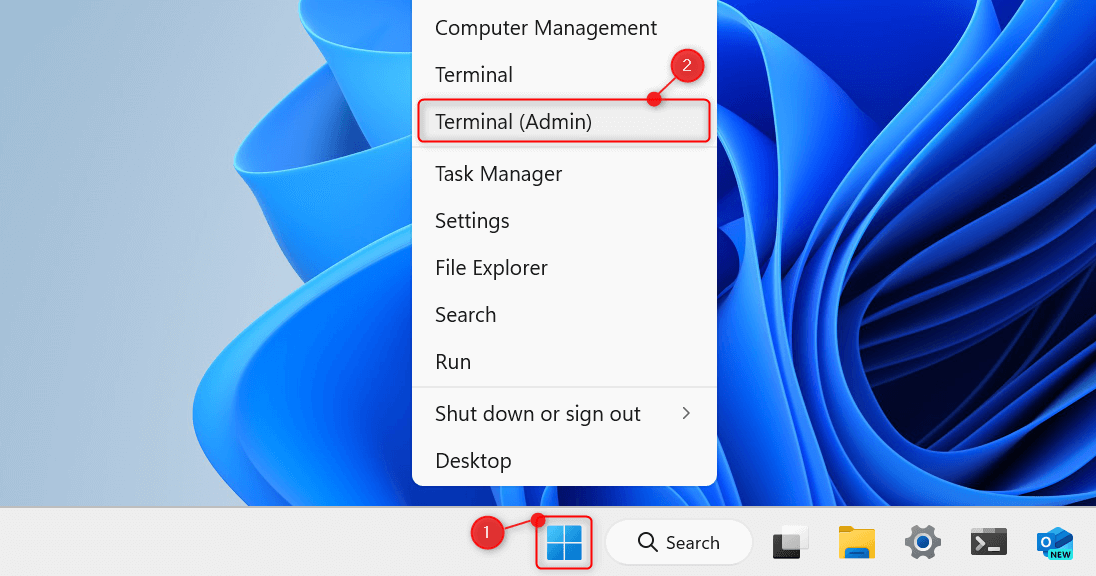
Right-click the Start button and choose Terminal (Admin) from the Power User menu. In the User Account Control dialog, choose Yes.
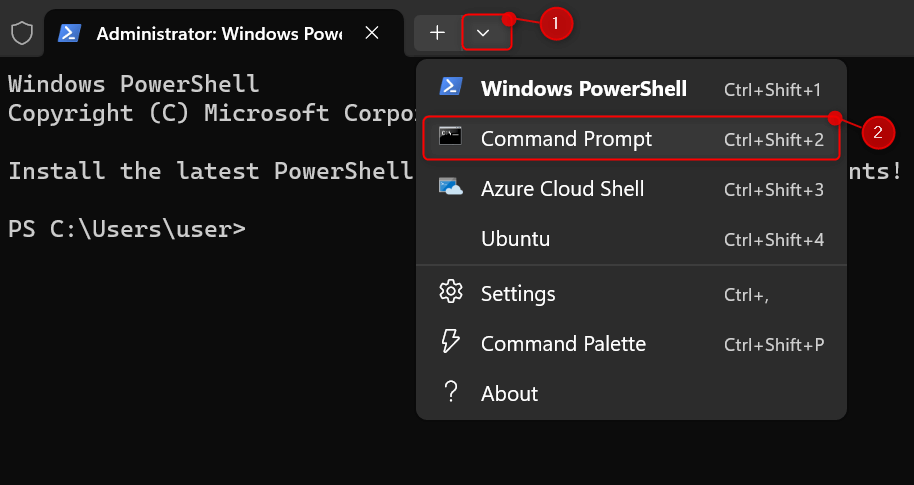
At the top of Terminal, click the Open a new tab drop-down and choose Command Prompt.
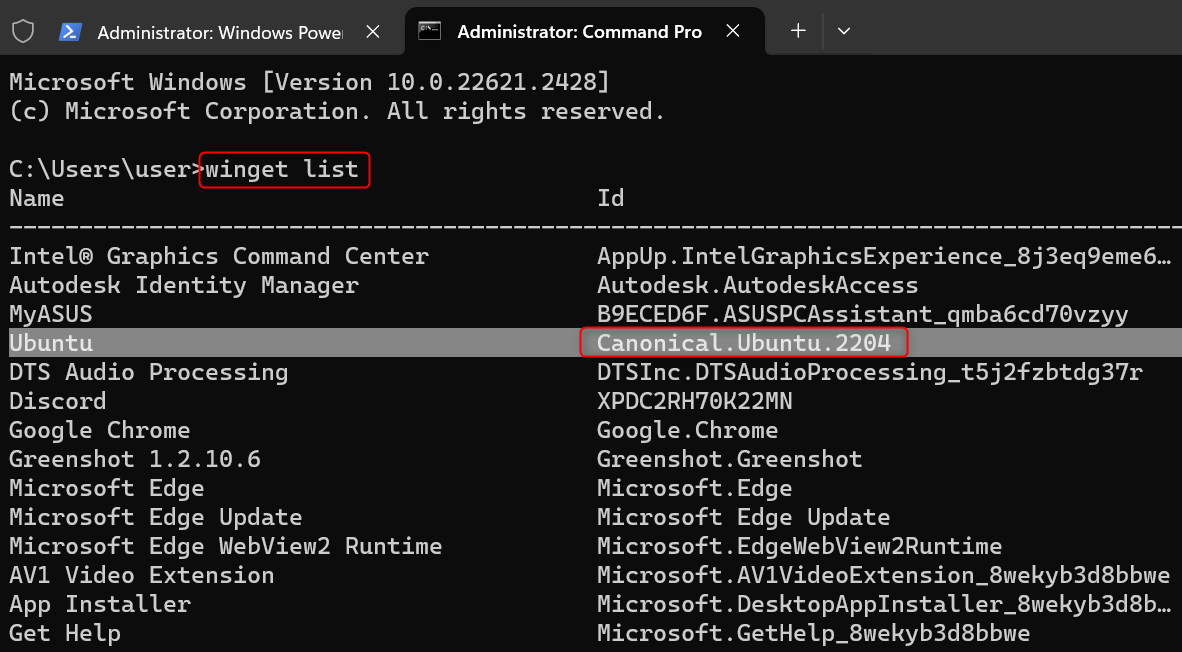
 On the command line, type winget list and press Enter. This will display all of your installed apps. From this list, find and note down the ID value for your Linux distro.
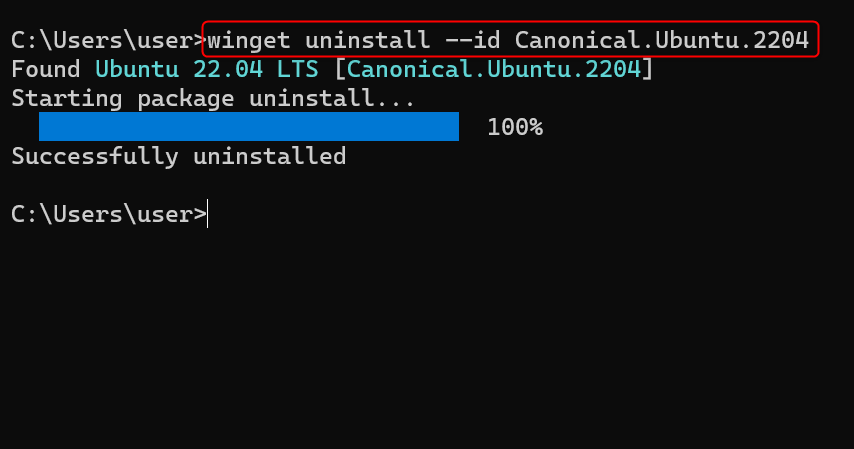
Finally, run this command:
winget uninstall --id [ID-NAME]
Make sure to replace [ID-NAME] with the ID of your distro. For example, type winget uninstall –id Canonical.Ubuntu.2204.
Removing an Imported Linux Distro
You cannot uninstall your Linux distro using the Settings app if you imported it from a backup. Here’s how you remove it:
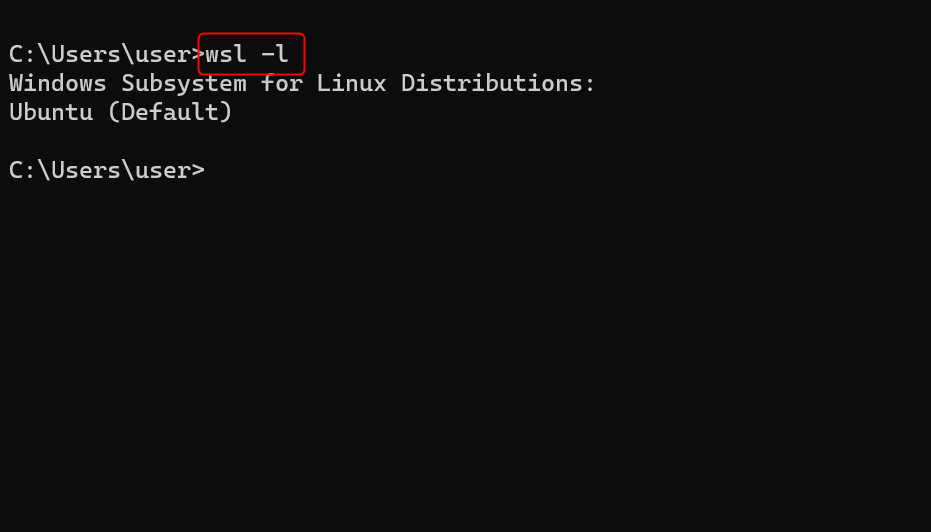
Launch Command Prompt with administrator access. Then, on the command line, type wsl -l and press Enter. This will display all currently installed Linux distros on your PC.
 Finally, run the following command:
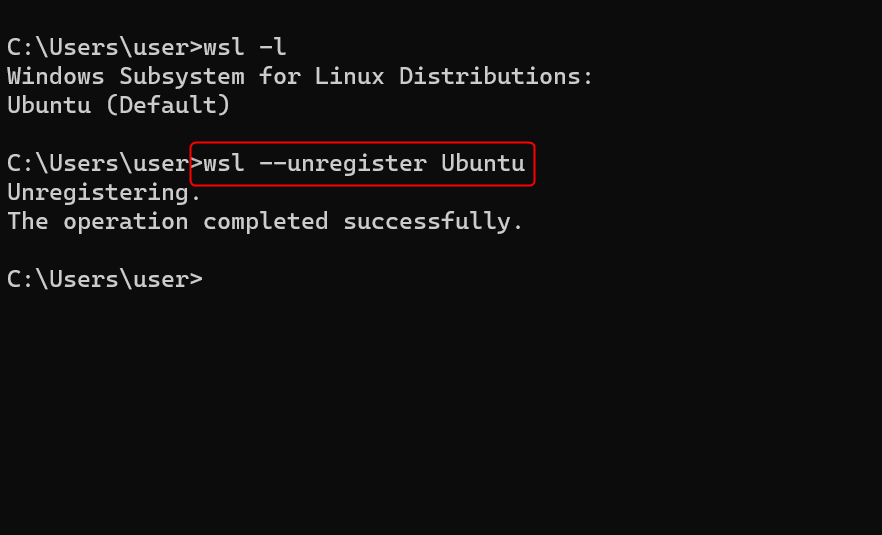
wsl --unregister [DISTRO]
Replace [DISTRO] with the name of the distro you want to uninstall (for example, wsl –unregister Ubuntu).
Note: This method only makes the Linux distro unavailable on WSL. It won’t be completely uninstalled from your PC.
Backing Up Your Linux Distro
It’s a good practice to back up your current Linux distro by exporting it. This is useful if you decide to pick up WSL again in the future. It only takes a few steps:
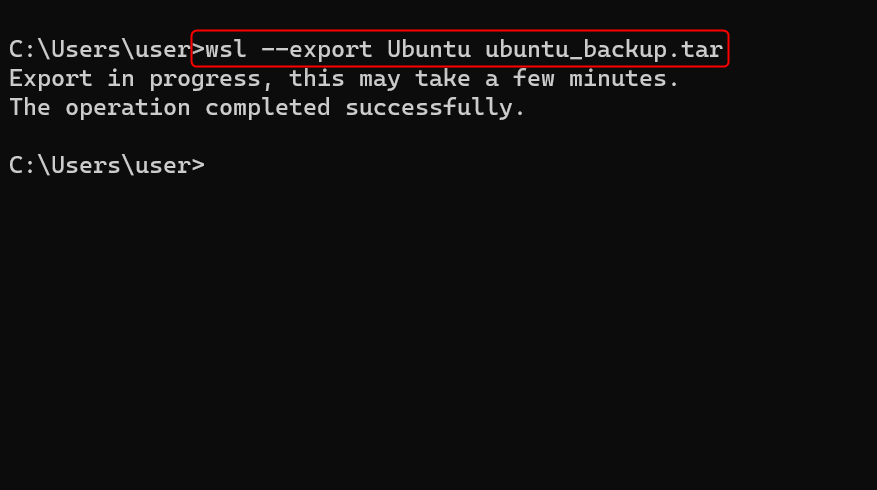
Launch Command Prompt with administrator access. Then, run the following command:
wsl --export [DISTRO] [export-name].tar
Replace [DISTRO] with the name of the distro that you want to back up. Also, replace [export-name] with your preferred file name.
Step 2. Delete Windows Subsystem for Linux Components
After removing Linux installations and their associated files, you can proceed to delete the components of WSL on your computer. You can approach this as you would when uninstalling a regular app.
Open Settings and navigate to Apps > Installed apps. From the list, find Windows Subsystem for Linux. Click More (an ellipsis icon) and choose Uninstall from the provided options.
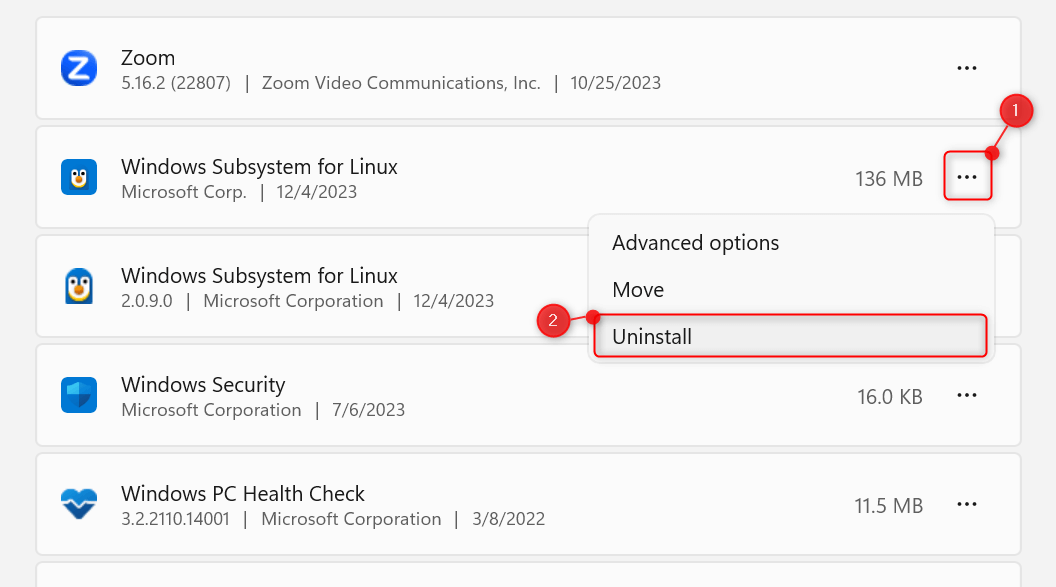
Do this for all instances of or related to WSL on the list.
Step 3. Deactivate WSL on Windows 11
With all associated Linux files and components removed, your last step is to disable WSL on Windows 11. You can do this by adjusting your options in the Windows Features panel.
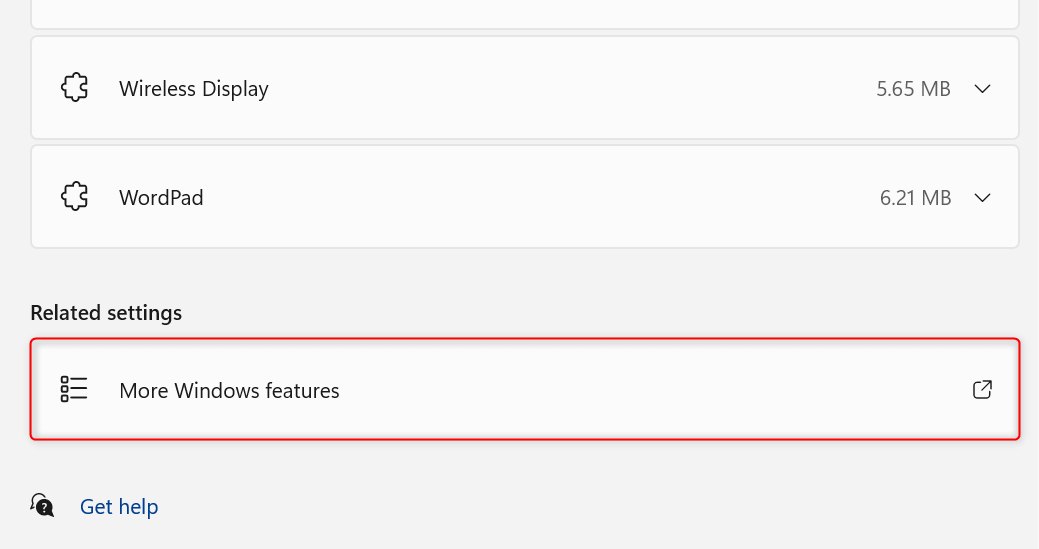
In the Settings app, go to Apps > Optional features.
 Scroll down to the bottom of the page. Then, under Related settings, click More Windows features. This will open the Windows Features window on your screen.
From the list, find Windows Subsystem for Linux and clear its corresponding checkbox. Then, click OK.
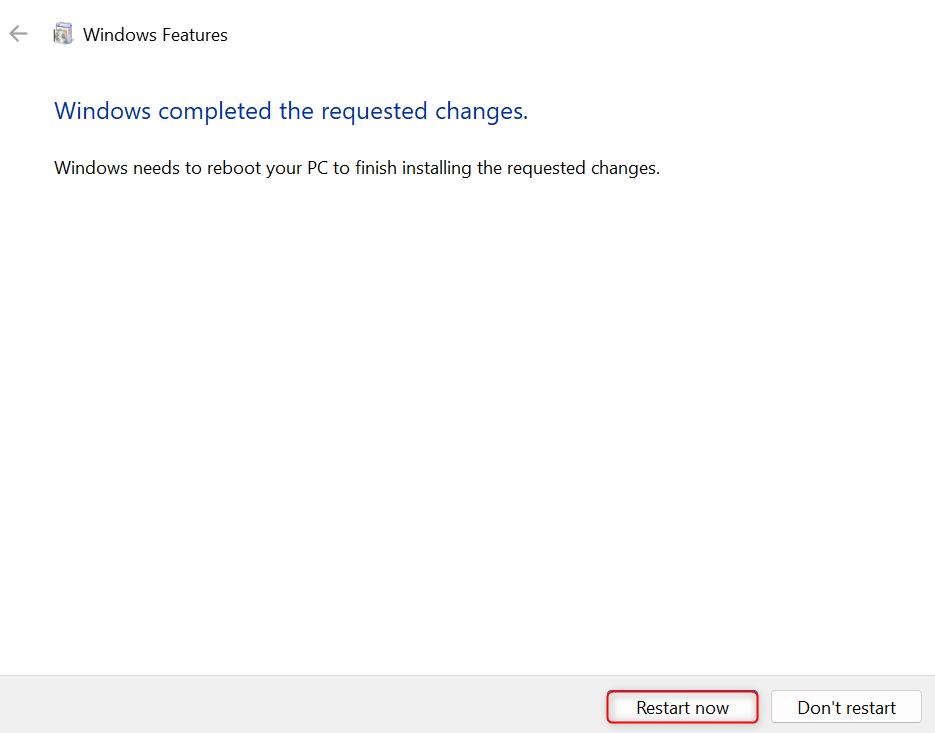
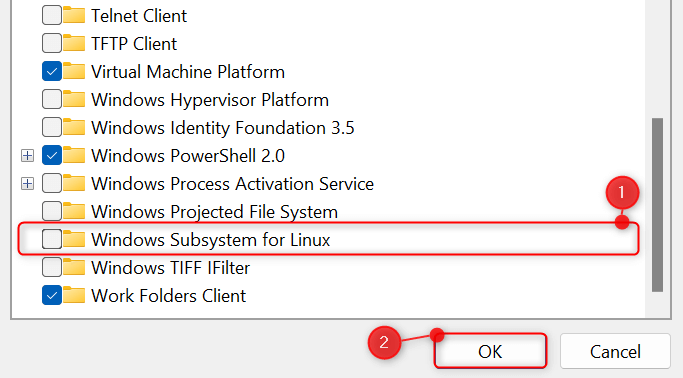 In another dialog, wait for Windows Features to finish preparing the files and process your requested changes. Once done, click Restart now.
Can You Reinstall WSL on Your PC?
If you change your mind in the future, you can always go back and reinstall Windows Subsystem for Linux on your PC. Here are two ways to do it; choose either:
- Download and install WSL from the Microsoft Store (you can reinstall Microsoft Store if it isn’t working).
- Using elevated Command Prompt, run this command: wsl –install
Once reinstalled, you can also choose to import any Linux backup that you exported in the past.
And you’re all set. While WSL doesn’t do anything harmful to your Windows 11 computer, uninstalling it if you want to free up extra storage space or use another platform to run your Linux distro. Before performing our methods, consider exporting a backup of your current distro first to preserve your data and even import it if you reinstall WSL.