Gone are the days of messy handwriting and trips to the stationery store. You can use Microsoft Word to design, print, and send eye-catching envelopes with just a few clicks. The best part? You’re not limited to a single design. Word offers a variety of fonts and even different envelope sizes to create an envelope of your choice.
Creating an envelope in Word involves going through three phases: creating an envelope, customizing it, and then printing it. Here’s each phase.
Step 1. Creating an Envelope and Adding Addresses
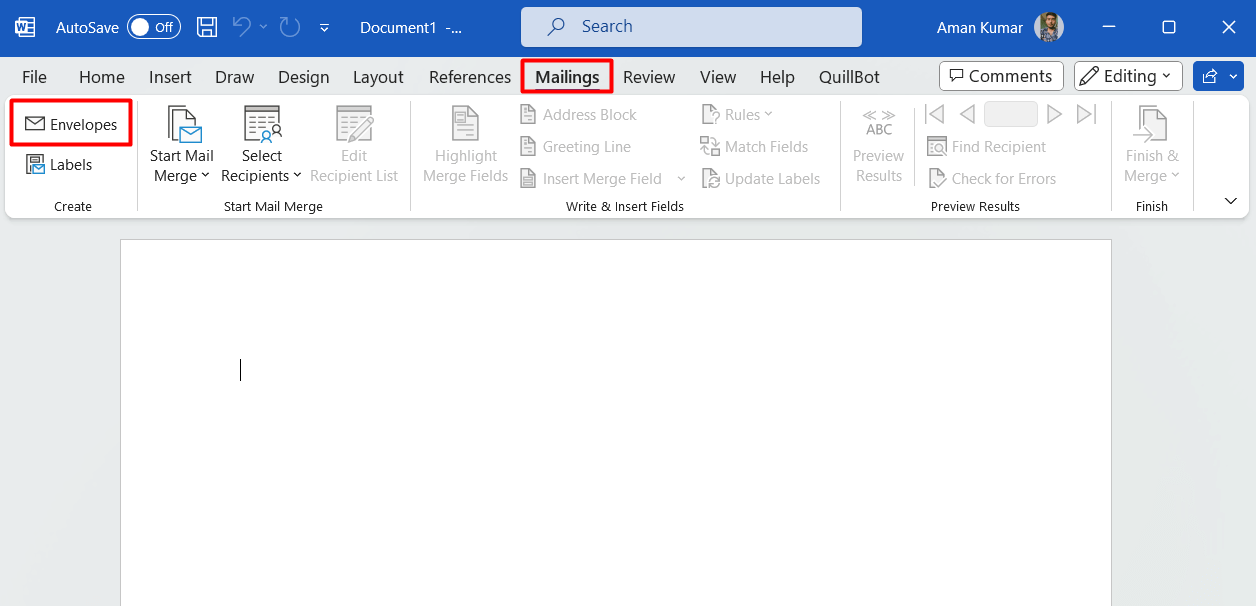
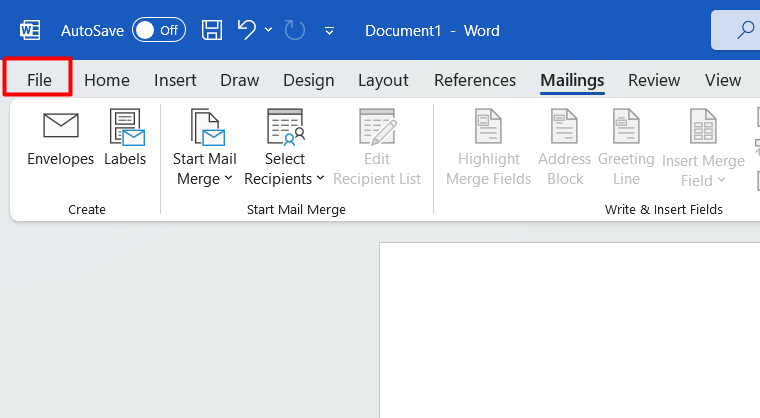
Let’s start with creating the envelope. First, open Microsoft Word, and in the top menu bar, select the Mailings tab. Within that tab, click the Envelopes option.
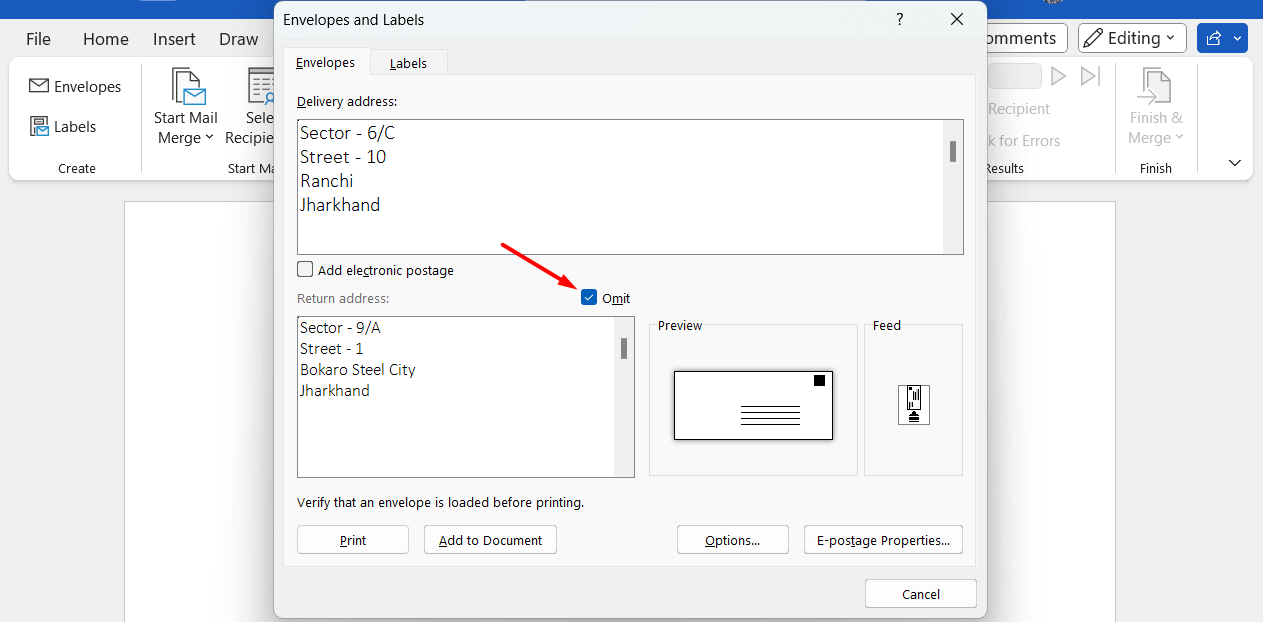
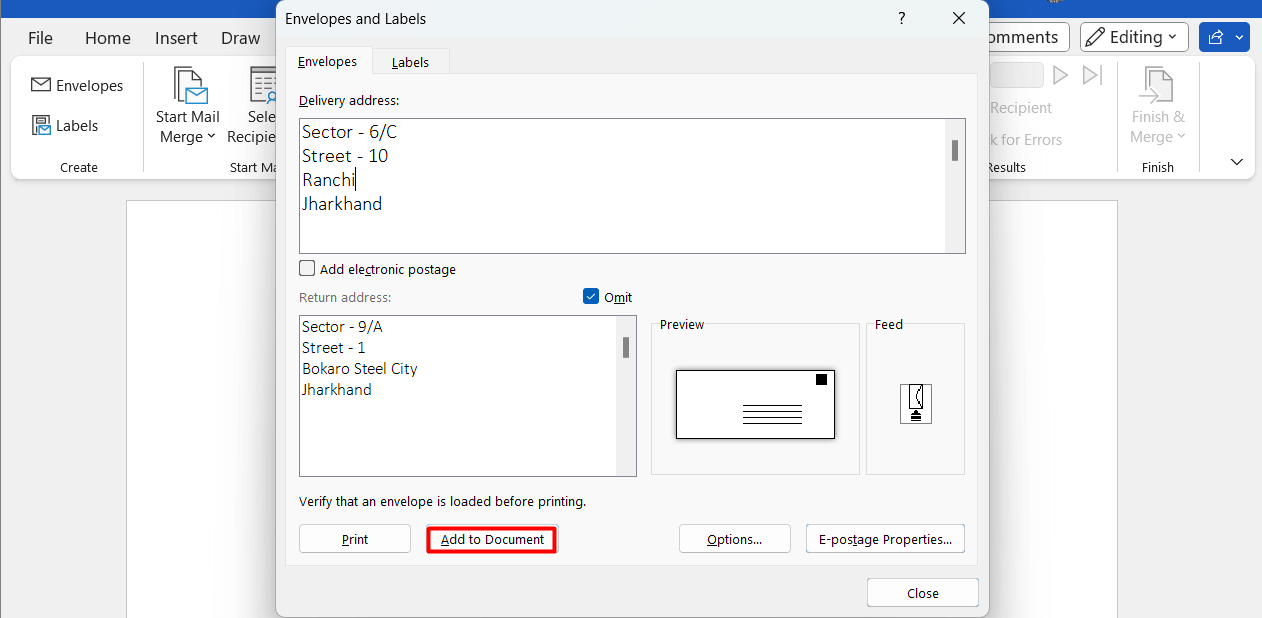
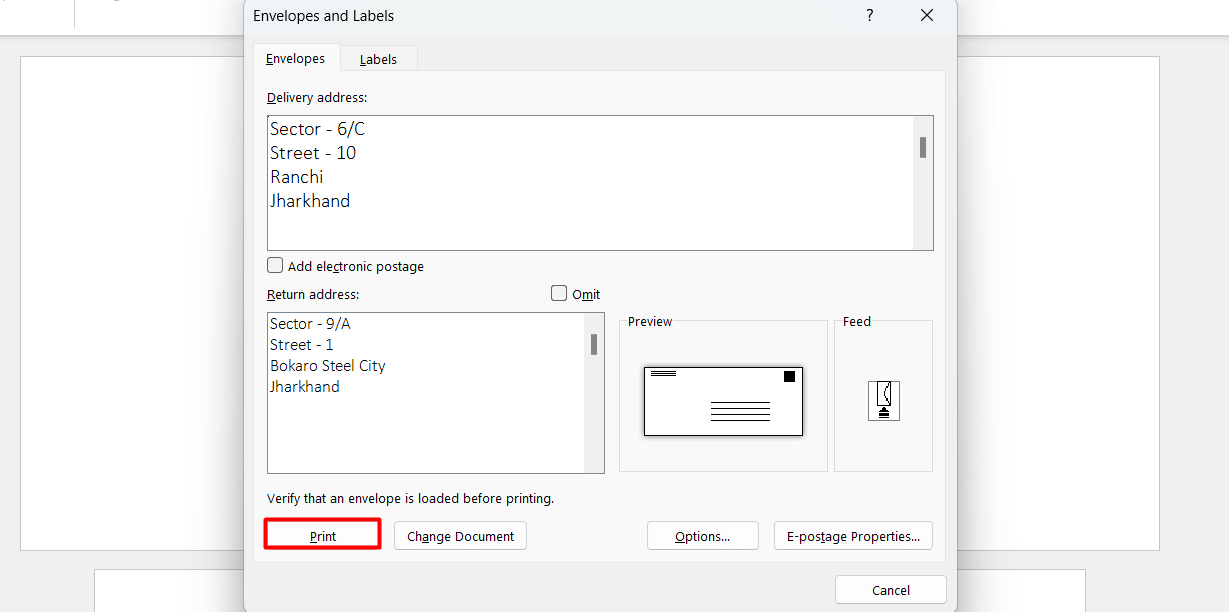
In the Envelopes and Labels window, type the recipient’s address in the Delivery address box and your address in the Return address box.
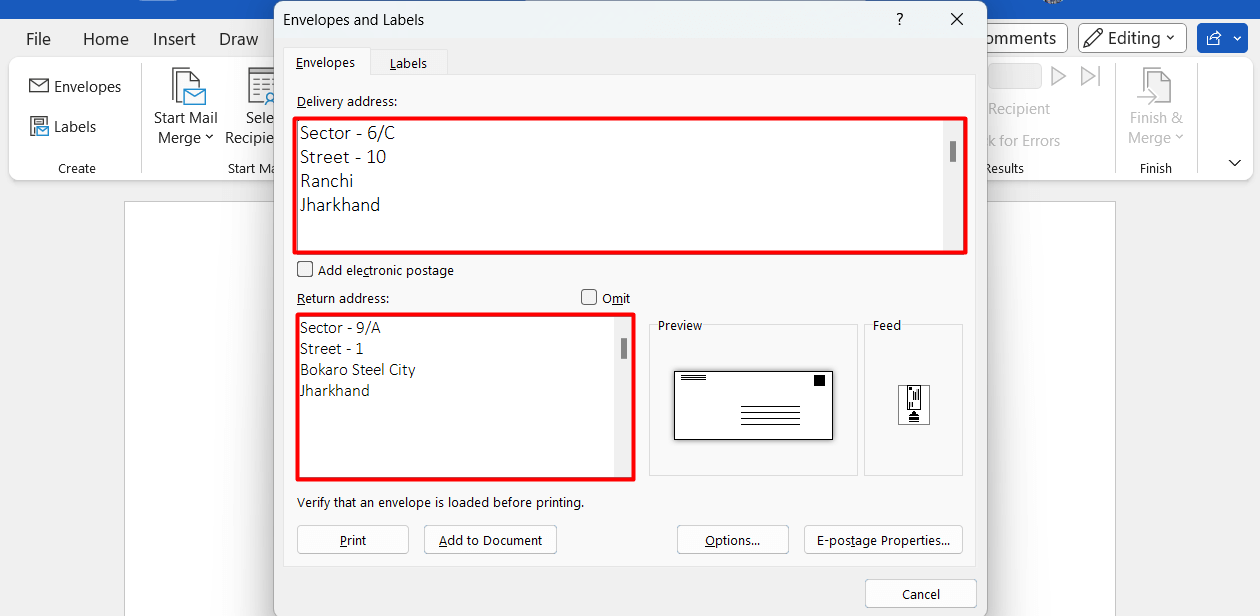
If you prefer not to include your return address, enable the Omit box.
With the addresses in place, you’ve covered the essential function of an envelope. Now, let’s explore how to customize it to give it a more polished and professional appearance, which will distinguish it from a normal handwritten envelope.
Step 2. Customizing the Envelope’s Size, Look, and Print Options
To begin, in the Envelopes and Labels window, click Options.

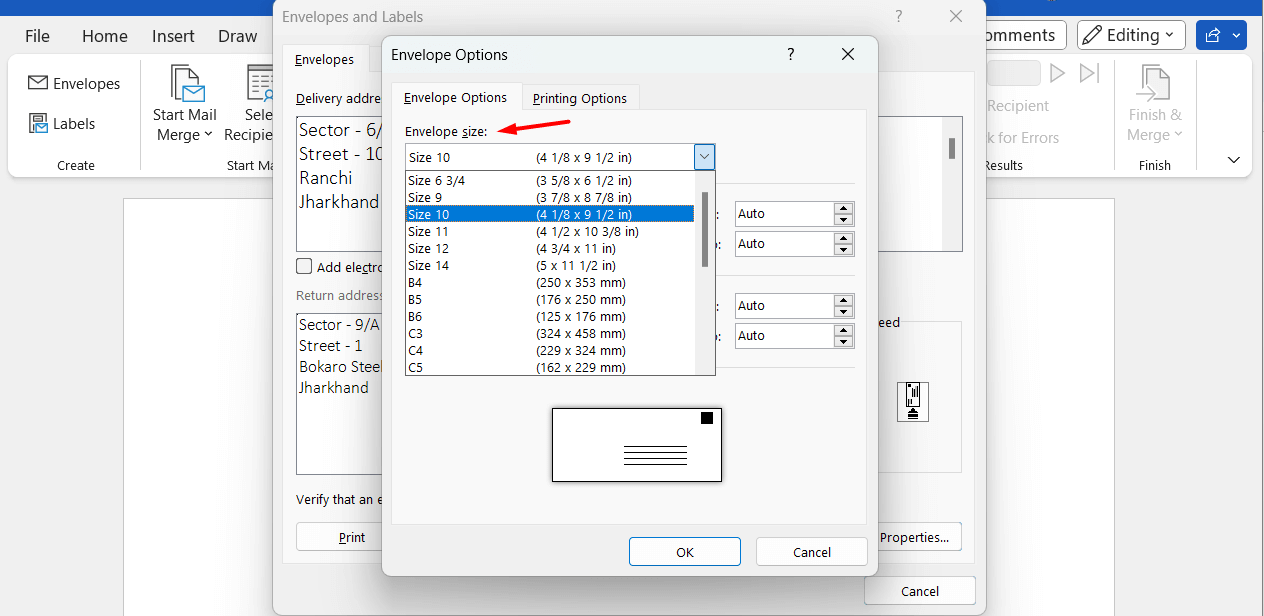
In the Envelope Options tab, from the Envelope size drop-down menu, select the size of your envelope. You have several sizes to choose from; pick the one that you’d like to use.
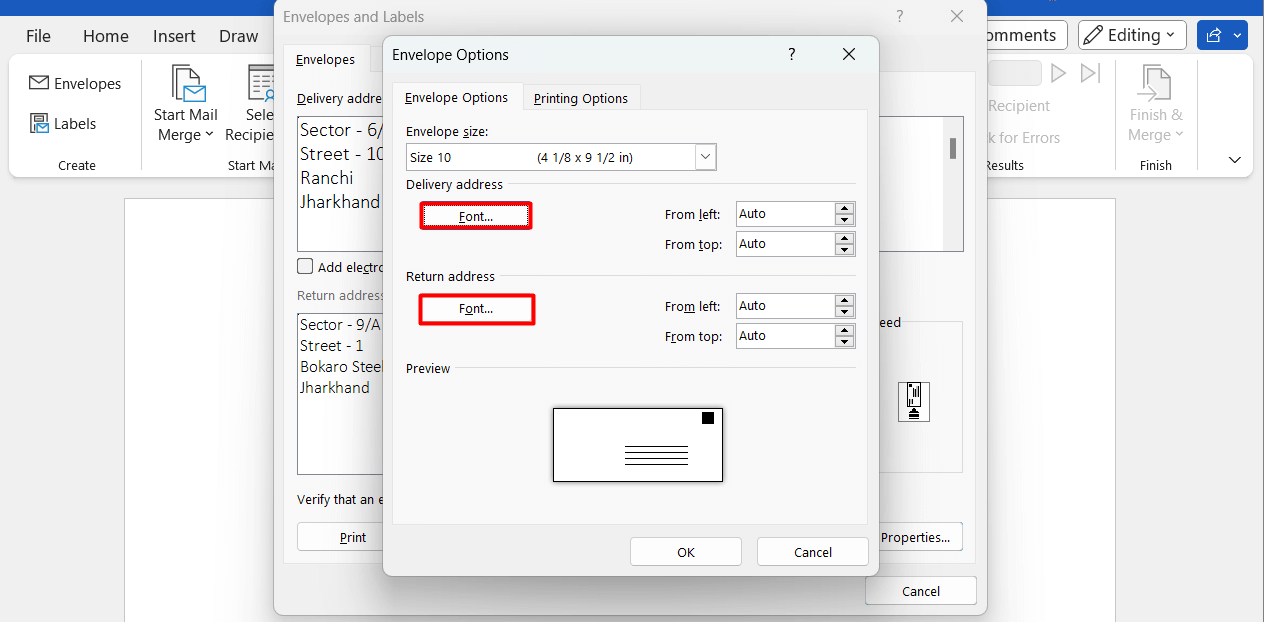
To change the font of the delivery or return address, click Font under the Delivery address or Return address section. This allows you to change how the text looks for your typed addresses.
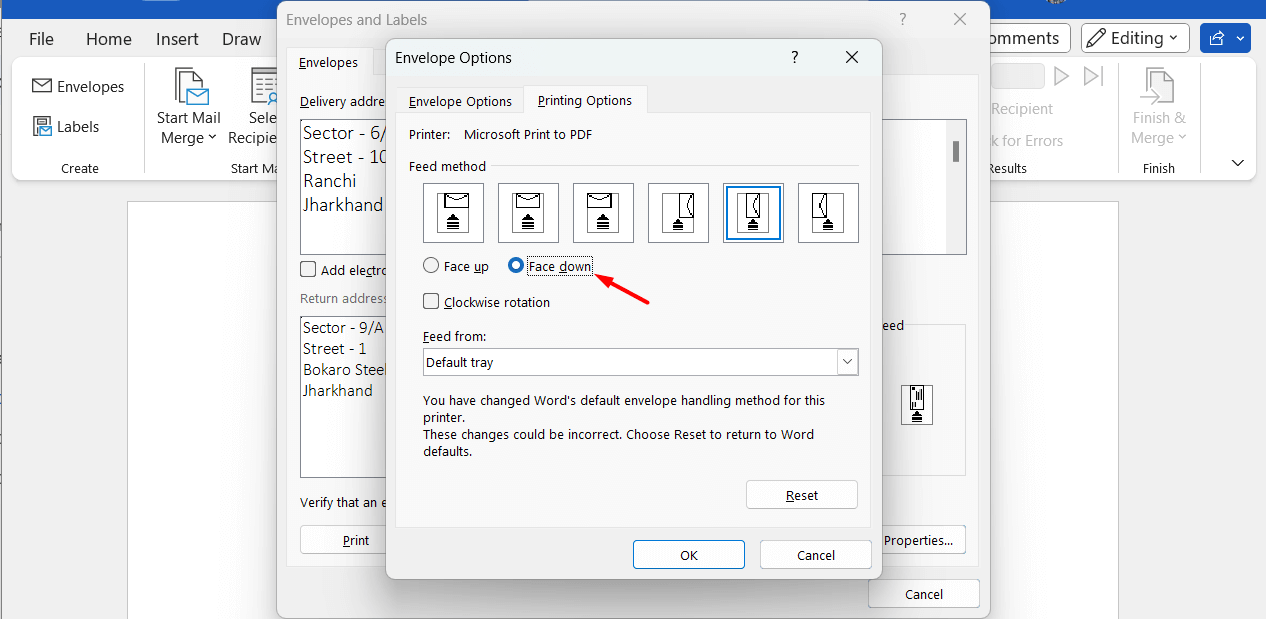
Navigate to the Printing Options tab, where you can configure how the envelope will be loaded into your printer. Word typically chooses the most suitable feed method based on your printer, but you can make adjustments if needed.
To choose a manual feeding method, in the Feed method section, choose a method. This method determines how you’ll feed an envelope into your printer. Make sure to choose the correct method, or Word will end up printing your content incorrectly.
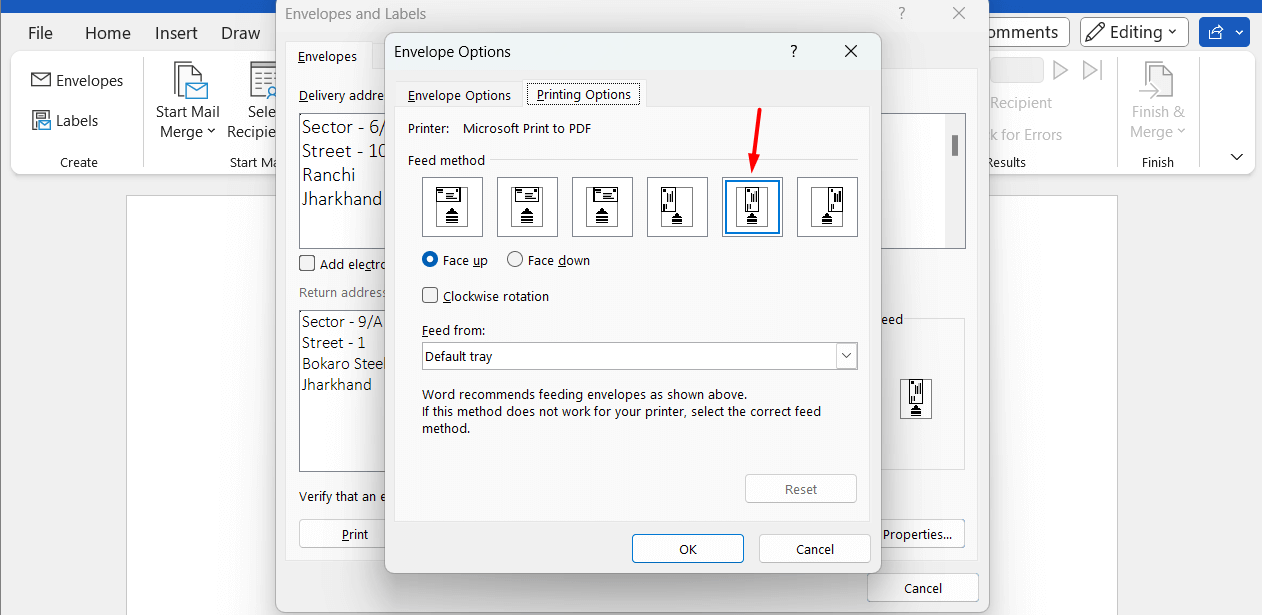
Choose either Face up or Face down to specify how you’ll feed the envelope into the printer.
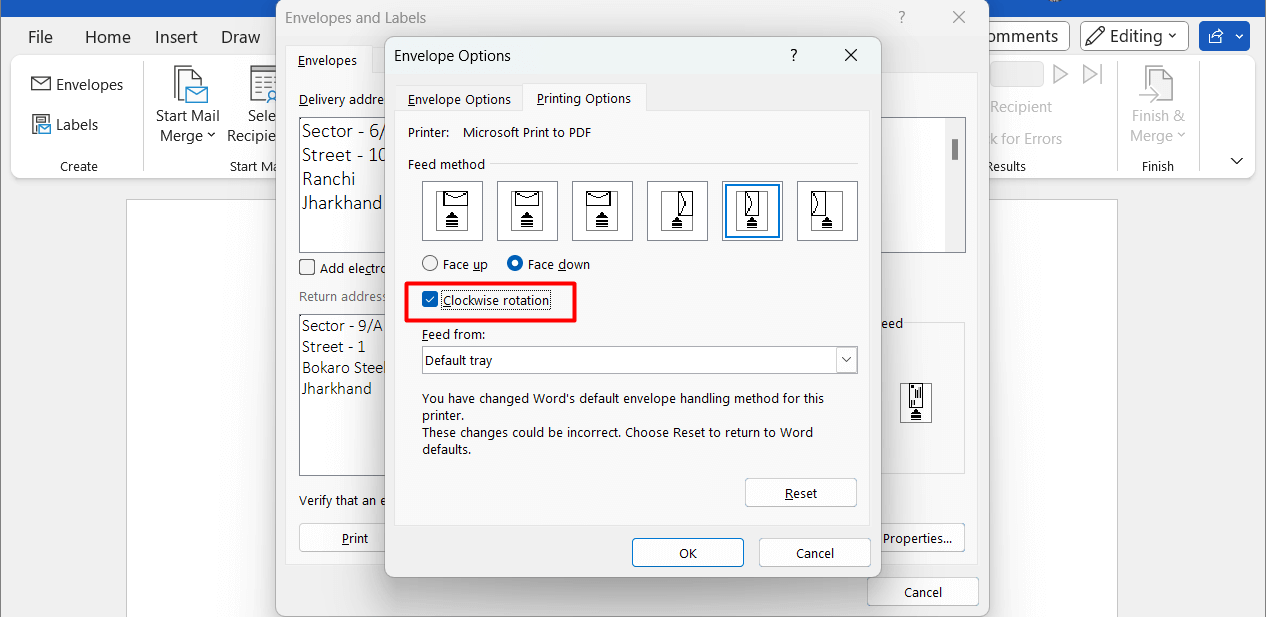
If you wish to rotate the envelope design, check the Clockwise rotation box.
Microsoft says the following about this feature:
If the envelope is fed short edge first, the envelope may need to be rotated to prevent the text from appearing upside down on the face of the envelope.
If your printer has multiple trays, click the drop-down icon under Feed from and select the appropriate tray. Once you’ve made your selections, click OK.

The envelope is now ready for printing. However, if you prefer to print it later or save the envelope design for future use, in the Envelopes and Labels window, click Add to Document.
Click File and save the envelope on your computer.
Step 3. Finally, Printing the Envelope
With all the customizations completed, your envelope is now ready to be printed. To start the printing process, in the Envelopes and Labels window, click the Print button. Your envelope will then begin printing.
And that concludes the steps on how to easily create and print envelopes using Microsoft Word. Feel free to play around with customization options to ensure your item looks exactly how you want it.