
- To use a hanging indent, highlight your paragraphs or references and click Format in the menu bar. Then, choose Align & indent > Indentation options. In the Indentation options dialog, expand the Special indent drop-down and choose Hanging. To finish, click Apply.
- You can only use hanging indents on the web version of Google Docs.
Need to use hanging indents on Google Docs but don’t know where to start? There’s no need for you to manually use tabs and spaces to do your indents. In this post, we’ll show you how to do a hanging indent on the web version of Google Docs using the options in the menu bar and a keyboard shortcut.
What Is a Hanging Indent?
A hanging indent, also known as a second line indent, is essentially the indentation of the second and subsequent lines of a paragraph. You typically use hanging indents to comply with APA, MLA, and Chicago Style requirements when citing references.
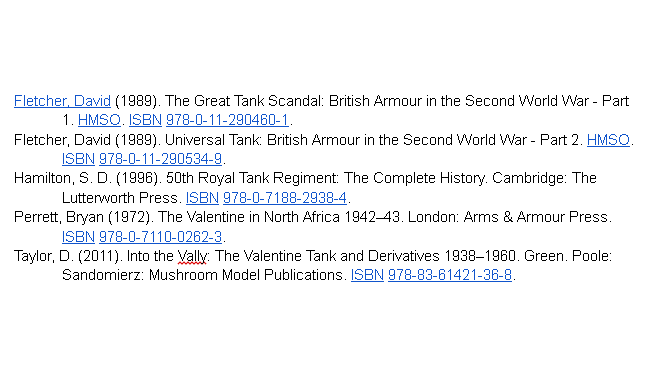
By using the hanging indent feature on Google Docs, writers and editors like you can highlight or edit multiple bibliography entries at once without accidentally using incorrect indentations and messing up the already-formatted lines.
The first line in a paragraph will remain as is while the indentation will affect its second and subsequent lines. By default, the standard hanging indent setting in Google Docs is 0.5 inches or 1.27 cm. You can further modify this when setting up non-standard reference lists for other purposes.
Way 1. Create a Hanging Indent Using Menu Bar Options
To do hanging indents for multiple lines at once, use the native options available in the Google Docs menu bar.
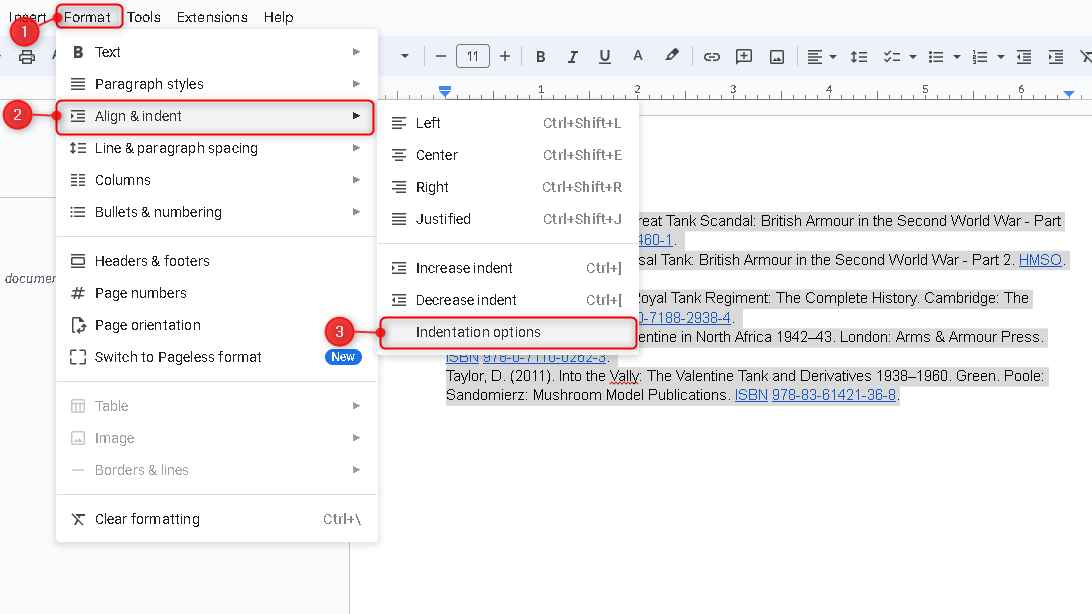
To begin, highlight the text where you want to set up hanging indents. Once selected, click Format and hover over Align & indent. From the options displayed, click Indentation options.
In the Indentation options dialog box, expand the Special indent drop-down and select Hanging.
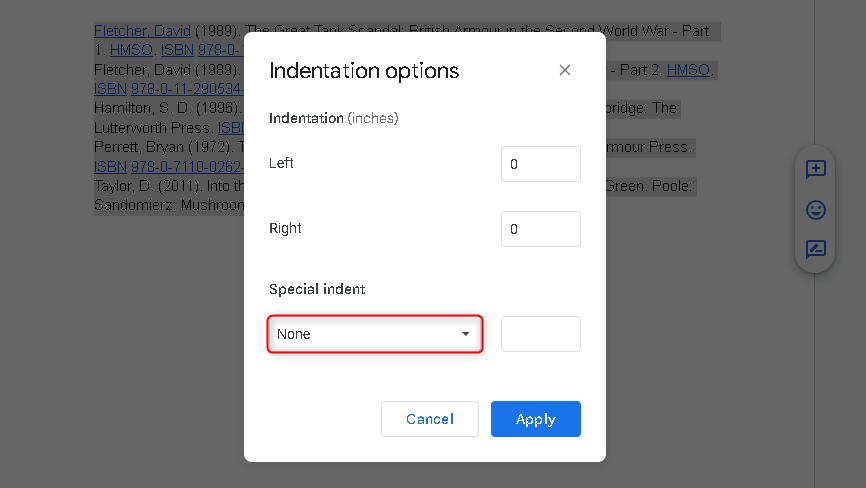
After that, you’ll see that the hanging indent is set to 0.5 by default. When setting up custom indentations, you can change 0.5 to any other number.
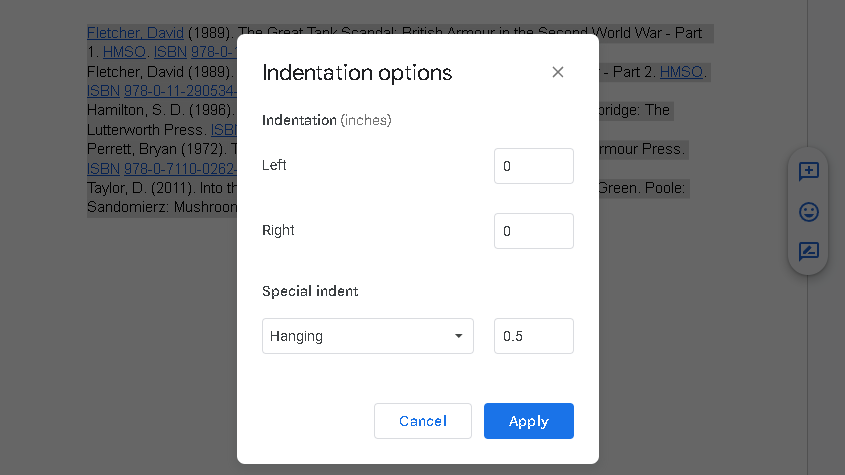
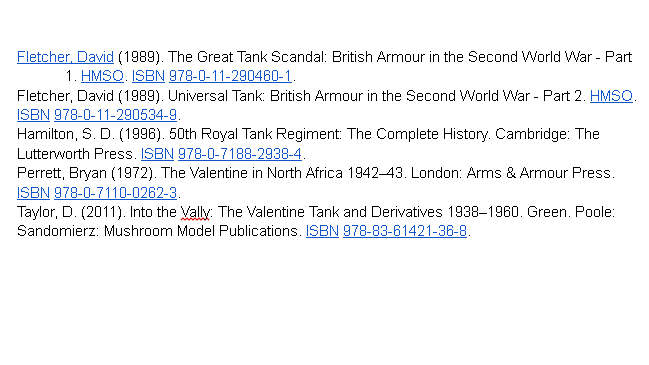
Once you’ve set up the hanging indent, click Apply. The text you selected will then be indented according to the selected settings.
An alternative way is to manually set up indentations per paragraph using the ruler, but it can take more time than this method. It is far better to stick with the steps mentioned above as it involves fewer manual steps.
Way 2. Create a Hanging Indent Using a Keyboard Shortcut
You can also create hanging indents quickly using keyboard shortcuts.
To do this, select the end of the first line of the paragraph you want to format. Then, press Shift + Enter (or Shift + Return if you’re a Mac user).
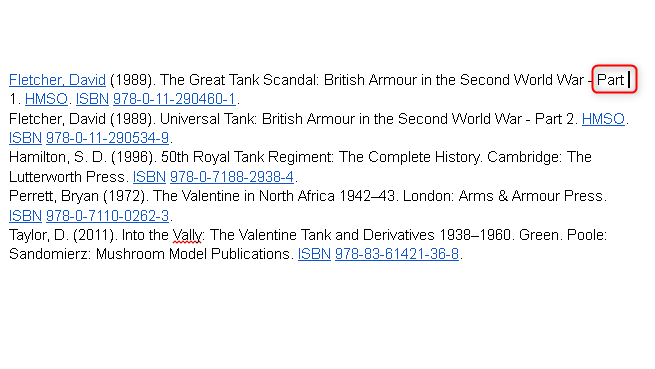
Keep in mind that you must select the end of the line, which is not necessarily the last letter in the line. See the blinking text cursor highlighted in our example above. To check, tap the Right Arrow key until the cursor moves to the second line. The cursor’s location before that is the end of the first line.
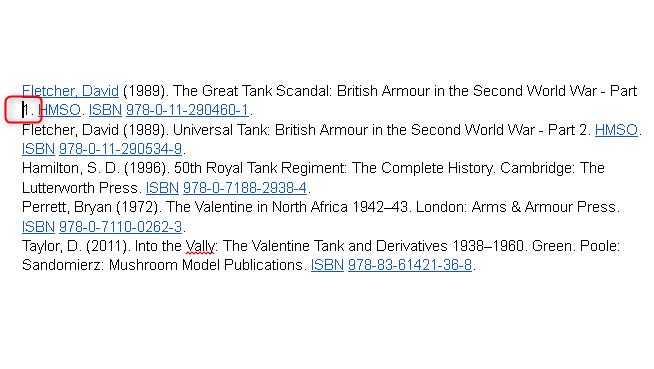
Press Tab to create the indent. The second line of the paragraph will be indented.
This method is much better for when you only need to indent one two-sentence paragraph at a time due to how fast you can do it. The only problem is that it can be easy to select the incorrect part of the first line and end up with a different indentation.
When setting up multiple hanging indents, we recommend you stick with the menu bar method.
Note: You Can’t Make a Hanging Indent in Google Docs for Mobile
Unfortunately, setting up hanging indents is only possible for web users. As of writing, the Google Docs app for Android and iPhone doesn’t offer similar options. You can only indent the first line of each paragraph. While you can try to manually set up hanging indents, the results might not translate properly in the web version of the document.
And that’s how you do a hanging indent on Google Docs. You might also want to learn how to do block quotes on Google Docs to ensure that your academic papers follow the right style guide uniformly.