Google Chrome is a popular internet browser that most of us use. This highly convenient platform manages to deliver exactly what a user is searching for in record speed. But once we have the webpage we’re looking for, how do we keep them for future reference? Typically, this is done by bookmarking.
Bookmarking pages allows us to access them easily from our browser without having to search for the pages again. By using Google Chrome’s bookmarks, we get to organize pages into one clean list and/or bookmark bar. This is good and all but what if you don’t have your bookmarks bar showing on your browser? If you’re anything like me, you’ve probably bookmarked web pages before then promptly forgot about them. This can be frustrating as sometimes what’s been bookmarked is really important.
Google Chrome’s interface is fairly intuitive but when things aren’t directly on the screen, it can still be hard to know the location of your Chrome bookmarks. Thankfully, there are many ways for you to do this. Below, we’ve gathered three ways for you to access your Google Chrome bookmarks. Each step is carefully laid out and explained for you to understand with ease.
Let’s begin with our first method.
Find Chrome Bookmarks Location with Ctrl + Shift + B
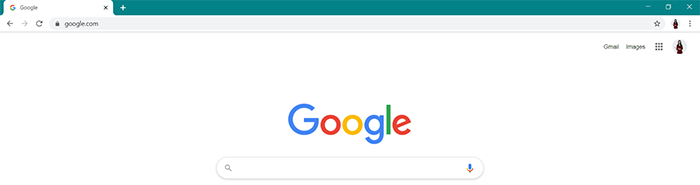
Step 1. Open the Google Chrome browser. This will take you to the search page of Google.
Notice how there’s nothing under the address bar? That’s where your bookmarks bar should be.
A bookmarks bar is a list of your bookmarks that has been neatly arranged onto the interface. This lets you access your bookmarks no matter what page you’re on meaning you don’t have to go back to the home page just to find them.
Right now, the bookmarks bar isn’t showing so we’ll have to do something about that.
Step 2. Press the Ctrl, Shift, and B keys on your keyboard at the same time. You need to do this simultaneously and not by key for your bookmarks bar to show.
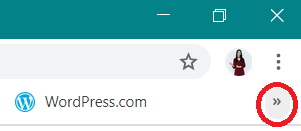
You should then see something like this.

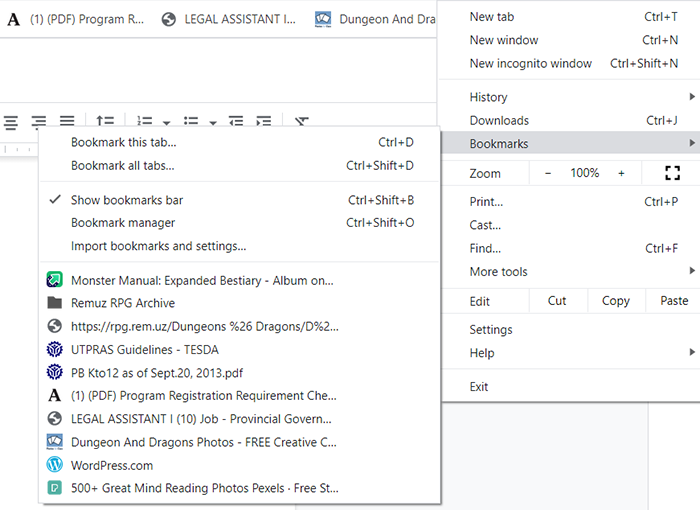
Step 3. The above step should allow you to see your recently bookmarked pages. If you can’t see all your bookmarked pages, simply click on the small >> on the upper right corner of the bookmarks bar.
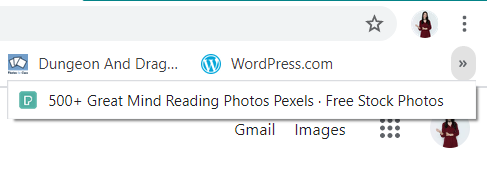
By pressing >>, you open a drop down menu containing the rest of your bookmarks.
You should then see your Chrome bookmarks displayed like this.
And that’s it! Simple right? Our next method is even easier.
Find Location of Chrome Bookmarks Using the Dropdown Menu
Step 1. Look to the upper right corner of your browser. Like the picture above, you will see three vertical dots next to your profile photo.
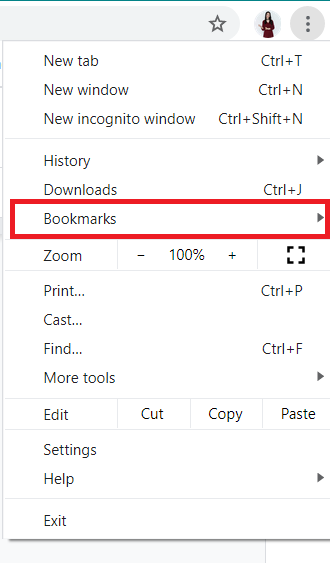
Clicking on the dots opens up a drop down menu. It should look like the image below.

Step 2. To find your Chrome bookmarks, just click on Bookmarks.
This opens another drop down menu on the left side. You will then see your bookmarks displayed like this.
This is a very convenient way of finding the location of your Google Chrome bookmarks as each bookmark is neatly listed. This access method allows you to easily read the titles of what you’ve bookmarked previously.
But if you want something even simpler, this next method is perfect for you.
Use a Keyboard Shortcut to Access the Chrome Bookmarks Location
Step 1. Locate the Ctrl, Shift, and O keys on your keyboard and press them together.
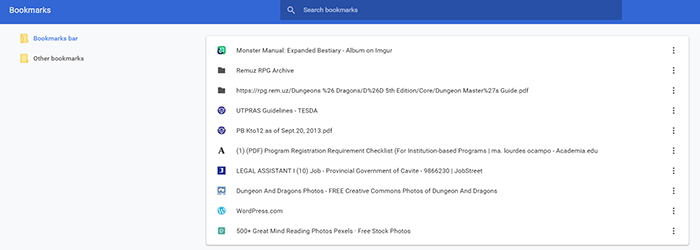
You will then be taken to a new tab with all of your Chrome bookmarks displayed in one convenient location. Simply scroll down to find your other bookmarks.
Google Chrome’s bookmarks are displayed with older bookmarks listed first and new ones at the bottom.
You might also want to export your bookmarks for future reference. If that’s the case, keep reading.
Export Bookmarks from Chrome on Windows 10
Step 1. After doing the previous method, just click the three vertical dots on the blue bar.
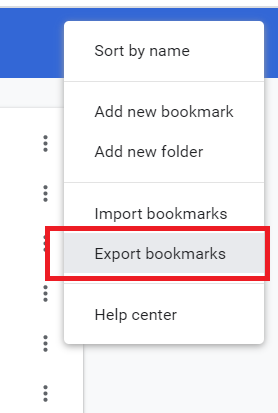
Step 2. Click Export bookmarks. After doing this, Chrome will then give you a pop-up window for saving the file.
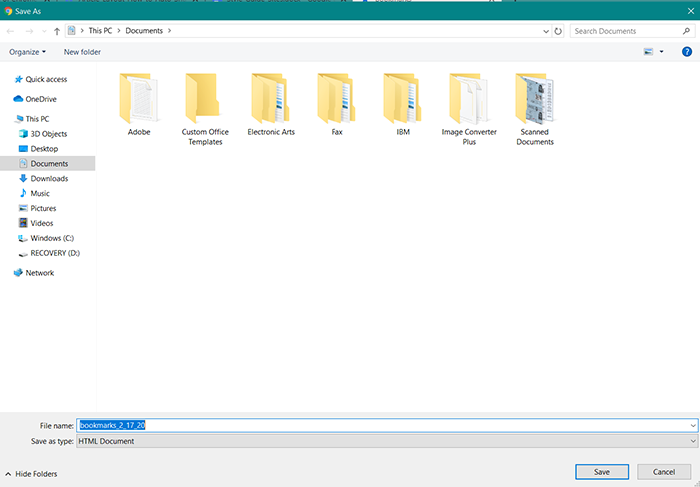
Step 3. Just click Save and you’re done.
Windows 10 lets you export your Google Chrome Bookmarks wherever you like on the computer so you can select any folder for it to save in. If you’d like to name your bookmarks, replace the name in the File name box. We recommend that you use a name that’s easy for you to remember so you can easily view your bookmarks when you want.
And there you go! Easy, wasn’t it?
You’ve figured out how to find your Google Chrome Bookmarks on a Windows 10 computer. Not only that, you also learned how to export those bookmarks for when you need them. For future reference, you may want to bookmark our site as well.
We hope that was helpful. If you need help with other tech related questions, please check out the other articles on our site.