- To view Steam’s storage space usage, launch Steam, select Steam > Settings, click Storage in the left sidebar, and the Games section on the right displays each game’s occupied space.
Whether you’re looking to free up your computer’s storage space, or you’re just curious to know how much space Steam is using, it’s easy to view your Steam games’ storage usage on a Windows 11 and Windows 10 PC. We’ll show you how to do that using various ways.
Using Steam’s Storage Option
The first and easiest way to check storage occupied by Steam games is by using the Storage option in the Steam client settings. This list curates a list of all the apps downloaded on the disk with their respective file size. Here’s how you can check it.
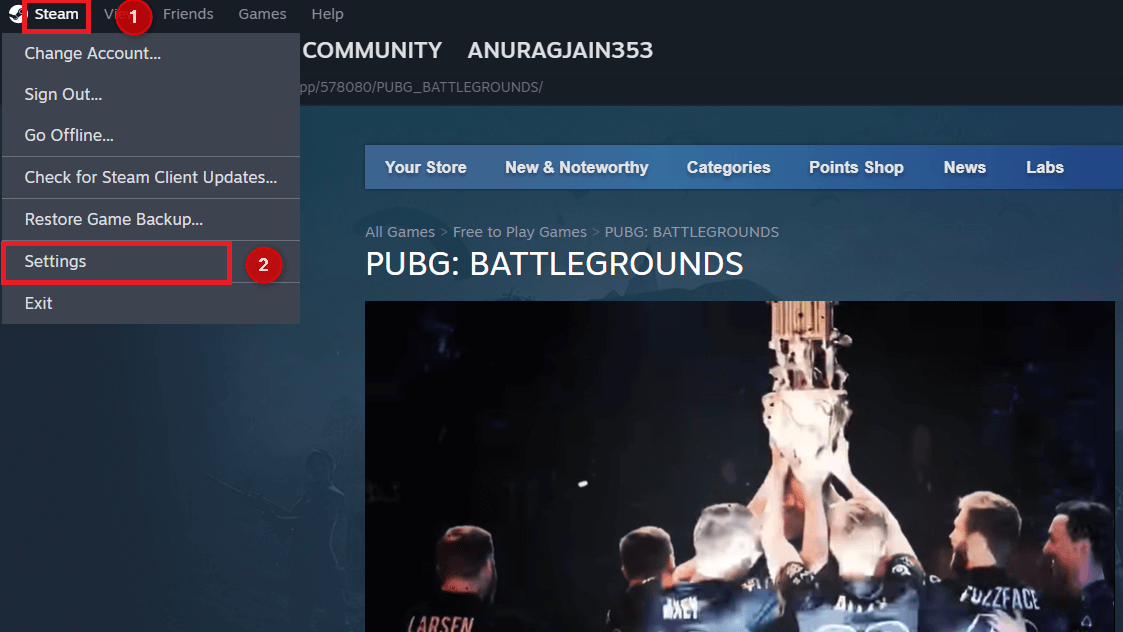
Open the Steam client on your Windows PC. Click Steam and then choose Settings.
From the left pane, head to Storage. On the right side, click the drop-down menu under Storage section and select the drive.
Note: You can add Steam library to multiple drives/partitions. If you have done that previously, then you need to select that drive/partition for which you want to check the storage.

Under the Games section, you can now see a list of all the games with the respective sizes used by them.

Using a Game’s Right-Click Menu
Another quick way to check the storage used by Steam is through the game’s right-click menu. However, this method will only tell you the space occupied by a particular game.
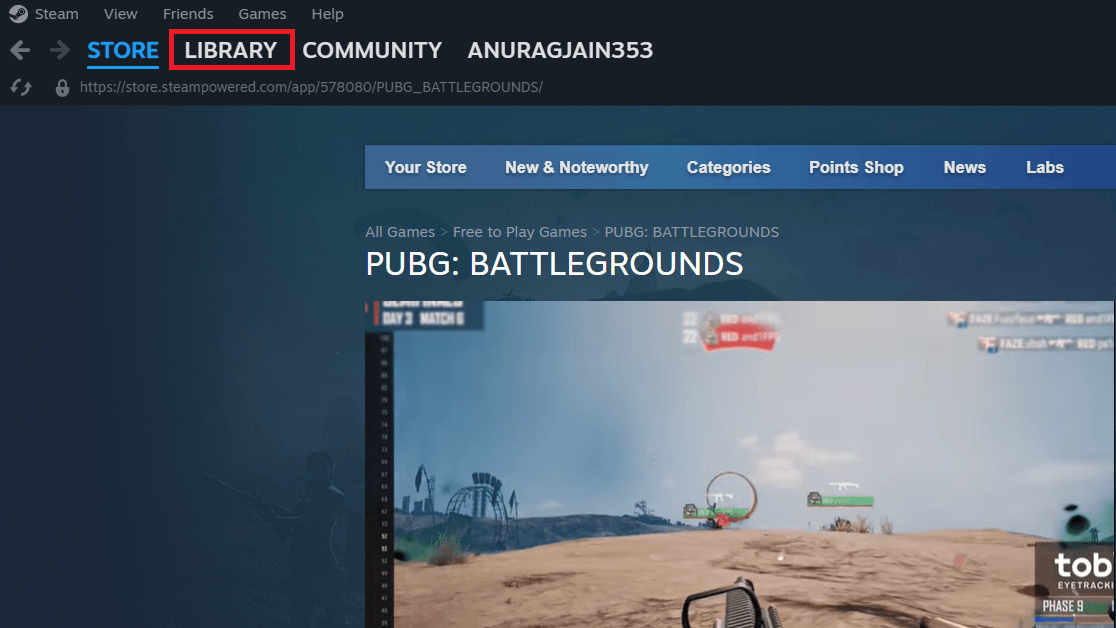
Launch Steam client and click the Library tab to open the game library.
You will see all the games downloaded on your Windows PC. Right-click a game whose storage you want to check and select Properties.

In the Properties window, head to the Installed Files tab. Here, you will see the installation size of the game.

You need to follow the above steps individually for all the downloaded games you want to check storage occupancy for.
Using File Explorer
A non-Steam way to check your game storage is by using File Explorer. This method lets you check your entire Steam storage usage as well as the storage space used by a specific game.
Launch File Explorer by pressing the Windows + E keys on your keyboard simultaneously. In File Explorer, head to the following path:
Note: If you have installed Steam in another location, navigate to the folder.
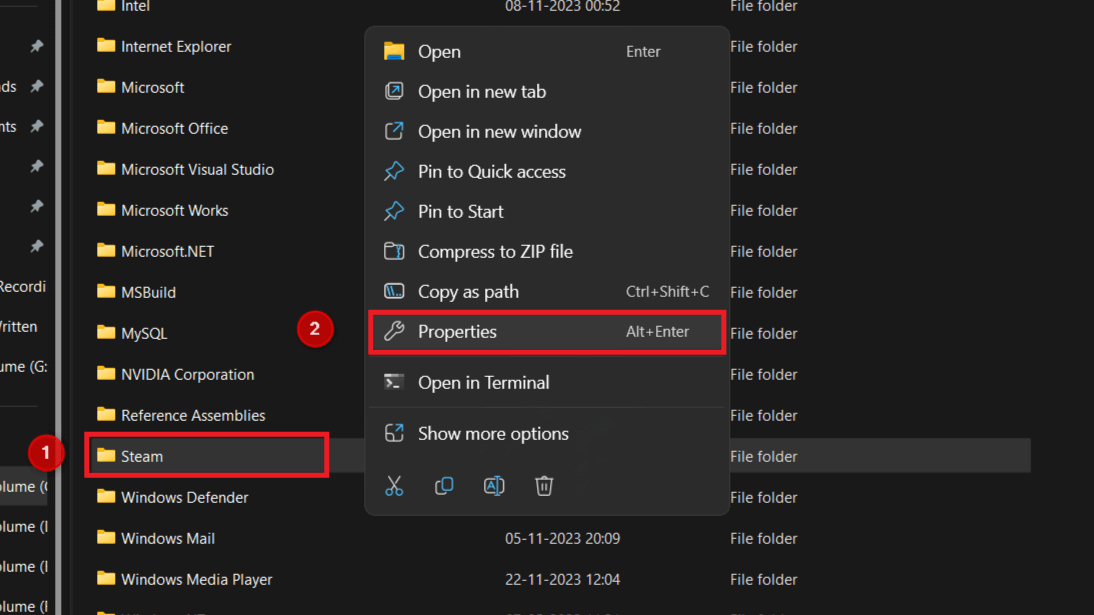
C:\Program Files (x86)
Right-click the Steam folder and click Properties.
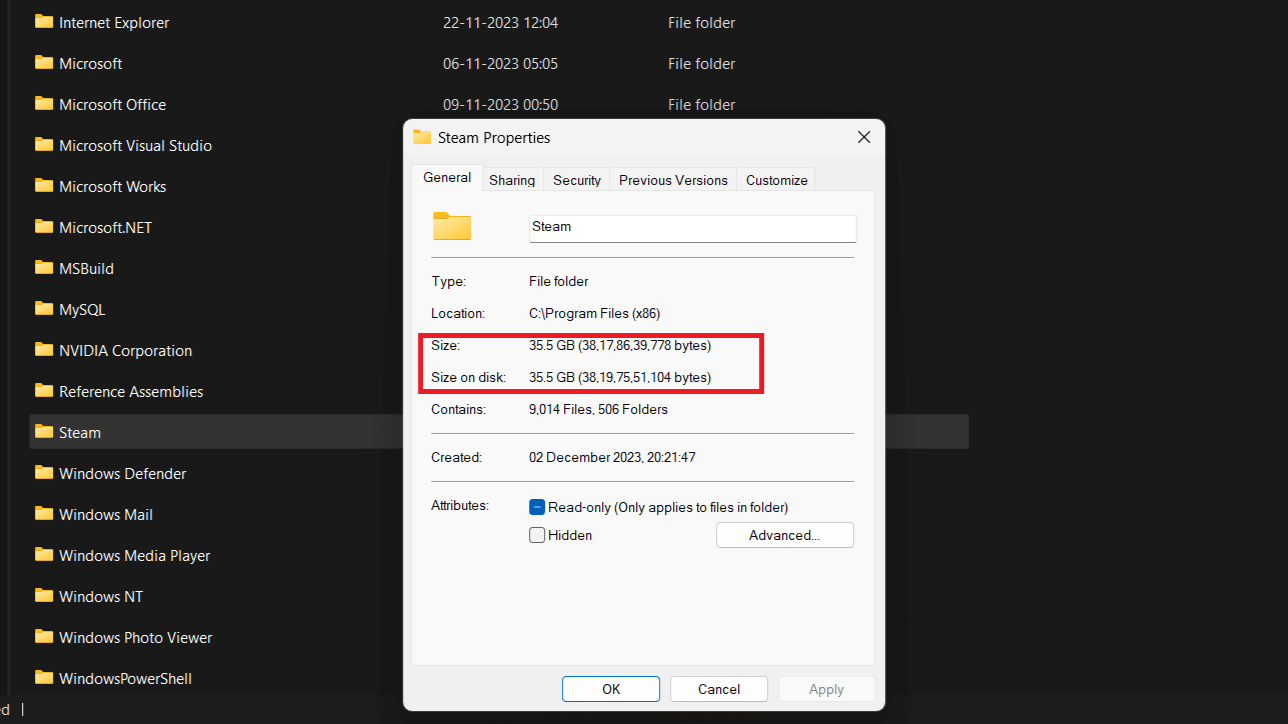
Under the General tab, you can see the Size of Steam.
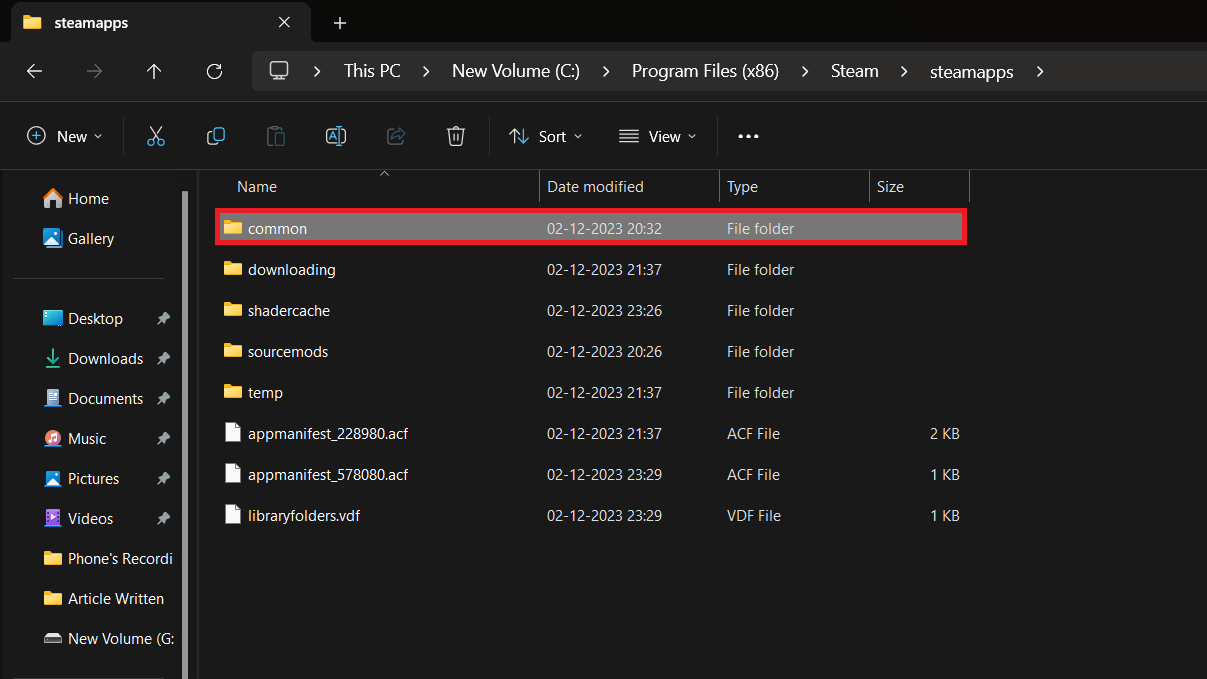
To check the size of individual games, open the Steam > steamapps > common folder.
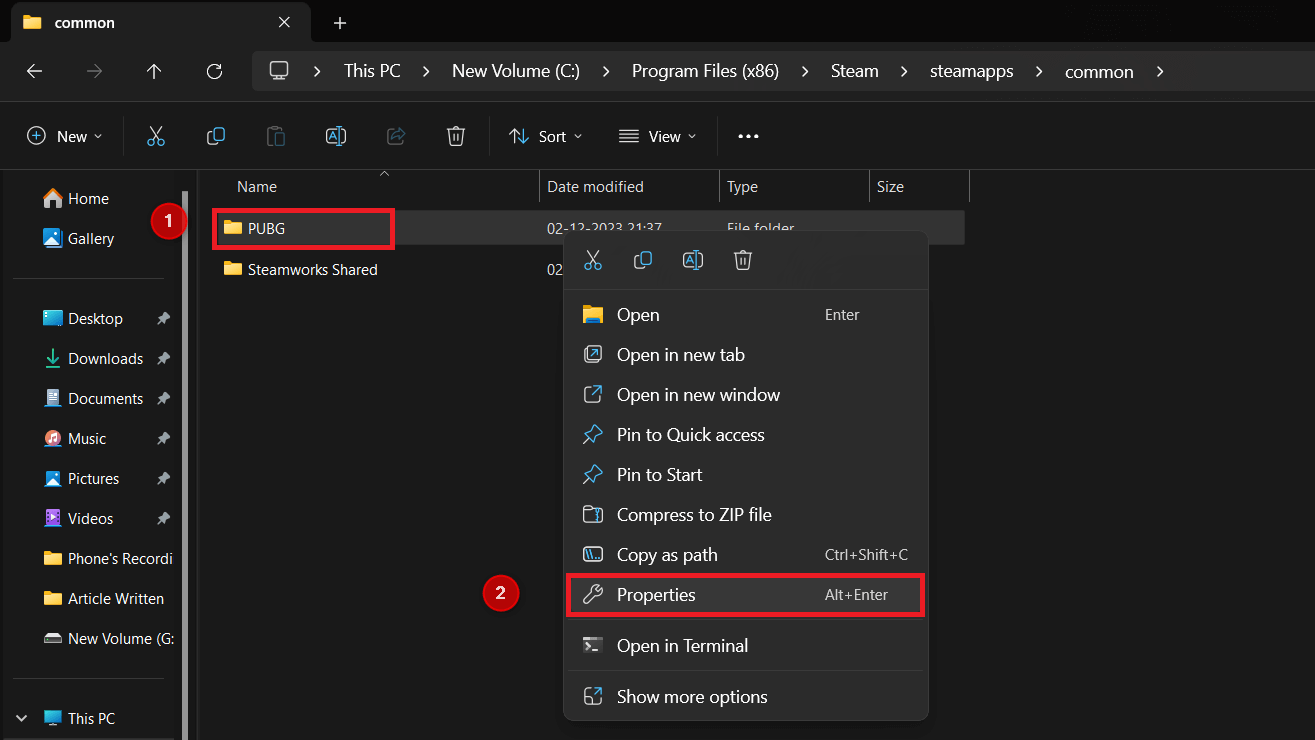
You can see the folders for all the games here (the games installed on that drive). Right-click a particular game and click Properties.
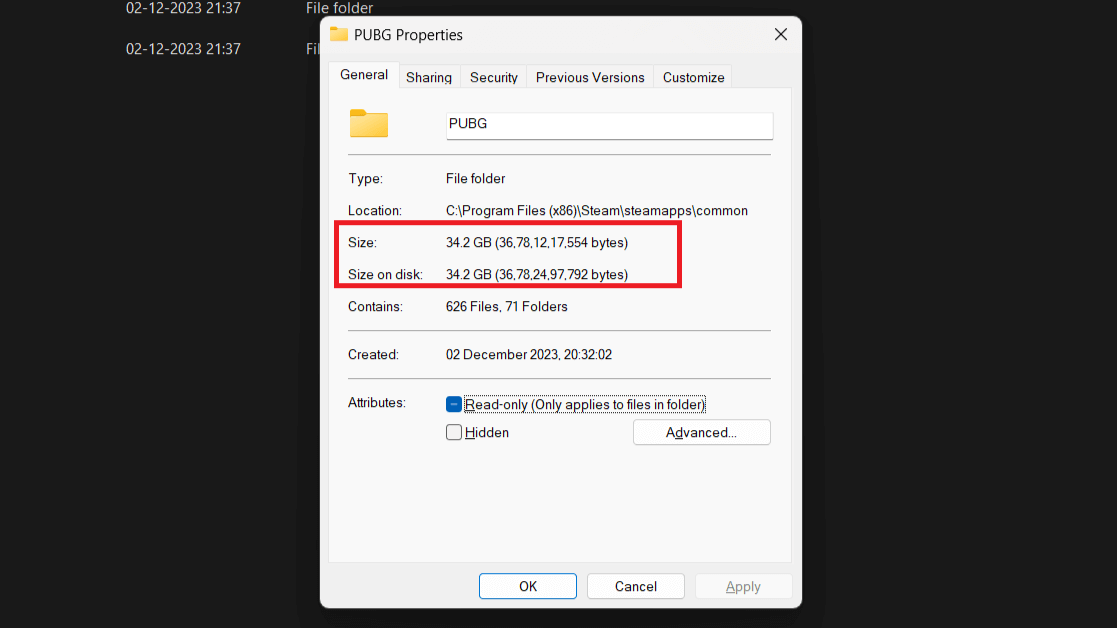
You will be able to see the size of the game in the Properties window.
You can do the same for all games to check the space occupied by each game on the disk.
You Can Move Steam Games to Another Drive
One can often run out of storage. If you have a lot of games installed and your internal drive or a particular partition, Steam gives you the option to move games to an external drive or another partition.
When you do this, the content of games from a particular location will be moved to another location. This won’t impact your current game status but will free the storage from the previous drive/partition.
Open the Steam client on your Windows PC. Here, at the top left corner, click the Steam tab and then click Settings.
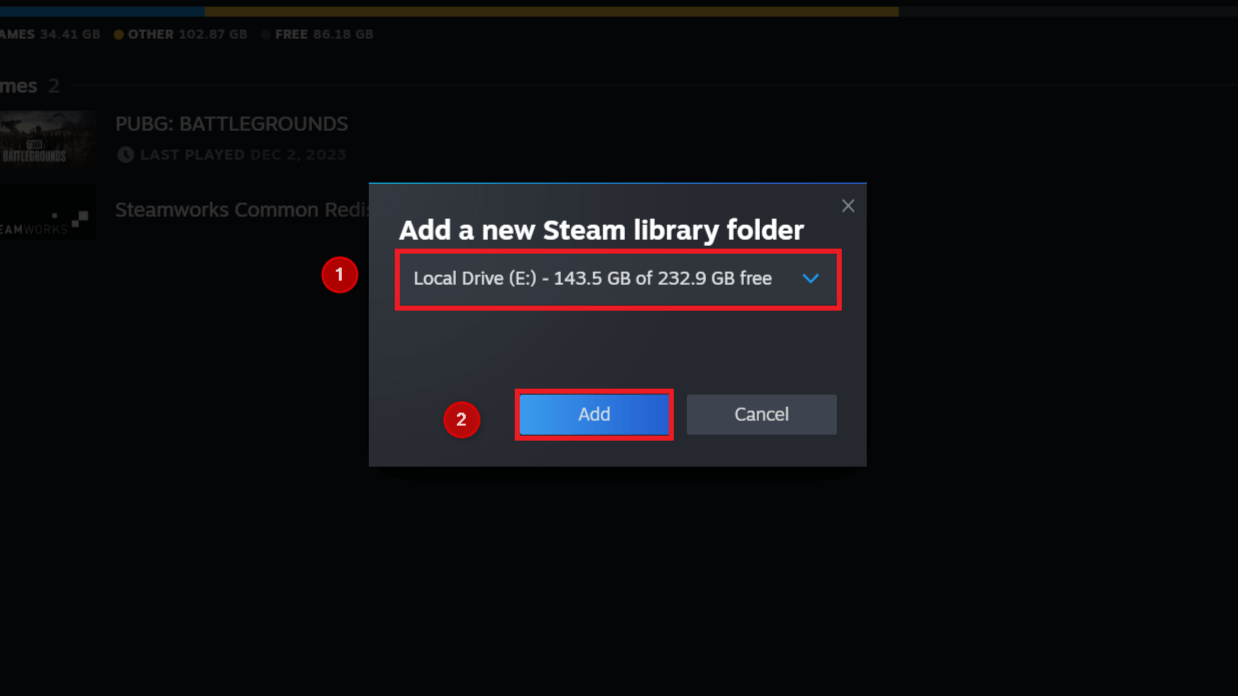
On the left pane, click the Storage tab. On the right side, under the Storage section, click the drop-down menu and then click Add Drive.
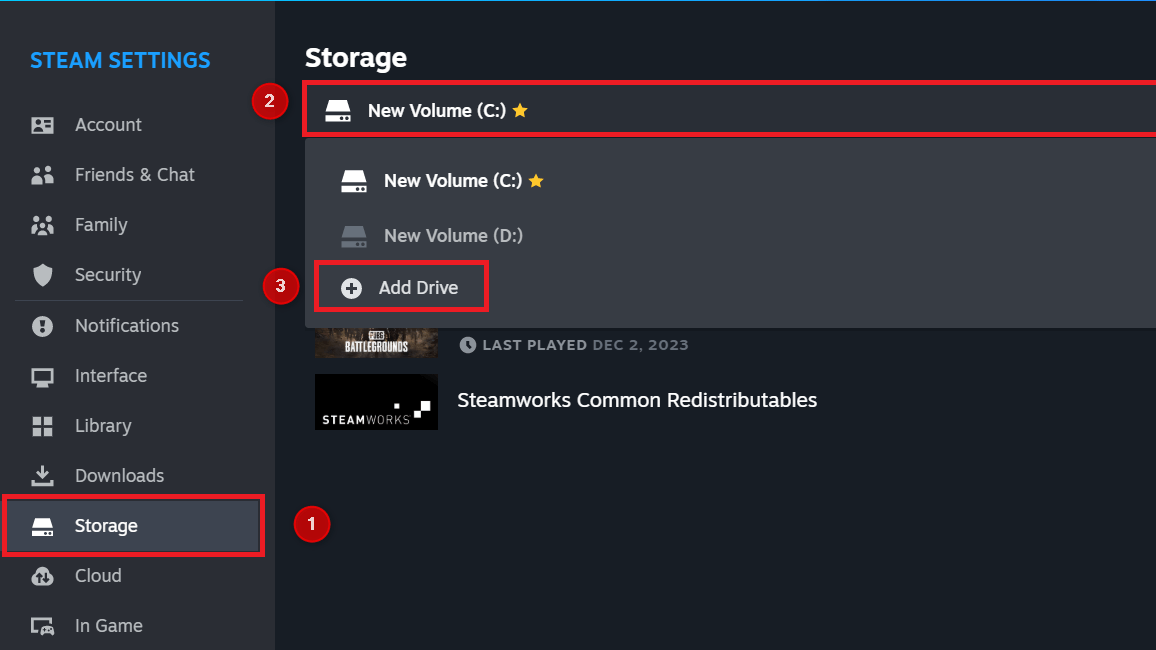
Select the drive to which you want to move the game, and then click Add.
Note: If you want to move the game to an external HDD/SDD, then it must be connected to your computer.
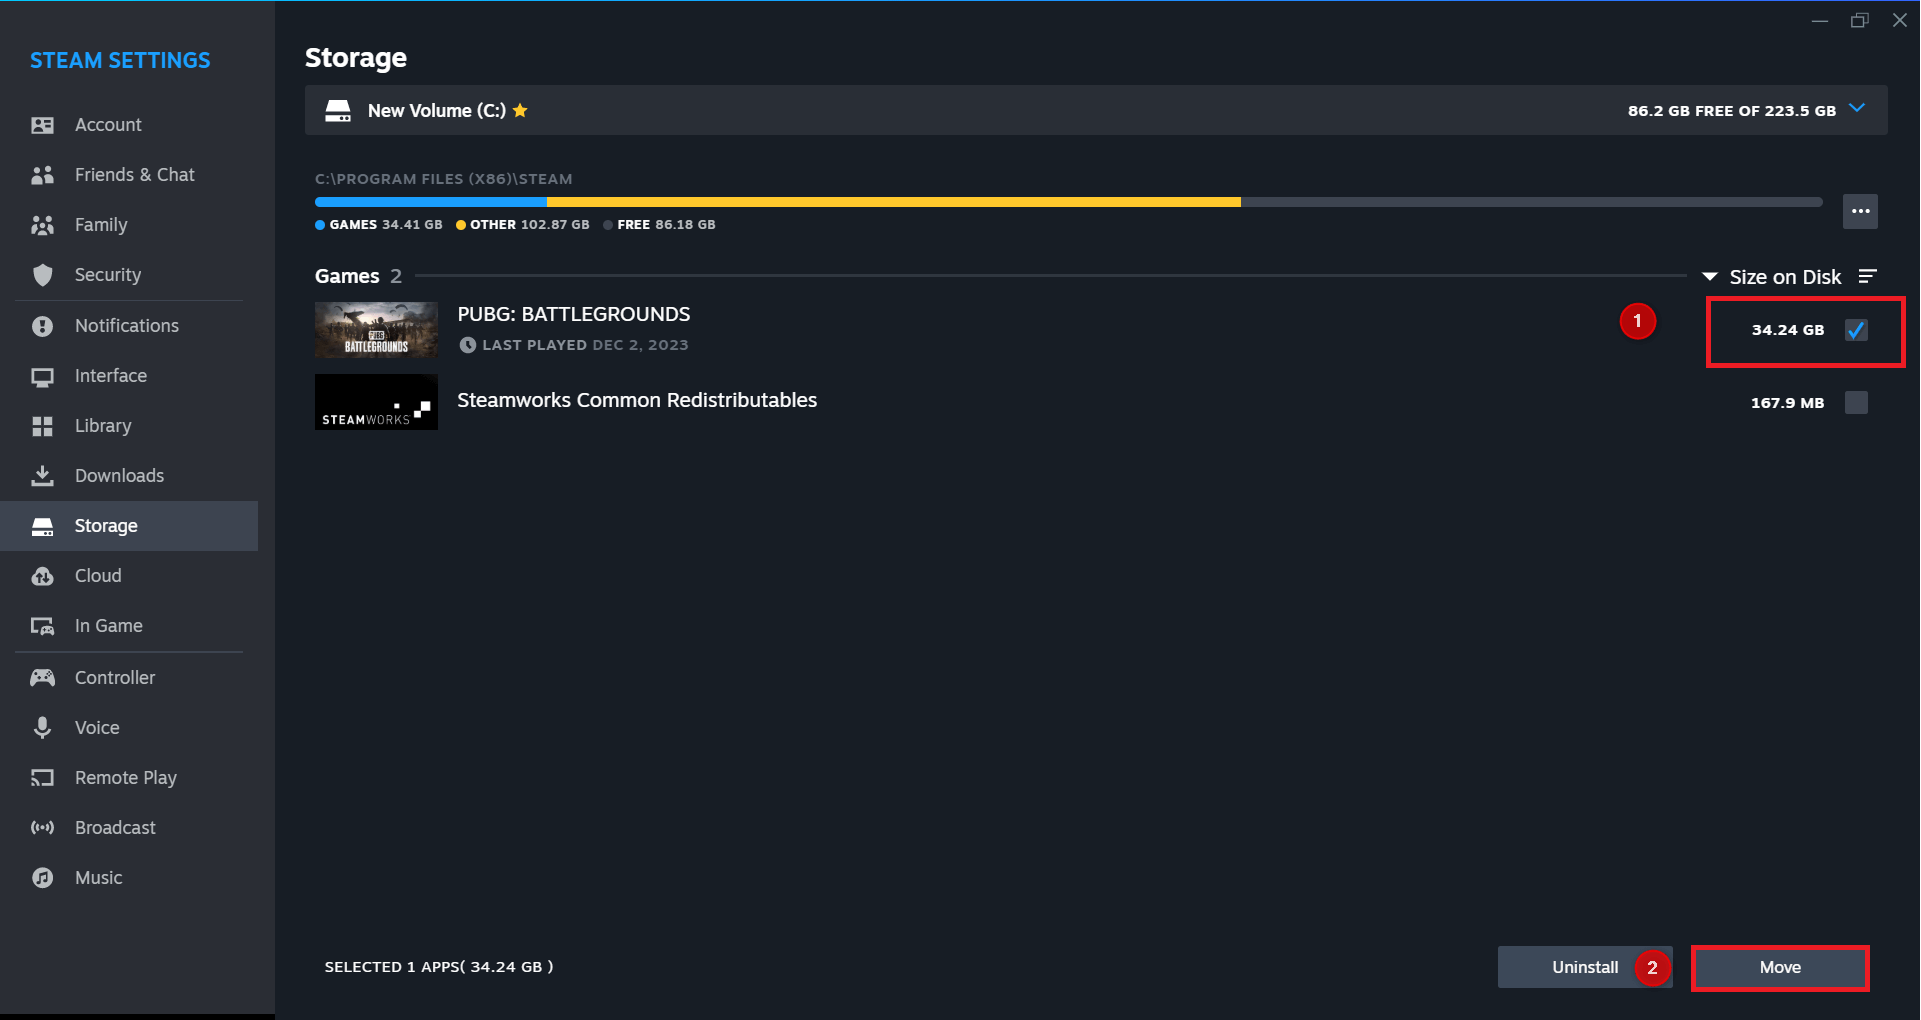
Once you have added the drive, click the drop-down menu under the Storage section again and select the drive on which the game is installed.
Check the checkbox next to the game you want to move, then click the Move button.
Now, select the target drive and click Move.
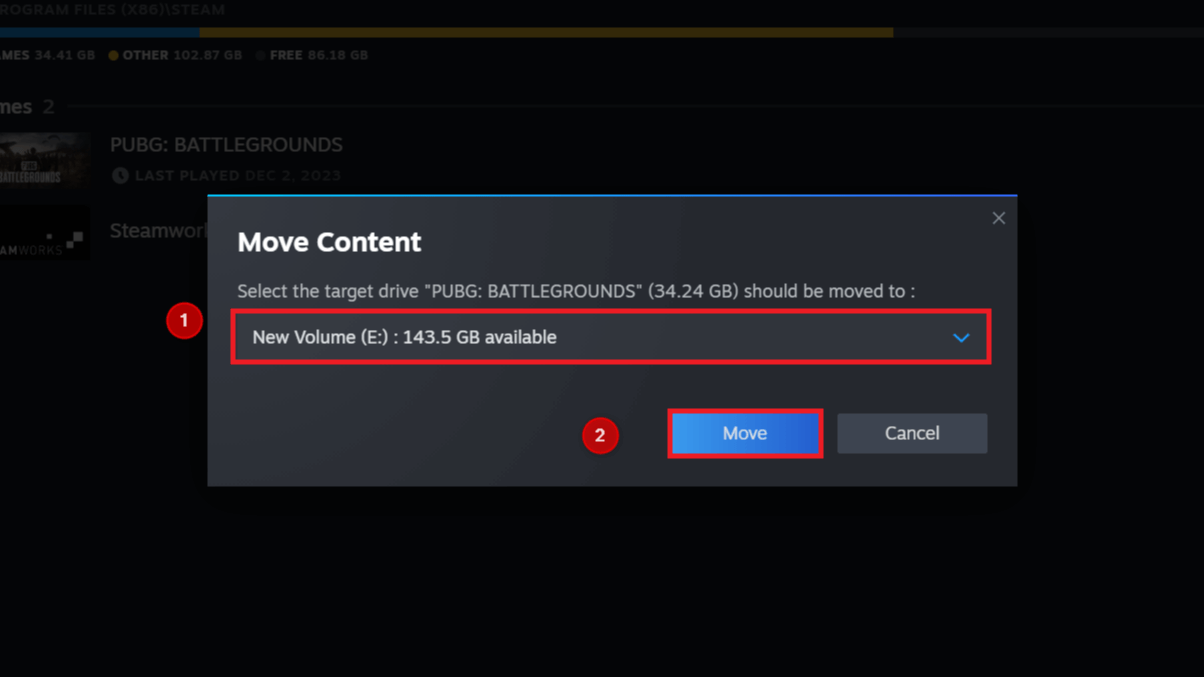
Finally, the process will start. Remember that it can take some time to move the game depending on the game size.
Managing the space occupied by your Steam games on both Windows 11 and Windows 10 is crucial. By regularly monitoring and organizing your game library, you can ensure that your storage remains efficient and that you have ample space for new and upcoming titles.