Since the Windows 10 creators update has been released in the market, Microsoft has removed the “Open command windows here” option on your context menus and enabled it when you Shift+right click on a folder or a context area in file explorer. Instead, why not add the missing “Open a command window here” option to context menu on your Windows 10 system when you simply right-click on any folder or blank areas inside the folder. To make it work, you just have to follow a few registry tweaks to do so.
Before using a registry editor by yourself, make sure to understand what you change. The wrong configuration in the registry editor may harm your windows 10 system or it may somehow make it inoperable. Also, make sure to back up the registry before making any changes.
Add the Missing “Open a Command Window Here” Option to the Context Menu on Windows 10
Step 1. Press Windows key + R from your keyboard. It will open the Run command dialog box. Type regedit in the box and hit Enter from the keyboard. It will open the registry editor.
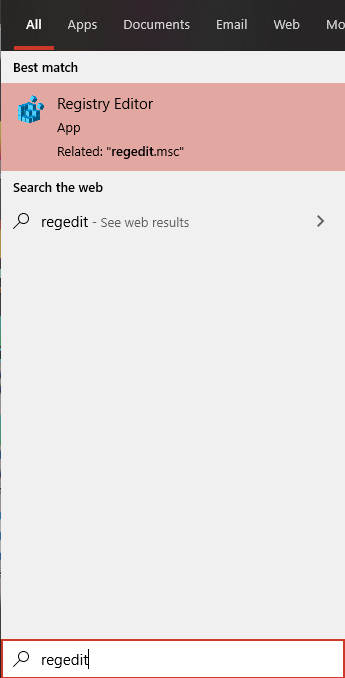
Alternatively, you can click on the Windows Start Menu and search regedit and click on Registry Editor from the list. Sometimes, it may ask for permission to make changes to your PC.
Step 2. In the registry editor, open the following path:
HKEY_CLASSES_ROOT\Directory\shell\cmd
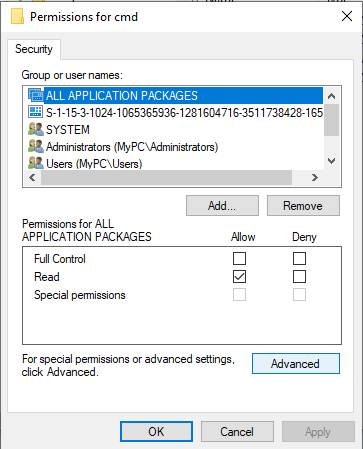
Now in the registry editor, right-click on the cmd key and click on Permissions.

Step 3. One box will appear with information of permissions. Click Advanced in the box.
Step 4. Now next window will display Advanced Security Settings for cmd. There is a link labeled with Change next to the owner. Click on that link.

Step 5. In this window, you will have to provide permissions to your User or User Group. Make sure to add your computer’s login username in the box and click on the Check Names button and press OK.
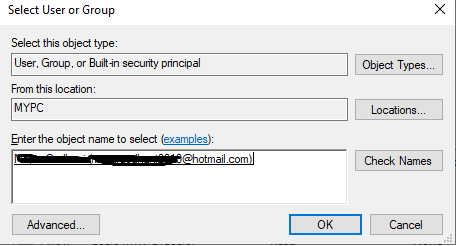
Note: For users, who are using Microsoft Hotmail, Outlook account, or any email account as login credentials, must have to enter full email address in the box and click on the Check Name button and press OK.
Step 6. Now you will see your entered user ID is the owner (see the screenshot below). Now tick the option Replace owner on sub containers and objects. Click Apply and then press OK.
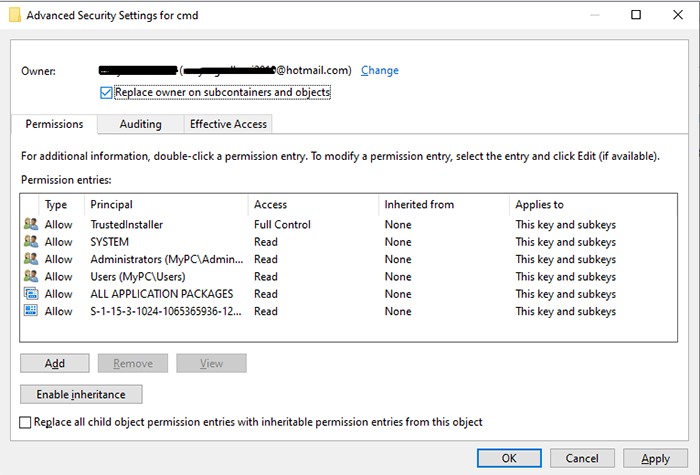
Step 7. Next, in the Permission for cmd window, Select Administrator account from the list. Tick Allow next to the full control in Permissions for all application packages section. After that, click Apply and then OK.

Step 8. Let’s get back to the registry editor window. Inside the cmd key window, right-click on HideBasedOnVelocityId and select Rename.
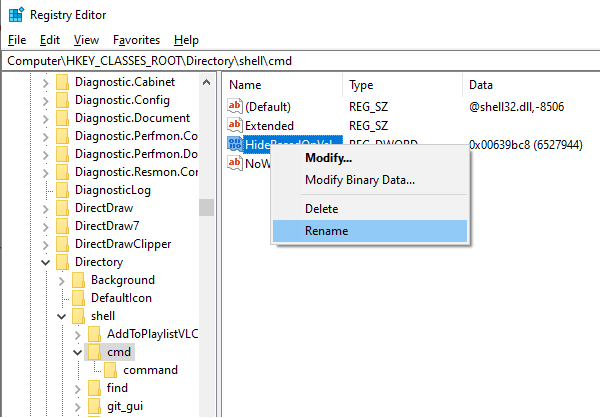
Step 9. Now rename the DWORD name from HideBasedOnVelocityId to ShowBasedOnVelocityId then hit Enter from keyboard to make sure to update the changes.
That’s it. You are done.
Now when you press Shift + right click on any folder, it will open with the newly added missing option Open a Command Window Here in your Windows 10 context menu.

Add the Missing “Open a Command Window Here” option to the Context Menu of Background
Follow all of the above steps mentioned with a little correction in step 2.
In step 2, when you open registry editor, you have to open the following path:
HKEY_CLASSES_ROOT\Directory\Background\shell\cmd
Now let’s follow the rest guide the same as mentioned. At last, you will have working open a command window here option in the context menu background.
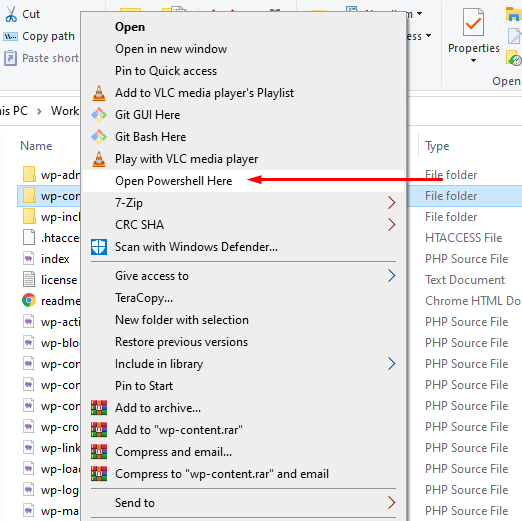
Add the Missing “Open Powershell Here” Option to the Directory in Windows 10
Step 1. Open the registry editor, same as mentioned in the above guide.
Step 2. In the registry editor, navigate to the following key:
HKEY_CLASSES_ROOT\Directory\shell
Step 3. Now right click on the shell key, select New, and click on Key.
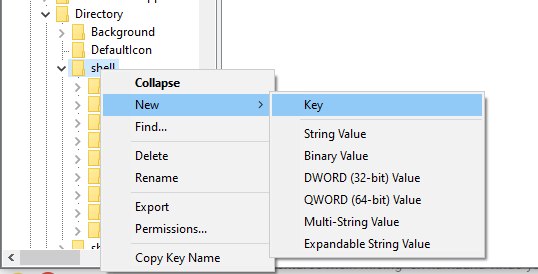
Step 4. Enter the name powershellmenu for the key and hit Enter from the keyboard.
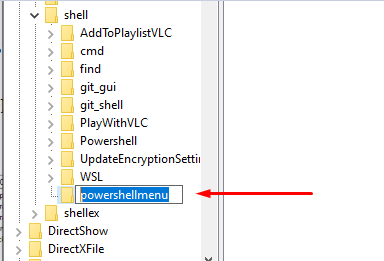
As you can see there is already one PowerShell key that exists in the system. It does serve different purposes in the Windows 10 systems. So we have to ignore the existing PowerShell key. Instead, we will create a new key with the name powershellmenu.
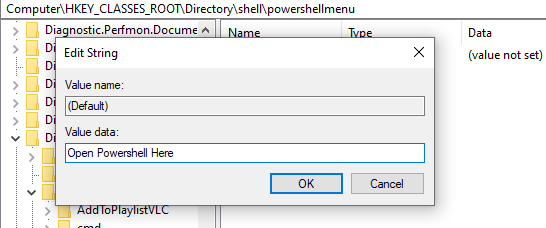
Step 5. Now you will have to change the default value for the key powershellmenu from the window. Double click on the word Default. It will open Edit String Window. Enter the text Open Powershell Here In Value data box. (see the image below)
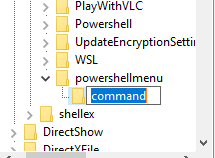
Step 6. Next, you will have to create another key under powershellmenu. Create a new key and name it command and press Enter.
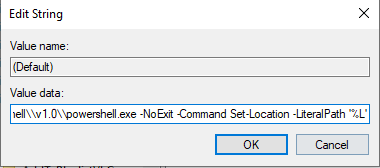
Step 7. Select, newly created command key and double click on Default name from the list (from the right window). It will open Edit String window. Enter the following path in the Value Data box and press OK.
C:\\Windows\\system32\\WindowsPowerShell\\v1.0\\powershell.exe -NoExit -Command Set-Location -LiteralPath '%L'
Finally, it’s done.
Right-click on any folder and you can notice, there is one option Open Powershell here in the context menu of Windows 10.